Updating the BIOS (Basic Input/Output System) on your Windows 11 computer is an essential task that can improve system performance, fix bugs, and add new features. The BIOS is responsible for initializing hardware components and loading the operating system. In this step-by-step guide, we will walk you through the process of updating the BIOS on your Windows 11 machine.
Step 1: Check your current BIOS version
Before you begin the BIOS update process, it’s important to know your current BIOS version. This information can be found in the BIOS settings or by using third-party software. Knowing the current version will help you determine if an update is necessary and which version you should install.
Step 2: Download the latest BIOS update
Visit the manufacturer’s website and navigate to the support section for your specific model. Look for the latest BIOS update available for your Windows 11 machine. Download the update file to your computer, making sure to choose the correct version for your system.
Step 3: Prepare for the BIOS update
Before proceeding with the BIOS update, it’s crucial to backup any important data on your computer. While the risk of data loss during a BIOS update is low, it’s always better to be safe than sorry. Additionally, ensure that your computer is connected to a reliable power source to prevent any interruptions during the update process.
Step 4: Install the BIOS update
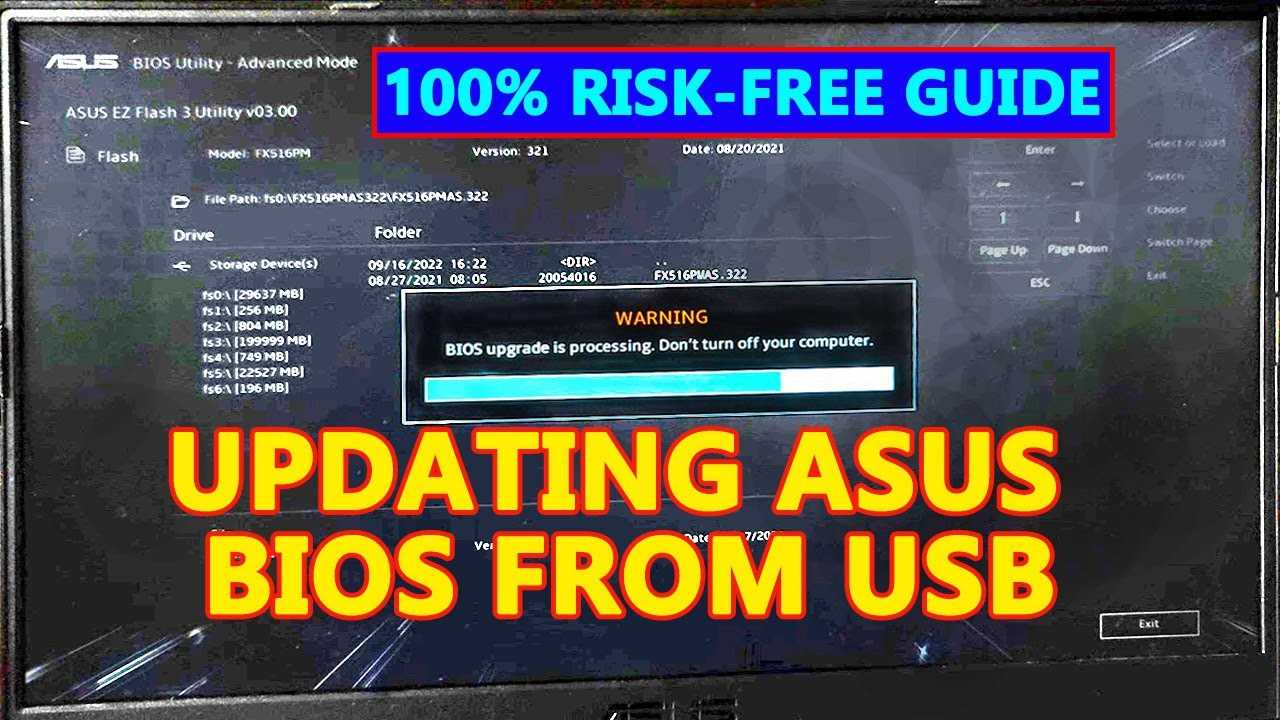
Once you have downloaded the BIOS update file, locate it on your computer and double-click to run the installation. Follow the on-screen instructions provided by the manufacturer’s update utility. It’s important to note that during the update process, your computer may restart multiple times. Do not interrupt the process or turn off your computer until the update is complete.
Step 5: Verify the BIOS update
After the update process is finished, restart your computer and enter the BIOS settings. Verify that the new BIOS version is installed by checking the system information. If the update was successful, you can now enjoy the improved performance and new features that come with the updated BIOS.
Remember, updating the BIOS can be a delicate process, so it’s important to follow these steps carefully and ensure that you have the correct BIOS update for your Windows 11 machine. If you encounter any issues during the update, consult the manufacturer’s support documentation or seek professional assistance.
Section 1: Preparing for the BIOS Update

Before you proceed with updating the BIOS on your Windows 11 computer, it’s important to make sure you are well-prepared. Updating the BIOS is a critical process that can affect the stability and performance of your system, so it’s crucial to follow the steps carefully.
Step 1: Backup your important data: Before starting the BIOS update, it’s always a good idea to backup your important files and data. While the chances of something going wrong during the update process are low, it’s better to be safe than sorry. Make sure you have a backup of all your important files stored in a separate location.
Step 2: Check for compatibility: Ensure that the BIOS update you are planning to install is compatible with your Windows 11 operating system. Visit the manufacturer’s website or the support page to find the latest BIOS version available for your specific computer model. Read the release notes and check if there are any specific instructions or requirements for updating the BIOS on Windows 11.
Step 3: Gather necessary tools: To update the BIOS, you will need a USB flash drive with sufficient storage capacity. Make sure the flash drive is formatted correctly and is empty. Additionally, ensure that you have a stable internet connection throughout the update process to avoid any interruptions.
Step 4: Understand the risks: Updating the BIOS carries some risks, albeit minimal. It’s important to understand that if something goes wrong during the update process, it can potentially render your computer unusable. Therefore, it’s crucial to follow the instructions provided by the manufacturer carefully and avoid interrupting the update process.
Step 5: Read the user manual: Familiarize yourself with the user manual or documentation provided by the manufacturer. It will contain specific instructions on how to update the BIOS on your particular computer model. Make sure to read and understand the steps before proceeding.
Step 6: Close all running programs: Before you start the BIOS update, close all running programs and applications on your computer. This will help prevent any conflicts or interruptions during the update process.
Step 7: Disconnect unnecessary peripherals: To minimize the risk of any issues during the BIOS update, disconnect any unnecessary peripherals such as external hard drives, printers, or scanners. Only keep the essential devices connected, such as the keyboard and mouse.
Step 8: Ensure sufficient power supply: It’s crucial to have a stable power supply during the BIOS update process. Make sure your computer is connected to a reliable power source and avoid updating the BIOS on a laptop with low battery. Any power interruptions during the update can cause irreversible damage to your system.
By following these steps and preparing adequately, you can ensure a smooth and successful BIOS update on your Windows 11 computer.
Checking the Current BIOS Version

Before you proceed with updating the BIOS on Windows 11, it is important to check the current version of your BIOS. This will help you determine if an update is necessary and ensure compatibility with your system.
To check the current BIOS version, follow these steps:
- Step 1: Press the Windows key on your keyboard to open the Start menu.
- Step 2: Type “System Information” and click on the corresponding result.
- Step 3: In the System Information window, look for the “BIOS Version/Date” field.
- Step 4: Take note of the BIOS version number displayed.
Once you have identified the current BIOS version, you can compare it with the latest version available on the manufacturer’s website. If a newer version is available, you can proceed with updating the BIOS to ensure optimal performance and compatibility with Windows 11.
Note: Updating the BIOS carries some risks, so it is important to follow the manufacturer’s instructions carefully and ensure that your system is connected to a reliable power source during the update process.
Researching the BIOS Update Process

Before proceeding with the BIOS update on your Windows 11 system, it is important to conduct thorough research to ensure a smooth and successful update process. Here are some steps to help you in your research:
- Identify your motherboard manufacturer and model: To update the BIOS, you need to know the specific motherboard model you have. This information can usually be found in the system documentation or by checking the motherboard itself.
- Visit the manufacturer’s website: Once you have identified your motherboard model, visit the manufacturer’s website to find the latest BIOS update for your specific model. Manufacturers often provide detailed instructions and downloads for updating the BIOS.
- Read the release notes: Before downloading and installing the BIOS update, it is important to read the release notes provided by the manufacturer. The release notes will provide information about the changes and improvements included in the update, as well as any known issues or compatibility issues.
- Check for compatibility: Ensure that the BIOS update is compatible with your Windows 11 operating system. Some older motherboards may not have BIOS updates available for Windows 11, so it is important to check the compatibility before proceeding.
- Backup your data: It is always recommended to backup your important data before performing any BIOS update. While the chances of data loss during a BIOS update are low, it is better to be safe than sorry.
- Follow the manufacturer’s instructions: Once you have done your research and are ready to proceed with the BIOS update, carefully follow the instructions provided by the manufacturer. These instructions will guide you through the update process step-by-step, ensuring a successful update.
By conducting thorough research and following the manufacturer’s instructions, you can ensure a smooth and successful BIOS update on your Windows 11 system.
Backing Up Important Data

Before proceeding with the BIOS update on Windows 11, it is crucial to back up your important data. This step ensures that you have a copy of all your important files and documents in case anything goes wrong during the update process.
Here is how to back up your important data:
- Create a backup folder on an external storage device, such as a USB drive or an external hard drive.
- Go to the Windows 11 Start menu and open the File Explorer.
- Navigate to the folders where your important data is stored, such as Documents, Pictures, Videos, or any other folders where you keep your files.
- Select the files and folders you want to back up by holding the Ctrl key and clicking on each item.
- Right-click on the selected files and folders and choose “Copy”.
- Open the backup folder on the external storage device and right-click inside it. Choose “Paste” to copy the files and folders into the backup folder.
- Wait for the copying process to complete. This may take some time depending on the size of your data.
- Once the copying process is finished, safely eject the external storage device from your computer.
By following these steps, you can ensure that your important data is safely backed up before proceeding with the BIOS update on Windows 11. In case anything goes wrong during the update process, you can restore your files and continue using your computer without any data loss.
Section 2: Downloading the BIOS Update

In order to update your BIOS on Windows 11, you will need to download the latest BIOS update from the manufacturer’s website. Here is a step-by-step guide on how to do it:
Step 1: Open your preferred web browser on your Windows 11 computer.
Step 2: Go to the manufacturer’s website. This is usually the website of the company that made your computer or motherboard.
Step 3: Look for the “Support” or “Downloads” section on the website. This is where you will find the BIOS updates.
Step 4: Enter the model number or name of your computer or motherboard in the search bar, and press Enter.
Step 5: Look for the latest BIOS update for your specific model. Make sure it is compatible with Windows 11.
Step 6: Click on the download link for the BIOS update. It is usually a button or a link with the word “Download” or an arrow pointing downwards.
Step 7: Save the BIOS update file to a location on your computer where you can easily find it, such as your desktop or Downloads folder.
Step 8: Wait for the download to complete. This may take a few minutes depending on the size of the BIOS update file and the speed of your internet connection.
Step 9: Once the download is complete, you are ready to proceed to the next section, where we will guide you through the process of installing the BIOS update on your Windows 11 computer.
Remember to always double-check that you are downloading the correct BIOS update for your specific model, as installing the wrong update can cause serious issues with your computer. If you are unsure, it is recommended to consult the manufacturer’s documentation or contact their support for assistance.
Finding the Manufacturer’s Website

To update your BIOS on Windows 11, you will need to visit the manufacturer’s website. The manufacturer’s website is the best place to find the latest BIOS updates for your specific computer model. Here is how you can find the manufacturer’s website:
1. Open your preferred web browser and go to a search engine, such as Google.
2. In the search bar, type in the name of your computer’s manufacturer, followed by “BIOS update.” For example, if you have a Dell computer, you would search for “Dell BIOS update.”
3. Look for the official website of the manufacturer in the search results. It is important to ensure that you are on the official website to avoid downloading any potentially harmful files.
4. Once you have found the manufacturer’s website, navigate to the support or downloads section of the site.
5. Look for a section specifically dedicated to BIOS updates. This section may be labeled as “Drivers,” “Support,” or “Downloads.”
6. Enter your computer’s model number or select your computer model from a list provided on the website.
7. Look for the latest BIOS update available for your computer model. Make sure to read the release notes or any instructions provided by the manufacturer.
8. Download the BIOS update file to your computer.
Now that you have found the manufacturer’s website and downloaded the BIOS update file, you are ready to proceed with updating your BIOS on Windows 11.
Locating the BIOS Update for Your Specific Model

Updating the BIOS on your Windows 11 computer is an important step to ensure optimal performance and compatibility with the latest hardware and software. However, before you proceed with the update, it is crucial to locate the correct BIOS update for your specific model.
The process of finding the BIOS update for your Windows 11 computer may vary depending on the manufacturer. Here are some general steps to help you locate the BIOS update:
1. Identify your computer model: To find the correct BIOS update, you need to know the exact model of your computer. This information can usually be found on a sticker on the back or bottom of your computer, or in the system information settings.
2. Visit the manufacturer’s website: Once you have identified your computer model, visit the manufacturer’s website. Most manufacturers have a support or downloads section where you can find the latest BIOS updates for your specific model.
3. Navigate to the BIOS downloads: Look for a section specifically dedicated to BIOS updates or firmware downloads. This section may be labeled differently depending on the manufacturer, but it should be easily accessible from the main support page.
4. Enter your computer model: In the BIOS downloads section, you will usually find a search or filter option. Enter your computer model or select it from a drop-down menu to filter the results and display the available BIOS updates for your specific model.
5. Download the BIOS update: Once you have located the correct BIOS update for your specific model, click on the download link to start the download process. Make sure to save the file to a location on your computer where you can easily find it later.
It is important to note that updating the BIOS carries some risks, and if not done correctly, it can cause permanent damage to your computer. Therefore, it is recommended to carefully read and follow the manufacturer’s instructions and any accompanying documentation before proceeding with the BIOS update.
By following these steps, you should be able to locate the BIOS update for your specific model and proceed with updating the BIOS on your Windows 11 computer.
Downloading the BIOS Update File

To update the BIOS on Windows 11, you will need to download the latest BIOS update file from the manufacturer’s website. The BIOS update file contains the necessary firmware updates and instructions to install them on your computer.
Before downloading the BIOS update file, make sure you have the correct model number and version of your computer’s BIOS. This information can usually be found in the BIOS settings or on the manufacturer’s website.
Once you have the correct information, go to the manufacturer’s website and navigate to the support or downloads section. Look for the BIOS updates or drivers section and search for your computer model.
When you find the correct BIOS update file for your computer, click on the download link. The file will usually be in a compressed format, such as ZIP or RAR. Save the file to a location on your computer where you can easily access it.
After the download is complete, extract the contents of the compressed file. This will usually involve right-clicking on the file and selecting “Extract” or using a file extraction program.
Once the contents are extracted, you should see a file with a .exe or .bin extension. This is the BIOS update file. Make sure to keep this file in a safe place, as you will need it in the next steps of the BIOS update process.
Now that you have successfully downloaded the BIOS update file, you are ready to proceed with updating the BIOS on your Windows 11 computer.
Section 3: Updating the BIOS
Updating the BIOS on Windows 11 is a crucial step to ensure your computer’s stability and compatibility with the latest hardware and software. The BIOS, or Basic Input/Output System, is responsible for controlling the hardware and initializing the operating system during startup.
Here’s how to update the BIOS on Windows 11:
Step 1: Identify your current BIOS version
Before updating the BIOS, it’s important to know the current version installed on your computer. To do this, you can access the BIOS settings by restarting your computer and pressing the designated key (usually Del, F2, or F10) during the startup process. Once in the BIOS settings, navigate to the System Information or BIOS Information section to find the current version.
Step 2: Download the latest BIOS update
Visit the manufacturer’s website and locate the support or downloads section. Look for the latest BIOS update for your specific model and download it to your computer. Make sure to choose the correct version and follow any instructions provided by the manufacturer.
Step 3: Prepare for the update
Before proceeding with the BIOS update, it’s essential to ensure that your computer is connected to a reliable power source and that you have a backup of your important files. Updating the BIOS carries a small risk, and having a backup can help protect your data in case anything goes wrong.
Step 4: Update the BIOS
Once you have the latest BIOS update file, double-click on it to run the installer. Follow the on-screen instructions and be patient as the update process may take several minutes. Avoid interrupting the update or turning off your computer during this time.
Step 5: Verify the update
After the BIOS update is complete, restart your computer and enter the BIOS settings again. Navigate to the System Information or BIOS Information section to confirm that the new version is installed. You can also check for any improvements or changes mentioned in the release notes provided by the manufacturer.
Updating the BIOS on Windows 11 can help improve system performance, fix compatibility issues, and add new features. However, it’s important to proceed with caution and follow the manufacturer’s instructions to avoid any potential risks. If you’re unsure or uncomfortable with updating the BIOS yourself, it’s recommended to seek assistance from a professional or the manufacturer’s support team.