phpMyAdmin is a popular open-source tool used for managing MySQL databases. It provides a user-friendly interface that allows you to easily perform various database operations. If you are using Windows and want to install phpMyAdmin, this step-by-step guide will walk you through the process.
Step 1: Download phpMyAdmin
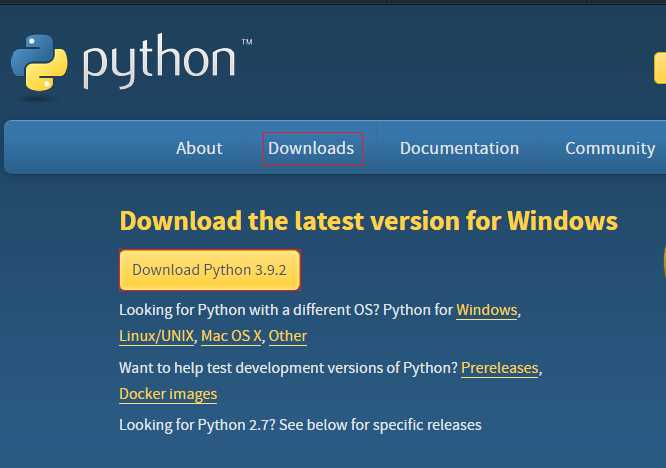
The first step is to download the latest version of phpMyAdmin from the official website. Visit the phpMyAdmin website and navigate to the downloads section. Choose the version that is compatible with your Windows operating system and download the zip file.
Step 2: Extract the files
Once the download is complete, extract the contents of the zip file to a location on your computer. You can choose any directory, but it is recommended to extract it to a location that is easily accessible, such as the C:\ drive.
Step 3: Configure phpMyAdmin
After extracting the files, navigate to the phpMyAdmin directory and locate the config.sample.inc.php file. Rename this file to config.inc.php. Open the config.inc.php file in a text editor and make the necessary changes, such as setting up the MySQL server connection details.
Step 4: Set up a web server
In order to access phpMyAdmin through a web browser, you need to set up a web server on your Windows machine. There are several options available, such as Apache, Nginx, or IIS. Choose the web server of your choice and install it on your computer.
Step 5: Move phpMyAdmin to the web server directory
Once the web server is installed, move the phpMyAdmin directory to the web server’s document root directory. This is usually located in the installation directory of the web server. For example, if you are using Apache, the document root directory is typically located at C:\Apache\htdocs.
Step 6: Access phpMyAdmin
After completing the previous steps, you can now access phpMyAdmin by opening a web browser and entering the URL to your phpMyAdmin installation. For example, if you installed phpMyAdmin in the htdocs directory of Apache, you would enter “http://localhost/phpMyAdmin” in the browser’s address bar.
Congratulations! You have successfully installed phpMyAdmin on your Windows machine. You can now start managing your MySQL databases with ease using the user-friendly interface provided by phpMyAdmin.
Requirements for installing phpMyAdmin
Before you can install phpMyAdmin on Windows, you need to make sure your system meets the following requirements:
| Operating System | Windows |
| Web Server | Apache or IIS |
| PHP | Version 5.6 or higher |
| MySQL | Version 5.5 or higher |
| Web Browser | Any modern web browser (e.g. Chrome, Firefox, Edge) |
Make sure you have the necessary software installed and properly configured before proceeding with the installation of phpMyAdmin. This will ensure a smooth and successful installation process.
Windows operating system
When it comes to installing phpMyAdmin on Windows, there are a few steps you need to follow. Here is a step-by-step guide on how to install phpMyAdmin on Windows:
Web server software (e.g. Apache, IIS)
Before you can install phpMyAdmin on Windows, you need to have web server software installed on your system. Two popular options for web server software are Apache and IIS.
Apache:
If you choose to use Apache as your web server software, you can download it from the Apache website. Once downloaded, follow the installation instructions provided by Apache to install it on your Windows system.
IIS:
If you prefer to use IIS as your web server software, you can install it through the Windows Control Panel. Open the Control Panel, go to “Programs” or “Programs and Features,” and then click on “Turn Windows features on or off.” In the Windows Features window, locate and enable the Internet Information Services option. Follow the prompts to complete the installation of IIS on your Windows system.
Once you have installed Apache or IIS, you can proceed with the installation of phpMyAdmin on Windows. Follow the step-by-step guide to learn how to install phpMyAdmin and configure it to work with your chosen web server software.
PHP installation
To install phpMyAdmin on Windows, you first need to install PHP on your system. Here is a step-by-step guide on how to do it:
| Step 1: | Download the latest version of PHP from the official website. |
| Step 2: | Extract the downloaded PHP archive to a directory on your computer. |
| Step 3: | Rename the file php.ini-development to php.ini. |
| Step 4: | Open the php.ini file in a text editor and make the following changes: |
– Uncomment the line extension_dir = "ext" by removing the semicolon (;) at the beginning. |
|
– Uncomment the line extension=mysqli by removing the semicolon (;) at the beginning. |
|
– Uncomment the line extension=gd2 by removing the semicolon (;) at the beginning. |
|
| Step 5: | Save the changes and close the php.ini file. |
| Step 6: | Add the PHP installation directory to the system’s PATH environment variable. |
| Step 7: | Restart your computer to apply the changes. |
Once you have installed PHP, you can proceed with the installation of phpMyAdmin on Windows.
Installation steps
Here are the steps to install phpMyAdmin on Windows:
- Download the latest version of phpMyAdmin from the official website.
- Extract the downloaded zip file to a directory on your Windows machine.
- Rename the extracted folder to “phpMyAdmin” for simplicity.
- Move the “phpMyAdmin” folder to the root directory of your web server (e.g., C:\xampp\htdocs).
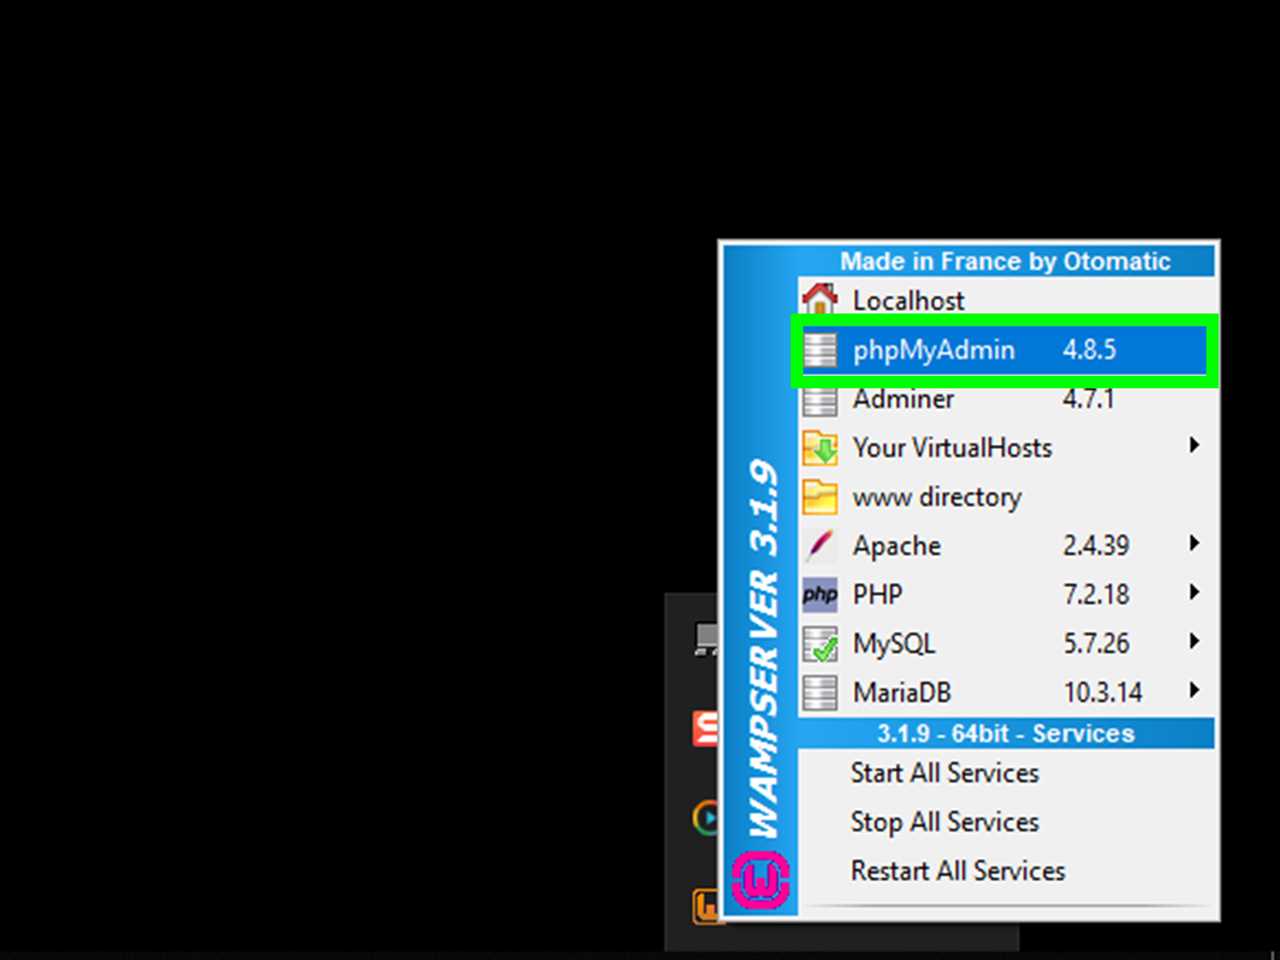
- Open your web browser and navigate to “http://localhost/phpMyAdmin”.
- If you see the phpMyAdmin login page, the installation was successful.
- Enter your MySQL username and password to log in to phpMyAdmin.
- You can now start managing your MySQL databases using phpMyAdmin on Windows.
Make sure to secure your phpMyAdmin installation by setting a strong password and restricting access to authorized users only.
Download phpMyAdmin
To install phpMyAdmin on Windows, you need to download the installation package from the official website. Follow the steps below to download phpMyAdmin:
- Open your preferred web browser.
- Go to the phpMyAdmin website.
- Navigate to the Downloads section.
- Choose the latest stable version of phpMyAdmin for Windows.
- Click on the download link to start the download.
Once the download is complete, you can proceed to the next step of the installation process.