
Are you looking to install Windows 11 on your computer but don’t want to create a Microsoft account? You’re in luck! In this step-by-step guide, we will show you how to install Windows 11 without a Microsoft account. Whether you have privacy concerns or simply prefer to use a local account, this guide will walk you through the process.
Step 1: Prepare Your Installation Media
The first step is to prepare your installation media. You will need a USB drive with at least 8GB of storage space. Download the Windows 11 ISO file from the official Microsoft website and use a tool like Rufus to create a bootable USB drive. Make sure to select the correct edition of Windows 11 and the appropriate architecture (32-bit or 64-bit) for your system.
Step 2: Boot from the USB Drive
Once you have your bootable USB drive ready, insert it into your computer and restart. During the boot process, you may need to access the BIOS or UEFI settings to change the boot order and prioritize the USB drive. Consult your computer’s manual or manufacturer’s website for instructions on how to do this.
Step 3: Install Windows 11
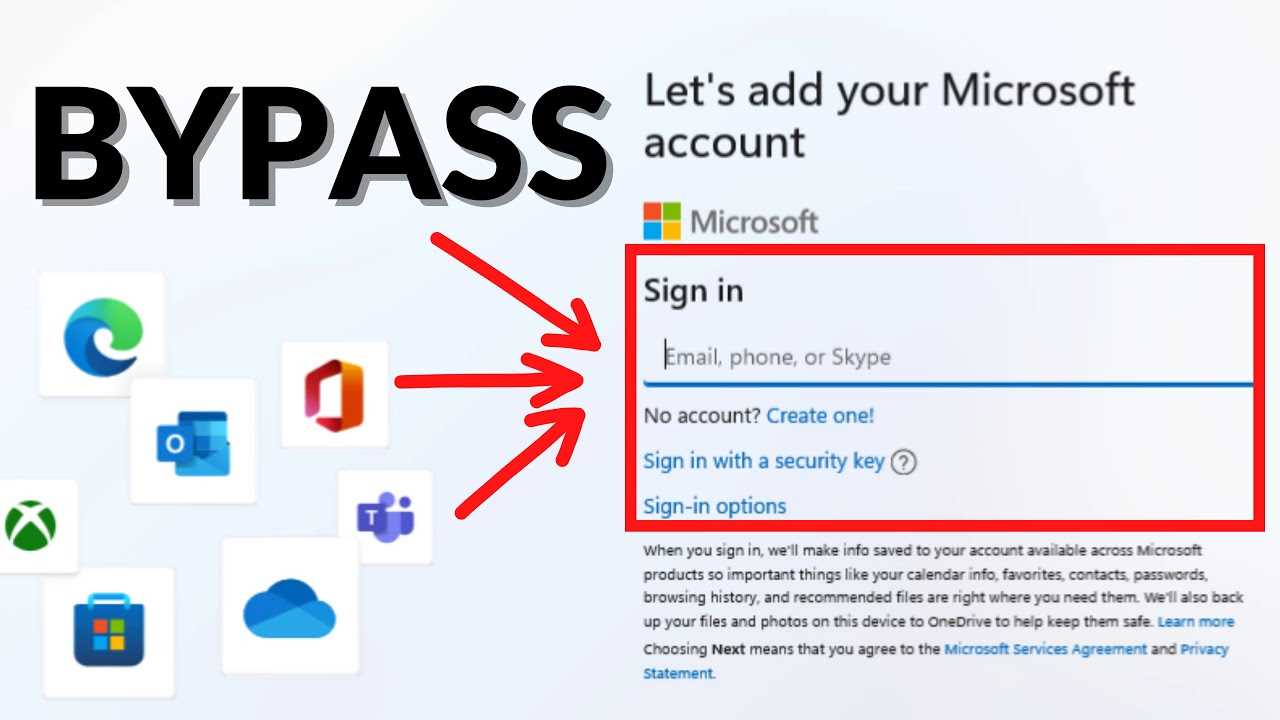
After successfully booting from the USB drive, you will be presented with the Windows 11 installation screen. Follow the on-screen instructions to proceed with the installation. When prompted to sign in with a Microsoft account, click on the “Offline account” or “Create a new account” option.
Step 4: Create a Local Account
In the next step, you will be asked to create a new account. Click on the “Offline account” or “Local account” option. Fill in the required information, including your username and password. You can also choose to add a password hint for added security.
Step 5: Complete the Installation
Once you have created your local account, continue following the on-screen instructions to complete the installation of Windows 11. You will be asked to customize your settings, such as privacy preferences and region settings. Make sure to review and adjust these settings according to your preferences.
By following these steps, you can successfully install Windows 11 without a Microsoft account. Enjoy the new features and improvements of the latest version of Windows while maintaining your privacy and control over your computer.
Section 1: Preparing for Installation
Before you can install Windows 11, it’s important to make sure you have everything you need. One of the great features of Windows 11 is that you can install it without a Microsoft account, giving you more control over your privacy and data. Here’s how to prepare for the installation:
1. Check System Requirements: Make sure your computer meets the minimum system requirements for Windows 11. This includes having a compatible processor, sufficient RAM, and enough storage space. You can find the detailed system requirements on the official Windows 11 website.
2. Backup Your Data: It’s always a good idea to backup your important files and data before installing a new operating system. This way, if anything goes wrong during the installation process, you won’t lose any valuable information. You can use an external hard drive, cloud storage, or any other backup method of your choice.
3. Create a Bootable USB Drive: To install Windows 11 without a Microsoft account, you’ll need to create a bootable USB drive. This will allow you to install the operating system from a USB stick instead of downloading it from the internet. You can use the official Windows 11 Media Creation Tool to create a bootable USB drive.
4. Disable Secure Boot: If your computer has Secure Boot enabled, you’ll need to disable it before installing Windows 11. Secure Boot is a security feature that prevents unauthorized operating systems from loading during the boot process. You can usually find the Secure Boot option in your computer’s BIOS settings.
5. Prepare Installation Media: Once you have created the bootable USB drive and disabled Secure Boot, you’re ready to prepare the installation media. Insert the USB drive into your computer and restart it. Make sure to boot from the USB drive instead of the internal hard drive. This will start the Windows 11 installation process.
By following these steps, you can prepare your computer for installing Windows 11 without a Microsoft account. This will give you more control over your privacy and data, while still enjoying the new features and improvements of the latest Windows operating system.
Checking System Requirements

Before proceeding with the installation of Windows 11 without a Microsoft account, it is important to ensure that your system meets the necessary requirements. Here’s how you can check:
1. Make sure your computer is running on Windows 10 or later. Windows 11 is only available as an upgrade for Windows 10 users.
2. Check the minimum hardware requirements for Windows 11. These include a compatible processor (1 GHz or faster with at least 2 cores), 4 GB of RAM or more, and 64 GB of storage or more.
3. Verify that your device supports Secure Boot and TPM version 2.0. These are mandatory requirements for Windows 11.
4. Update your device drivers and firmware to the latest versions. This can help ensure compatibility with Windows 11.
By following these steps, you can determine if your system is capable of running Windows 11 without a Microsoft account. If your system meets the requirements, you can proceed with the installation process.
Backing Up Your Data
Before you begin the installation process for Windows 11 without a Microsoft account, it is important to back up your data. This step is crucial to ensure that you don’t lose any important files or documents during the installation process.
Here’s how you can back up your data:
- Connect an external hard drive or USB flash drive to your computer.
- Open File Explorer and navigate to the files and folders that you want to back up.
- Select the files and folders you want to back up by holding down the Ctrl key and clicking on each item.
- Right-click on the selected files and folders and choose “Copy” from the context menu.
- Navigate to the external hard drive or USB flash drive in File Explorer.
- Right-click on an empty space in the external drive and choose “Paste” from the context menu to copy the files and folders.
- Wait for the copying process to complete. The time it takes will depend on the size of the files and folders you are backing up.
- Once the copying process is finished, safely eject the external hard drive or USB flash drive from your computer.
By following these steps, you can ensure that your important data is safely backed up before you proceed with the installation of Windows 11 without a Microsoft account. This way, even if something goes wrong during the installation process, you can easily restore your files and folders.
Creating a Bootable USB Drive
To install Windows 11 without a Microsoft account, you will need to create a bootable USB drive. This will allow you to install the operating system on your computer without the need for an internet connection or a Microsoft account.
Here are the steps to create a bootable USB drive:
- First, you will need to download the Windows 11 ISO file from the official Microsoft website.
- Once you have downloaded the ISO file, insert a USB drive with at least 8GB of storage capacity into your computer.
- Next, open the Windows 11 ISO file using a program like WinRAR or 7-Zip.
- Extract all the files from the ISO file to a folder on your computer.
- Open the folder where you extracted the files and locate the “setup.exe” file.
- Right-click on the “setup.exe” file and select “Run as administrator”.
- Follow the on-screen instructions to create a bootable USB drive.
- Once the bootable USB drive is created, restart your computer and boot from the USB drive.
- Follow the prompts to install Windows 11 without a Microsoft account.
By following these steps, you can easily create a bootable USB drive and install Windows 11 without the need for a Microsoft account. This will allow you to enjoy the new features and improvements of Windows 11 while maintaining your privacy and independence.
Section 2: Installing Windows 11
Without a Microsoft account, you can still install Windows 11 on your device. Here’s how to do it:
Step 1: Start your computer and insert the Windows 11 installation media, such as a USB drive or DVD.
Step 2: Restart your computer and boot from the installation media. You may need to change the boot order in your computer’s BIOS settings.
Step 3: Follow the on-screen instructions to begin the installation process. When prompted to sign in with a Microsoft account, click on the “Offline account” or “Create a new account” option.
Step 4: Choose the “Local account” option to proceed without a Microsoft account. Enter a username and password for your local account.
Step 5: Continue following the on-screen instructions to complete the installation of Windows 11. You may need to customize settings, such as language preferences and privacy options.
Step 6: Once the installation is complete, you can sign in to your local account and start using Windows 11 without a Microsoft account.
By following these steps, you can install Windows 11 without the need for a Microsoft account. This allows you to maintain more control over your privacy and data while still enjoying the features and benefits of the new operating system.
Booting from the USB Drive

To install Windows 11 without a Microsoft account, you will need to boot your computer from a USB drive. Here’s how:
- Insert the USB drive into a USB port on your computer.
- Restart your computer.
- During the startup process, press the key that will take you to the boot menu. This key varies depending on your computer’s manufacturer, but it is often F12, F10, or Esc.
- In the boot menu, use the arrow keys to navigate to the option that represents the USB drive. It may be labeled as “USB,” “Removable Devices,” or something similar.
- Press Enter to select the USB drive as the boot device.
- Your computer will now boot from the USB drive and the Windows 11 installation process will begin.
By following these steps, you can install Windows 11 without a Microsoft account. This allows you to have more control over your privacy and data while using the operating system.
Selecting Language and Region Settings

When installing Windows 11 without a Microsoft account, it is important to select the appropriate language and region settings for your system. These settings will determine the default language used by the operating system and the region-specific features that are available to you.
To select the language and region settings, follow these steps:
- After booting from the Windows 11 installation media, you will be prompted to choose your language preferences. Use the arrow keys to navigate and press Enter to select your desired language.
- Next, you will be asked to choose your region. Again, use the arrow keys to navigate and press Enter to select your desired region.
- Once you have made your selections, click on the “Next” button to proceed with the installation process.
It is important to choose the correct language and region settings as they will affect the overall user experience and the availability of certain features. If you are unsure about which settings to choose, you can always refer to the documentation provided by Microsoft or consult with a technical expert.
By following these simple steps, you can easily install Windows 11 without a Microsoft account and customize the language and region settings according to your preferences.
Choosing Custom Installation

When installing Windows 11, you have the option to choose between a standard installation and a custom installation. In this step-by-step guide, we will show you how to perform a custom installation without a Microsoft account.
Custom installation allows you to have more control over the installation process and choose the specific settings you want for your Windows 11 installation. This is especially useful if you don’t want to link your Microsoft account to your Windows 11 installation.
To choose custom installation, follow these steps:
- Start the Windows 11 installation process by booting from the installation media.
- When prompted to sign in with a Microsoft account, click on the “Skip for now” option.
- On the next screen, click on the “Customize settings” option.
- Here, you can customize various settings such as privacy options, location settings, and more. Take your time to review and adjust these settings according to your preferences.
- Once you have customized the settings, click on the “Next” button to proceed with the installation.
- Follow the on-screen instructions to complete the installation process.
By choosing custom installation, you can install Windows 11 without linking it to a Microsoft account. This gives you more control over your privacy and allows you to set up your Windows 11 installation according to your preferences.
Remember, if you change your mind later and decide to link your Microsoft account to your Windows 11 installation, you can always do so from the settings menu after the installation is complete.


