Are you tired of working with Word documents in a language you don’t understand? Do you want to change the language settings in Word to make your work more efficient and enjoyable? Look no further, because we have the perfect guide for you!
Changing the language in Word is a simple process that can be done in just a few steps. Whether you want to switch to a different language for spell checking, grammar checking, or even the entire interface, Word offers a wide range of options to cater to your needs.
First, open Microsoft Word and navigate to the “File” tab in the top left corner of the screen. From there, select “Options” to open the Word Options dialog box. In the dialog box, click on the “Language” tab to access the language settings.
Next, you will see a list of languages that are currently installed in Word. To change the default language for spell checking and grammar checking, select the desired language from the list and click on the “Set as Default” button. This will change the language settings for all future documents.
If you want to change the language for the entire Word interface, including menus, buttons, and commands, you can do so by selecting the desired language from the “Choose Editing Languages” section. Simply check the box next to the language you want to use and click on the “Add” button. Word will then download and install the necessary language pack.
That’s it! You have successfully changed the language in Word. Now you can enjoy working with Word documents in a language that suits you best. Whether you need to collaborate with international colleagues or simply want to explore new language options, Word has you covered.
So why wait? Start exploring the world of languages in Word today and take your productivity to new heights!
Changing the Language in Word
When working with Microsoft Word, you may need to change the language settings to suit your needs. Whether you’re writing a document in a different language or need to proofread a document in a specific language, Word allows you to easily change the language settings.
To change the language in Word, follow these simple steps:
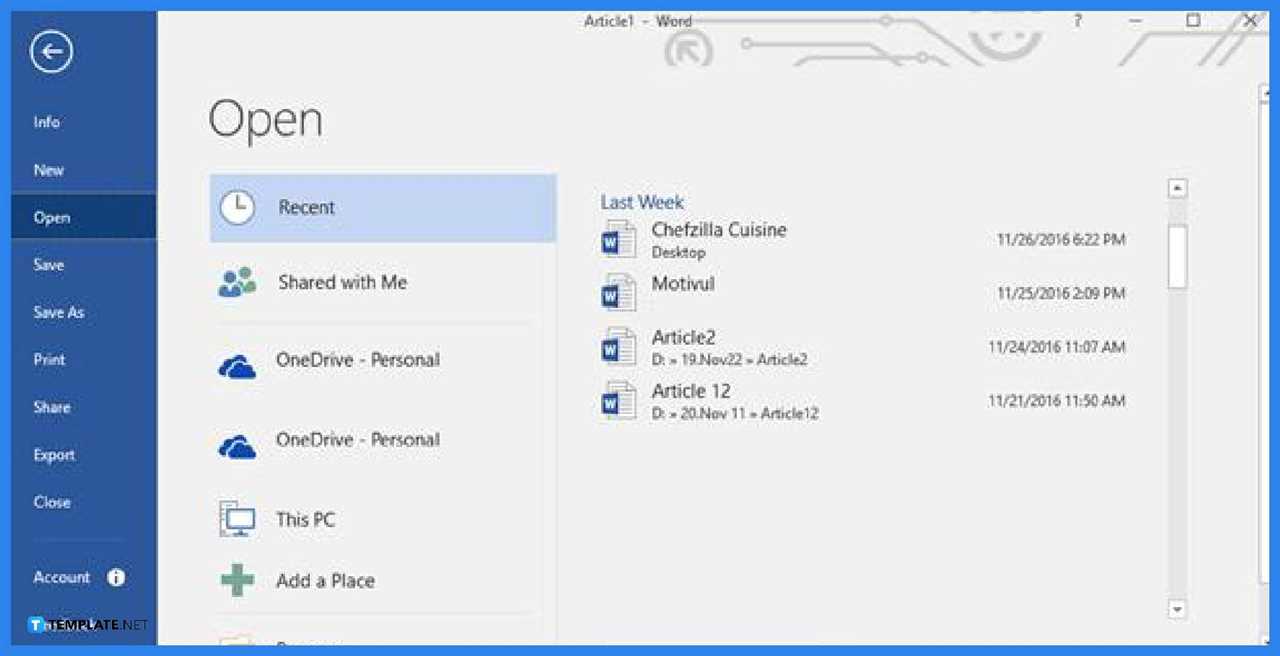
Step 1: Open Microsoft Word and click on the “File” tab located in the top left corner of the screen.
Step 2: From the drop-down menu, select “Options” to open the Word Options dialog box.
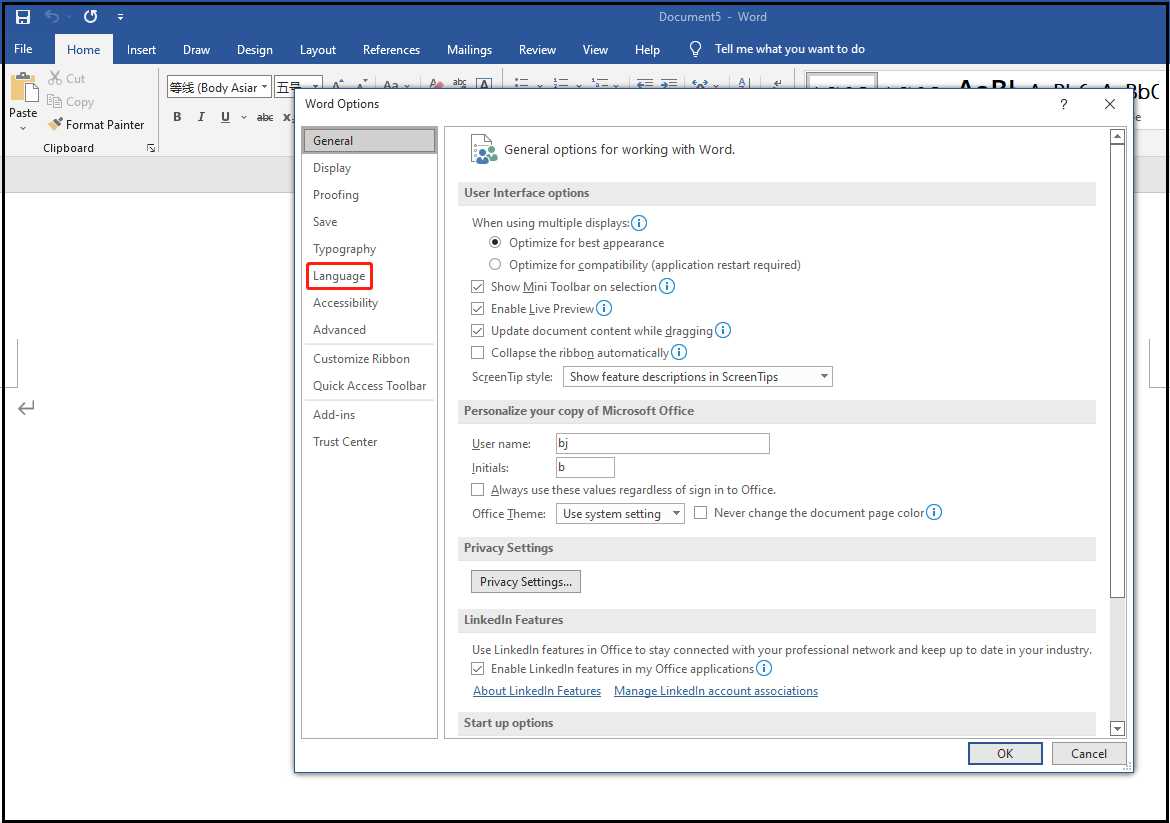
Step 3: In the Word Options dialog box, click on the “Language” tab located on the left-hand side.
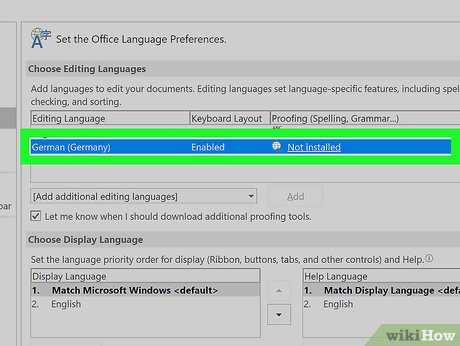
Step 4: Under the “Choose Editing Languages” section, click on the “Add additional editing languages” button.
Step 5: A list of available languages will appear. Select the language you want to add and click on the “Add” button.
Step 6: Once the language is added, you can set it as the default language by selecting it from the list and clicking on the “Set as Default” button.
Step 7: Click on the “OK” button to save the changes and close the Word Options dialog box.
Step 8: The language in Word will now be changed to the one you selected. You can start typing in the new language or proofread your document using the language-specific tools.
Note: Changing the language in Word will affect the spelling and grammar check, as well as the language-specific formatting options.
By following these simple steps, you can easily change the language in Word and work with documents in different languages without any hassle.
Accessing the Language Settings

To change the language in Word, you need to access the language settings. Here’s how you can do it:
| Step 1: | Open Word on your computer. |
| Step 2: | Click on the “File” tab located at the top left corner of the screen. |
| Step 3: | From the drop-down menu, select “Options”. |
| Step 4: | A new window will appear. Click on “Language” from the left-hand menu. |
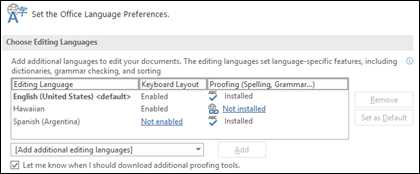
| Step 5: | In the “Choose Editing Languages” section, you can add or remove languages by clicking on the “Add additional editing languages” or “Remove” buttons respectively. |
| Step 6: | Once you have added the desired language, you can set it as the default language by selecting it and clicking on the “Set as Default” button. |
| Step 7: | Click “OK” to save the changes and close the window. |
By following these steps, you can easily access the language settings in Word and change the language according to your preference.
Selecting the Desired Language

Once you have accessed Microsoft Word, you can easily change the language to suit your needs. Follow these simple steps to select the desired language:
Step 1: Open Microsoft Word on your computer.
Step 2: Click on the “File” tab located at the top left corner of the screen.
Step 3: From the drop-down menu, select “Options” at the bottom.
Step 4: In the Word Options window, click on “Language” in the left-hand menu.
Step 5: Under the “Choose Editing Languages” section, click on the “Add additional editing languages” button.
Step 6: A new window will appear with a list of available languages. Scroll through the list and select the desired language.
Step 7: Once you have selected the language, click on the “Add” button.
Step 8: The selected language will now appear in the “Enabled editing languages” section. You can rearrange the order of the languages by using the up and down arrows.
Step 9: Click on the “OK” button to save the changes and close the Word Options window.
Step 10: The language in Microsoft Word has now been changed to your desired language. You can start typing in the selected language and use the spelling and grammar check features accordingly.
By following these simple steps, you can easily change the language in Microsoft Word and work in the language of your choice.
Applying the Language Changes
Once you have made the necessary language changes in Word, you can apply them to your document. Here’s how:
1. Open the document in Word.
2. Click on the “Review” tab in the ribbon at the top of the screen.
3. In the “Language” group, click on the “Language” button.
4. A drop-down menu will appear. Select the desired language from the list.
5. If you want to apply the language changes to the entire document, click on the “Set as Default” button.
6. If you only want to apply the language changes to a specific section of the document, select the text that you want to change, and then follow steps 3 and 4.
7. Once you have selected the desired language and applied it to your document, click on the “OK” button to save the changes.
By following these steps, you can easily apply language changes to your Word document. This can be helpful when working with documents that contain multiple languages or when you want to change the language settings for proofreading purposes.
Additional Language Options
In addition to changing the language for the entire Word application, you can also change the language settings for specific parts of your document. This can be useful if you have a multilingual document or if you need to insert text in a different language.
To change the language for a specific section of your document, follow these steps:
- Select the text that you want to change the language for.
- Go to the “Review” tab in the Word toolbar.
- Click on the “Language” button in the “Proofing” section.
- A drop-down menu will appear with a list of available languages.
- Select the language that you want to use for the selected text.
- The selected text will now be formatted with the new language settings.
It’s important to note that changing the language for a specific section of your document will not affect the language settings for the rest of the document. If you want to change the language for the entire document, you will need to follow the steps outlined in the previous section.
By utilizing these additional language options, you can ensure that your Word documents are accurate and professional, regardless of the language you are working with.
Installing New Language Packs
If you want to change the language in Word, you may need to install new language packs. Language packs are additional files that contain the necessary resources for Word to display and work in a different language.
To install a new language pack, follow these steps:
- Open Word and click on the “File” tab in the top left corner of the screen.
- Select “Options” from the dropdown menu.
- In the Word Options window, click on “Language” in the left sidebar.
- Under the “Choose Editing Languages” section, click on the “Add additional editing languages” link.
- A new window will appear with a list of available languages. Scroll through the list and select the language you want to install.
- Click on the “Add” button to add the selected language to Word.
- Once the language is added, you can set it as the default editing language by selecting it from the list and clicking on the “Set as Default” button.
- Click on the “OK” button to save the changes and close the Word Options window.
After installing a new language pack, you may need to restart Word for the changes to take effect. Once you restart Word, the user interface and spell-checking will be in the newly installed language.
By following these steps, you can easily change the language in Word and install new language packs to work in different languages.