If you are a Python developer on Windows, you may have encountered the need to install additional packages for your projects. One of the most popular package managers for Python is pip3. In this step-by-step guide, we will walk you through the process of downloading and installing pip3 on Windows.
Pip3 is a package manager for Python that allows you to easily install, upgrade, and manage Python packages. It is a command-line tool that provides a simple and convenient way to install packages from the Python Package Index (PyPI).
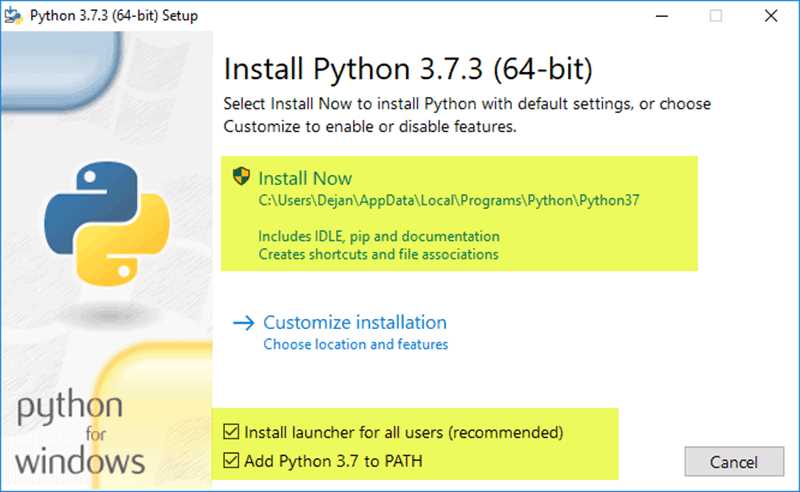
To install pip3 on Windows, you will need to download the Python installer from the official Python website. Once you have downloaded the installer, run it and follow the prompts to install Python on your system. Make sure to check the box that says “Add Python to PATH” during the installation process, as this will allow you to run Python and pip3 from the command prompt.
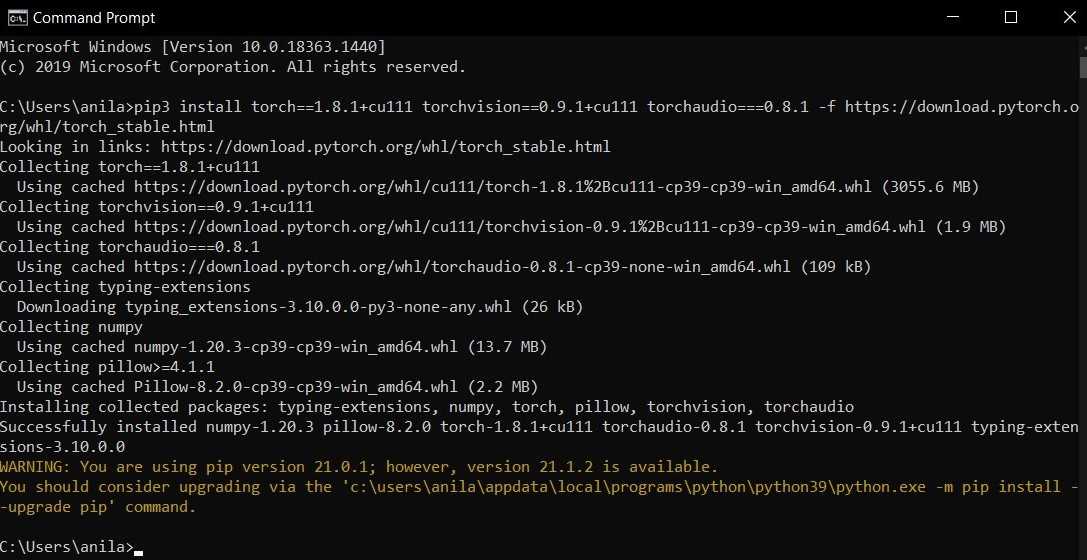
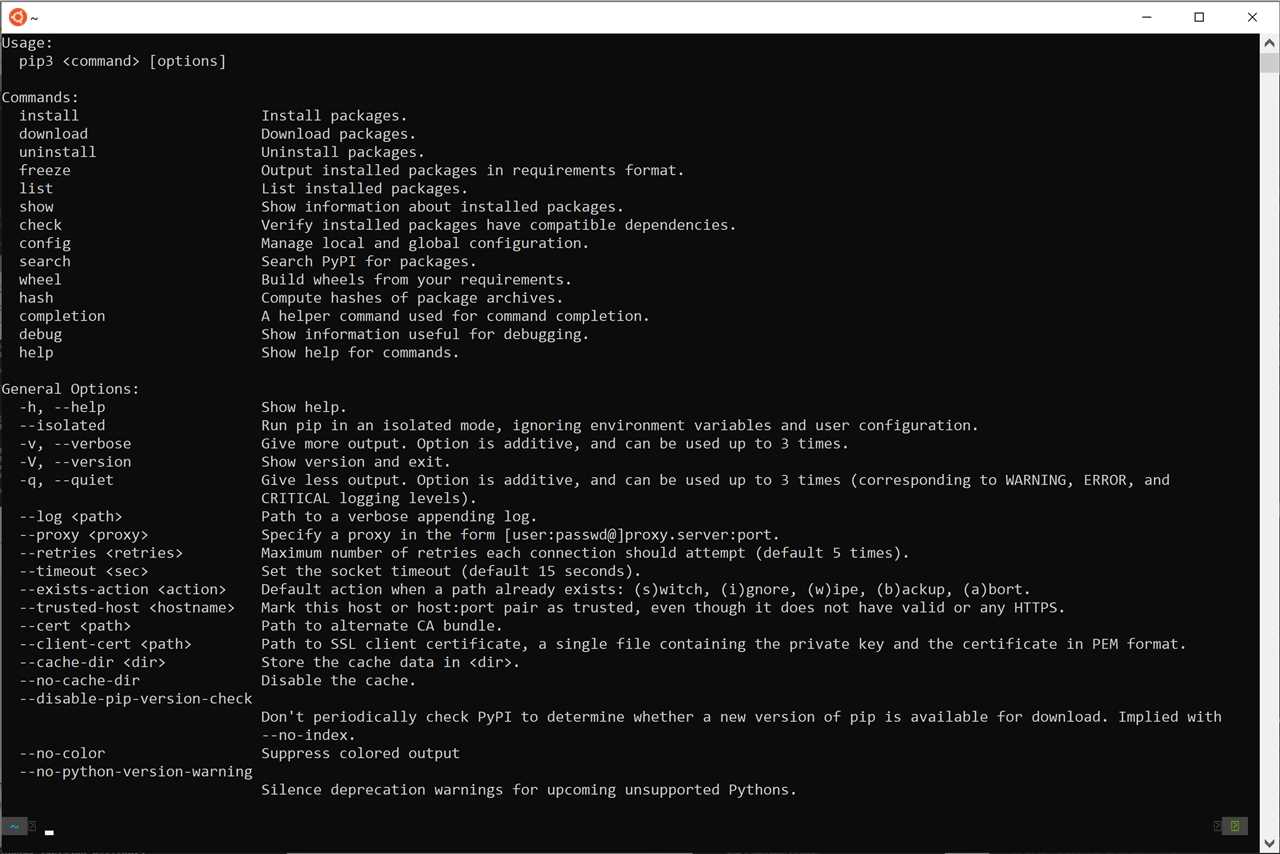
After installing Python, open the command prompt by pressing the Windows key + R, typing “cmd” in the Run prompt, and pressing Enter. In the command prompt, type “pip3” and press Enter. If pip3 is installed correctly, you should see a list of available commands and options. Congratulations, you have successfully installed pip3 on Windows!
Section 1: Download and Install Python
To install pip3 on Windows, you first need to download and install Python, as pip3 is a package manager for Python. Here are the steps to download and install Python:
- Go to the official Python website at https://www.python.org/downloads/.
- Click on the “Downloads” tab.
- Scroll down to the “Python Releases for Windows” section.
- Click on the “Latest Python 3 Release – Python x.x.x” link (x.x.x represents the latest version number).
- Scroll down to the “Files” section and select the appropriate installer for your Windows version (32-bit or 64-bit).
- Click on the installer link to start the download.
- Once the download is complete, locate the downloaded file and double-click on it to run the installer.
- On the first page of the installer, make sure to check the box that says “Add Python x.x to PATH” (x.x represents the version number).
- Click on the “Install Now” button to start the installation process.
- Wait for the installation to complete.
- Once the installation is finished, you can verify if Python is installed correctly by opening the command prompt and typing “python –version”.
Now that you have Python installed on your Windows machine, you can proceed to the next section to install pip3.
Step 1: Visit the Python website
To install pip3 on Windows, you will need to visit the official Python website. Python is a popular programming language that comes with its own package manager called pip. Pip is used to install and manage Python packages.
To get started, open your web browser and navigate to the Python website. You can do this by typing “python.org” into the address bar and pressing Enter. Once you are on the Python website, you will see a download button for the latest version of Python.
Click on the download button to start the download process. Make sure to choose the version of Python that is compatible with your Windows operating system. For example, if you are using Windows 10, you will want to download the latest version of Python for Windows.
Once the download is complete, locate the downloaded file and double-click on it to run the installer. Follow the prompts in the installation wizard to install Python on your Windows system.
During the installation process, you will be asked to choose various options. Make sure to check the box that says “Add Python to PATH” to ensure that the Python command prompt and pip3 are accessible from the command line.
After the installation is complete, open the command prompt by pressing the Windows key + R, typing “cmd” into the Run prompt, and pressing Enter. This will open the Windows command prompt.
To verify that Python and pip3 are installed correctly, type “python –version” and “pip3 –version” into the command prompt and press Enter. If you see the version numbers displayed, then Python and pip3 are installed correctly.
Congratulations! You have successfully installed Python and pip3 on your Windows system. You are now ready to start using pip3 to install and manage Python packages.
Step 2: Choose the latest version of Python
Before installing pip3 on Windows, you need to have Python installed on your system. Python is a popular programming language that comes with a package manager called pip, which allows you to easily install and manage packages.
To install pip3, you first need to download and install Python. It is recommended to choose the latest version of Python to ensure compatibility with the latest packages and features.
Here are the steps to choose the latest version of Python:
| 1. | Open a web browser and go to the official Python website. |
| 2. | Click on the “Downloads” tab at the top of the page. |
| 3. | Scroll down to the “Python Releases for Windows” section. |
| 4. | Choose the latest version of Python by clicking on the “Download” button. |
| 5. | Once the download is complete, locate the downloaded file and double-click on it to start the installation process. |
| 6. | Follow the prompts in the installation wizard to install Python on your Windows system. |
After successfully installing Python, you can proceed to the next step to install pip3 on your Windows system.
Step 3: Download the Python installer
To install pip3 on Windows, you first need to download the Python installer. The Python installer is a package manager that allows you to easily install and manage Python packages on your Windows system.
To download the Python installer, follow these steps:
- Open a web browser and go to the official Python website.
- Click on the “Downloads” tab.
- Scroll down to the “Python Releases for Windows” section.
- Click on the “Windows” link to download the latest version of Python for Windows.
- Once the download is complete, locate the downloaded file and double-click on it to run the installer.
- Follow the on-screen instructions to install Python on your Windows system.
After the installation is complete, you can proceed to the next step to verify the installation and set up pip3.
Section 2: Configure pip3
After successfully installing Python and pip3, the next step is to configure pip3 as the package manager for Python on your Windows system. This will allow you to easily install and manage Python packages using the pip3 command.
To configure pip3, follow these steps:
| Step 1: | Open the command prompt on your Windows system. |
| Step 2: | Download the get-pip.py file from the official Python website. This file contains the installation script for pip3. |
| Step 3: | Navigate to the directory where you downloaded the get-pip.py file using the command prompt. |
| Step 4: | Run the following command to install pip3: |
python get-pip.py |
|
| Step 5: | Wait for the installation process to complete. This may take a few moments. |
| Step 6: | Verify that pip3 has been successfully installed by running the following command: |
pip3 --version |
Once you have completed these steps, pip3 will be configured as the package manager for Python on your Windows system. You can now use the pip3 command to install and manage Python packages.