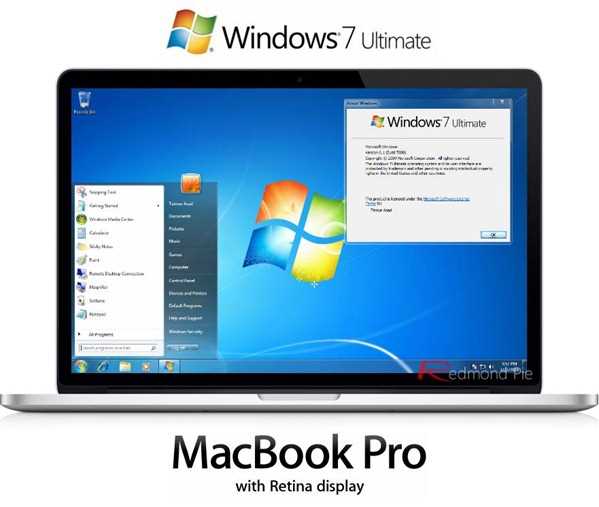
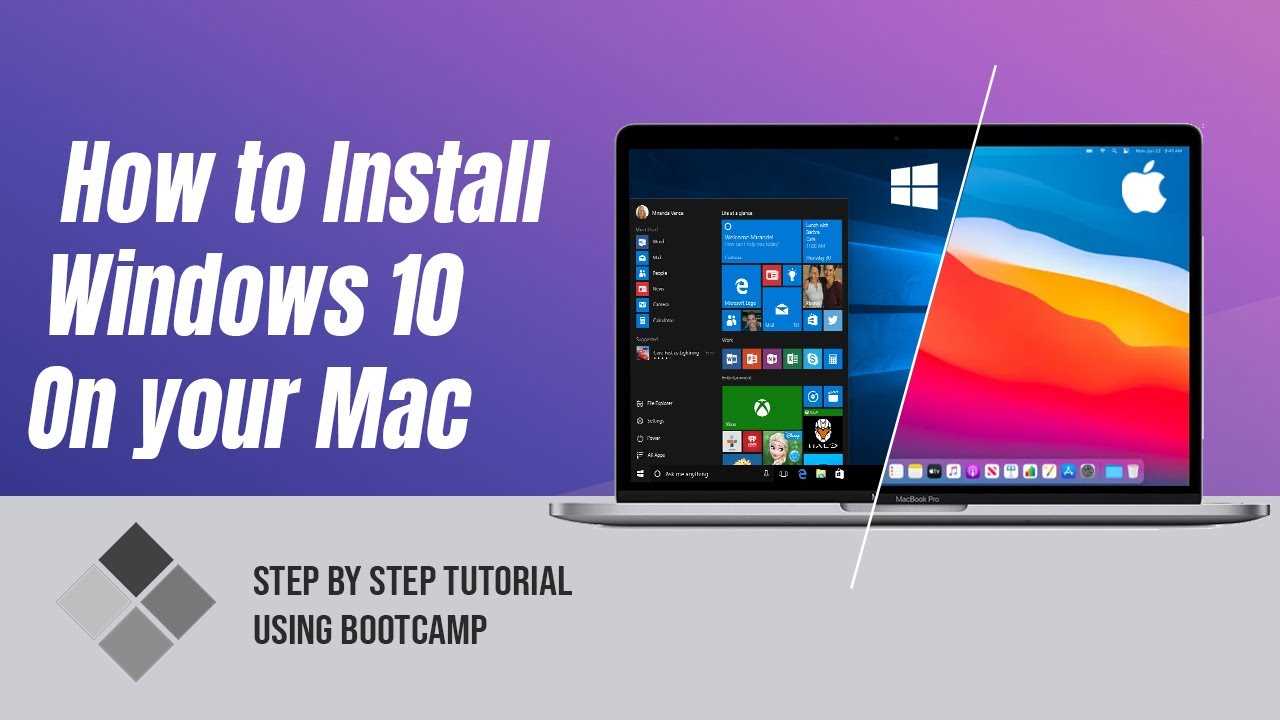
If you own a MacBook Pro and want to install Windows 10 on it, you’ve come to the right place. This step-by-step guide will walk you through the process of installing Windows 10 on your MacBook Pro, allowing you to enjoy the best of both worlds – the sleek design and user-friendly interface of a MacBook, combined with the power and versatility of Windows 10.
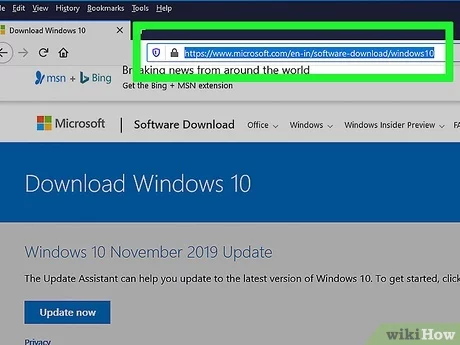
Before you begin, make sure you have a copy of the Windows 10 installation media and a valid product key. You can purchase Windows 10 from the official Microsoft website or use an existing copy if you already have one. Once you have these, you’re ready to proceed with the installation process.
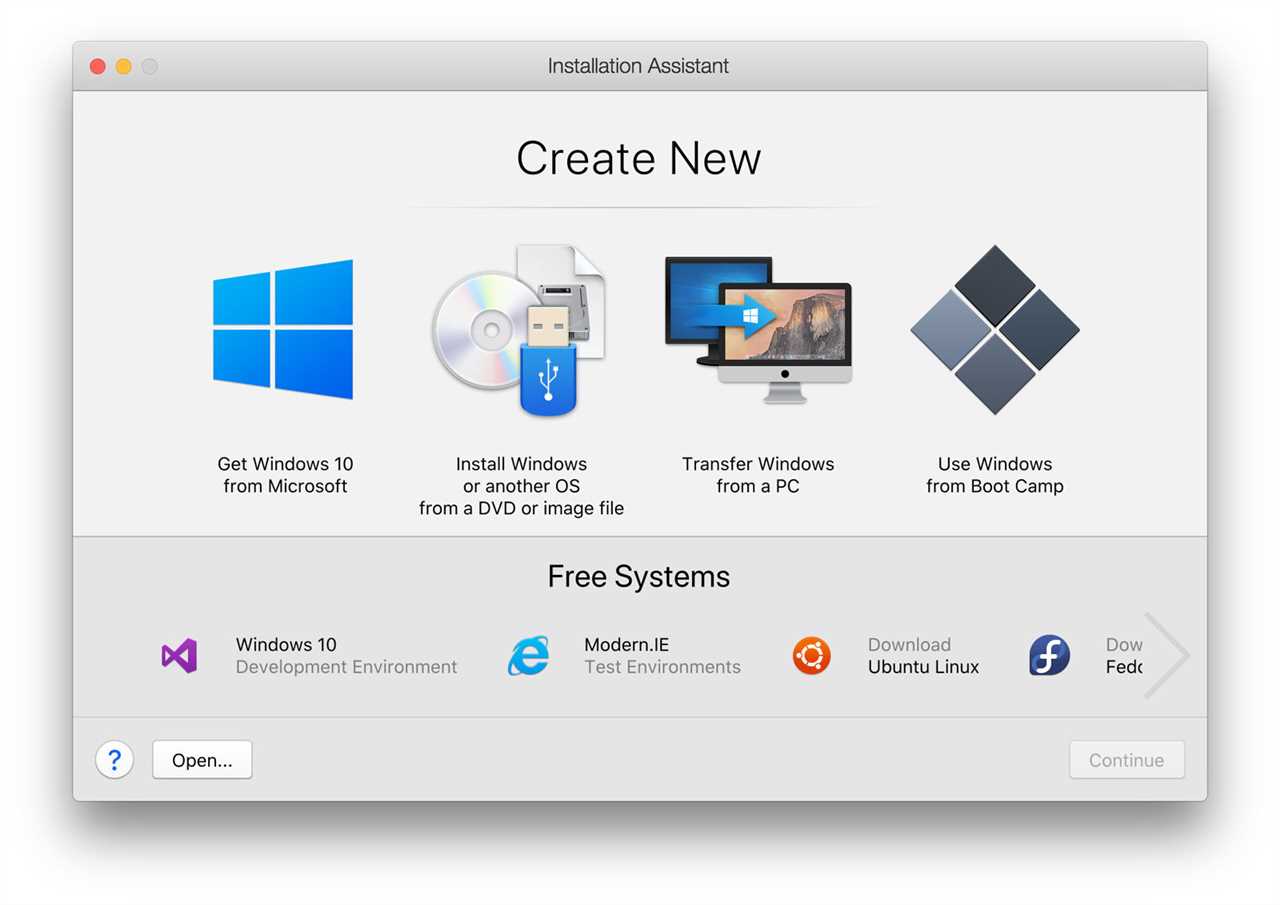
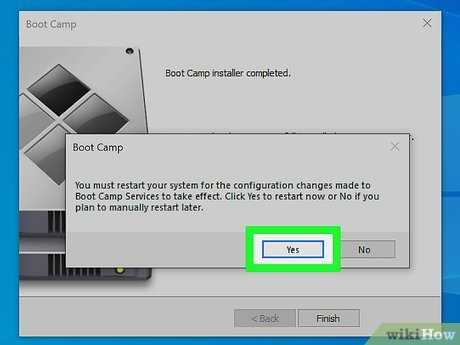
To install Windows 10 on your MacBook Pro, you’ll need to use Boot Camp, a built-in utility that allows you to run Windows on your Mac. Boot Camp will guide you through the installation process and help you set up a separate partition on your hard drive for Windows. This way, you can easily switch between macOS and Windows whenever you want.
Follow these steps to install Windows 10 on your MacBook Pro:
- Open Boot Camp Assistant, which you can find in the Utilities folder of your Applications folder.
- Click “Continue” and select the Windows 10 ISO file you downloaded earlier.
- Choose the size of the Windows partition and click “Install”.
- Follow the on-screen instructions to format the partition and begin the installation process.
- Once the installation is complete, your MacBook Pro will restart and boot into Windows 10.
- Follow the initial setup process for Windows 10, including signing in with your Microsoft account and customizing your settings.
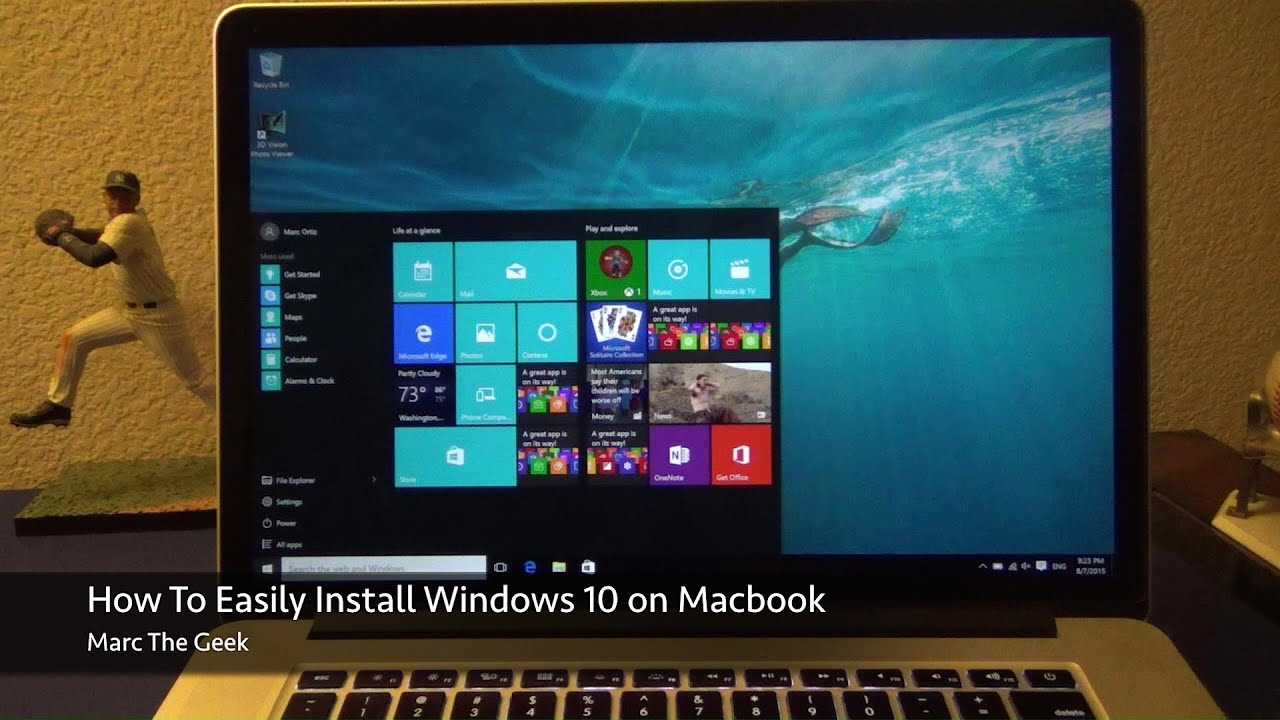
That’s it! You’ve successfully installed Windows 10 on your MacBook Pro. Now you can enjoy all the features and benefits of both macOS and Windows on a single device. Whether you need to run Windows-specific software or simply prefer the Windows operating system, having Windows 10 on your MacBook Pro gives you the flexibility to do so.
Remember to regularly update both macOS and Windows 10 to ensure that your MacBook Pro stays secure and up to date. You can easily switch between the two operating systems by restarting your MacBook Pro and holding down the Option key to select the desired operating system at startup.
So go ahead and install Windows 10 on your MacBook Pro today, and unlock a world of possibilities!
Preparation
Before you can install Windows 10 on your MacBook Pro, you need to make sure you have everything you need and have completed all necessary preparations. Here is a checklist to help you get started:
| 1. | Make sure your MacBook Pro is powered on and connected to a reliable power source. |
| 2. | Ensure that you have enough free storage space on your MacBook Pro to accommodate the Windows 10 installation. |
| 3. | Backup all important data on your MacBook Pro to an external storage device or cloud storage service. |
| 4. | Download the Windows 10 installation media from the official Microsoft website. |
| 5. | Prepare a USB flash drive with at least 8GB of storage capacity to create a bootable Windows 10 installer. |
| 6. | Ensure that you have a valid Windows 10 product key or license. |
| 7. | Disable any security software or antivirus programs on your MacBook Pro. |
| 8. | Make sure you have a stable internet connection to download any necessary drivers or updates during the installation process. |
By completing these preparations, you will be ready to proceed with the installation of Windows 10 on your MacBook Pro.
Check System Requirements
Before you begin the installation process, it is important to ensure that your MacBook Pro meets the system requirements for installing Windows 10. This will help ensure a smooth and successful installation.
Here are the system requirements for installing Windows 10 on your MacBook Pro:
Processor: Your MacBook Pro should have a compatible processor, such as an Intel Core i5 or i7.
Memory: You will need at least 4GB of RAM to install Windows 10.
Storage: Make sure you have enough free storage space on your MacBook Pro to accommodate the Windows 10 installation. A minimum of 64GB is recommended.
Graphics: Your MacBook Pro should have a compatible graphics card to support Windows 10.
Boot Camp Assistant: Ensure that you have the latest version of Boot Camp Assistant installed on your MacBook Pro. This software will help you partition your hard drive and install Windows 10.
By checking these system requirements, you can ensure that your MacBook Pro is ready for the installation process. If you meet all the requirements, you can proceed with the installation process without any issues.
Backup Your Data
Before you install Windows on your MacBook Pro, it is crucial to back up all your data to ensure that you don’t lose any important files or documents. Follow these steps to back up your data:
- Connect an external hard drive or use cloud storage services to create a backup of your files.
- Transfer all your important documents, photos, videos, and other files to the external hard drive or cloud storage.
- Make sure to double-check and verify that all your files have been successfully backed up.
- Once you have confirmed the backup, you can proceed with the installation of Windows on your MacBook Pro.
By following these steps, you can ensure that your data is safe and secure during the installation process. It is always better to be cautious and have a backup of your data before making any major changes to your system.
Create a Bootable USB Drive
One of the first steps in installing Windows 10 on a MacBook Pro is to create a bootable USB drive. This will allow you to install the Windows operating system on your Macbook Pro. Here’s how you can create a bootable USB drive:
Step 1: Insert a USB drive into your Macbook Pro.
Step 2: Open the Boot Camp Assistant on your Macbook Pro. You can find this application in the Utilities folder, which is located in the Applications folder.
Step 3: Click on the “Continue” button to proceed.
Step 4: Check the box next to “Create a Windows 10 install disk” and click on the “Continue” button.
Step 5: Select the USB drive that you inserted in Step 1 and click on the “Continue” button.
Step 6: The Boot Camp Assistant will now download the necessary Windows support software. This may take some time, so be patient.
Step 7: Once the download is complete, the Boot Camp Assistant will create a bootable USB drive with the Windows 10 installation files.
Step 8: When the process is finished, you can safely remove the USB drive from your Macbook Pro.
Note: Creating a bootable USB drive will erase all data on the USB drive, so make sure to back up any important files before proceeding.
Now you have a bootable USB drive that you can use to install Windows 10 on your Macbook Pro. In the next step, we will guide you through the installation process.
Partitioning the Hard Drive
Before you can install Windows 10 on your MacBook Pro, you need to partition the hard drive to create space for the new operating system. Here’s how you can do it:
- Open the Disk Utility application on your MacBook Pro. You can find it by searching for it in Spotlight or by navigating to Applications > Utilities > Disk Utility.
- Select your hard drive from the list of available drives on the left side of the Disk Utility window.
- Click on the “Partition” tab at the top of the window.
- Click on the “+” button to add a new partition.
- Specify the size for the new partition. Make sure to leave enough space for the Windows 10 installation. You can also choose a name for the partition.
- Click on the “Apply” button to create the new partition.
Once the partitioning process is complete, you will have a separate partition on your hard drive dedicated to installing Windows 10. This partition will be formatted as NTFS, which is the file system used by Windows.
Now you are ready to proceed with the installation of Windows 10 on your MacBook Pro. Follow the next steps in the guide to learn how to install Windows 10 on your MacBook Pro.
Open Disk Utility
Before you can install Windows 10 on your MacBook Pro, you need to open Disk Utility. Disk Utility is a built-in macOS application that allows you to manage your storage devices and partitions.
To open Disk Utility, follow these steps:
| Step 1 | Click on the Apple menu in the top-left corner of your screen. |
| Step 2 | Select “System Preferences” from the drop-down menu. |
| Step 3 | Click on “Disk Utility” in the System Preferences window. |
Once you have opened Disk Utility, you will be able to manage your storage devices and partitions. This is where you will create a new partition for Windows 10 and format it appropriately.
Now that you know how to open Disk Utility, you can proceed with the installation process and install Windows 10 on your MacBook Pro.
Create a New Partition
When installing Windows on your MacBook Pro, it is important to create a new partition to allocate space for the Windows operating system. This will allow you to have both macOS and Windows on your Macbook, giving you the flexibility to switch between the two.
To create a new partition, follow these steps:
- Open the Disk Utility application on your Macbook.
- Select your Macbook’s internal hard drive from the list of available drives.
- Click on the “Partition” tab.
- Click on the “+” button to add a new partition.
- Specify the size of the partition you want to create. Make sure to allocate enough space for the Windows installation.
- Choose a name for the partition, such as “Windows” or “Bootcamp”.
- Click on the “Apply” button to create the new partition.
Once the new partition is created, you can proceed with the installation of Windows on your MacBook Pro. This partition will be used to install the Windows operating system and any associated files.
Format the Partition
Once you have successfully installed Windows 10 on your MacBook Pro, the next step is to format the partition. Formatting the partition will prepare it for the installation of the Windows operating system.
To format the partition, follow these steps:
- Open the Windows installer by clicking on the “Start” button and selecting “Settings”.
- In the Settings menu, click on “Update & Security”.
- From the left-hand menu, select “Recovery”.
- Under the “Advanced startup” section, click on “Restart now”.
- Your MacBook Pro will restart and a blue screen will appear.
- On the blue screen, select “Troubleshoot”.
- In the Troubleshoot menu, select “Advanced options”.
- From the Advanced options menu, select “Command Prompt”.
- A Command Prompt window will open.
- Type the command “diskpart” and press Enter.
- Next, type the command “list disk” and press Enter.
- A list of available disks will appear. Identify the disk that corresponds to the partition you want to format.
- Type the command “select disk X” (replace X with the disk number) and press Enter.
- Next, type the command “list partition” and press Enter.
- A list of partitions on the selected disk will appear. Identify the partition you want to format.
- Type the command “select partition Y” (replace Y with the partition number) and press Enter.
- Finally, type the command “format fs=ntfs quick” and press Enter.
After you have formatted the partition, you can proceed with the installation of Windows 10 on your MacBook Pro. Following these steps will ensure a smooth and successful installation process.
Installing Windows 10
If you own a MacBook Pro and want to install Windows 10 on it, you’re in luck! With a few simple steps, you can have Windows 10 up and running on your Macbook Pro in no time.
First, you’ll need to make sure you have a copy of the Windows 10 installation media. You can either download it from the Microsoft website or purchase a physical copy. Once you have the installation media, insert it into your Macbook Pro.
Next, restart your Macbook Pro and hold down the Option key while it’s booting up. This will bring up the boot menu, where you can select the Windows 10 installation media. Once you’ve selected it, click on the arrow to begin the installation process.
Follow the on-screen instructions to install Windows 10 on your Macbook Pro. You’ll need to choose the language, time zone, and keyboard layout, as well as agree to the license terms. Make sure to select the Boot Camp partition as the destination for the installation.
Once the installation is complete, your Macbook Pro will restart and boot into Windows 10. You’ll need to go through the initial setup process, including creating a user account and connecting to a Wi-Fi network.
After the setup is complete, you can start using Windows 10 on your Macbook Pro. You’ll have access to all the features and functionality of Windows 10, including the Microsoft Store, Cortana, and the ability to run Windows apps.
Remember, if you ever want to switch back to macOS, you can simply restart your Macbook Pro and hold down the Option key to bring up the boot menu. From there, you can select the macOS partition and boot into macOS.
So, if you’re looking to install Windows 10 on your Macbook Pro, follow these steps and you’ll be up and running in no time. Enjoy the best of both worlds with Windows 10 on your Macbook Pro!