
If you’re looking to explore the world of Linux and want to install a user-friendly and reliable operating system, Linux Mint is a great choice. With its sleek interface and robust features, Linux Mint provides a seamless experience for both beginners and advanced users. In this step-by-step guide, we will walk you through the process of installing Linux Mint on your Windows 10 machine.
Step 1: Preparing for Installation
Before you begin, make sure to back up all your important files and documents. Installing Linux Mint will require you to create a new partition on your hard drive, so it’s crucial to have a backup in case anything goes wrong. Additionally, ensure that your Windows 10 machine is connected to a stable internet connection.
Step 2: Downloading Linux Mint
Head over to the official Linux Mint website and download the latest version of the operating system. You can choose between different desktop environments, such as Cinnamon, MATE, or Xfce, depending on your preferences. Once the download is complete, you’ll have an ISO file ready for installation.
Step 3: Creating a Bootable USB Drive
In order to install Linux Mint, you’ll need to create a bootable USB drive. There are several tools available, such as Rufus or Etcher, that can help you create a bootable USB drive from the ISO file you downloaded. Simply follow the instructions provided by the tool of your choice to create the bootable USB drive.
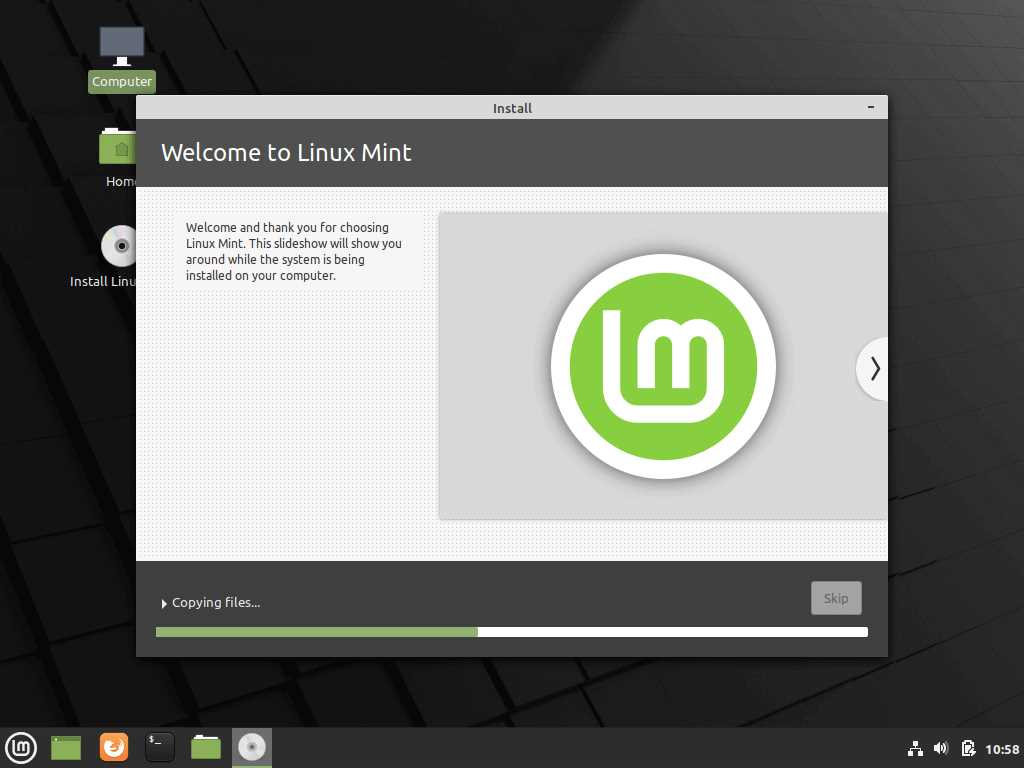
Step 4: Installing Linux Mint
With the bootable USB drive ready, restart your Windows 10 machine and enter the BIOS settings. Change the boot order to prioritize the USB drive, and save the changes. Your computer will now boot from the USB drive, and you’ll be presented with the Linux Mint installation wizard. Follow the on-screen instructions to select your language, keyboard layout, and installation preferences.
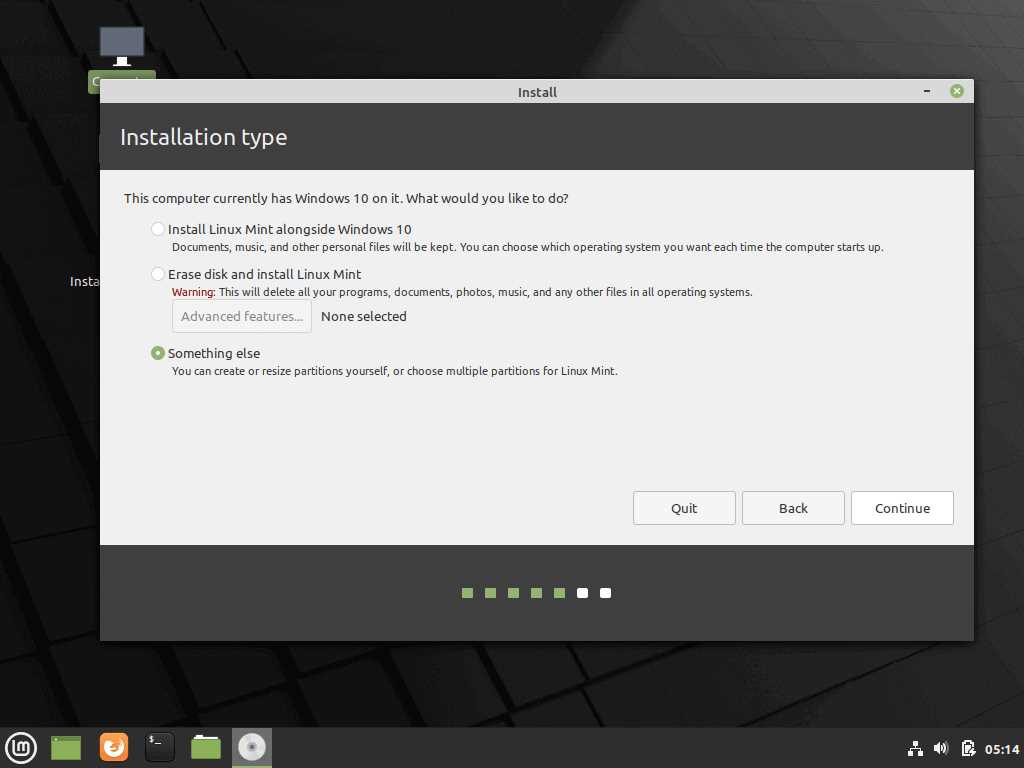
Step 5: Dual Boot or Full Installation
During the installation process, you’ll be given the option to either dual boot Linux Mint alongside Windows 10 or perform a full installation, replacing Windows 10 entirely. Choose the option that best suits your needs and proceed with the installation. Keep in mind that dual booting allows you to switch between operating systems, while a full installation will remove Windows 10 from your machine.
Step 6: Finalizing the Installation
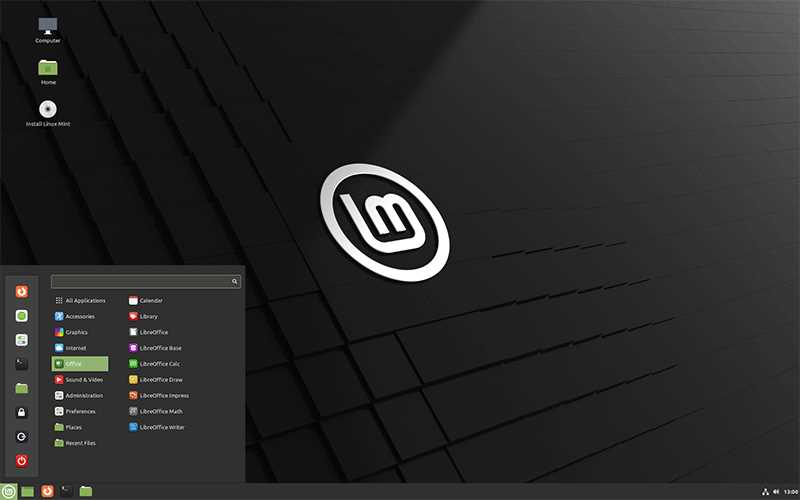
Once the installation is complete, you’ll be prompted to restart your computer. After the restart, you’ll be greeted with the Linux Mint login screen. Enter your credentials and enjoy your newly installed Linux Mint operating system on your Windows 10 machine!
By following these step-by-step instructions, you can easily install Linux Mint on your Windows 10 machine and start exploring the world of Linux. Whether you’re a beginner or an experienced user, Linux Mint offers a user-friendly interface and a wide range of features to enhance your computing experience.
Preparation
Before you can install Linux Mint on Windows 10, you need to make sure you have everything you need. Here’s a step-by-step guide on how to prepare:
- Make sure you have a Windows 10 computer.
- Download the Linux Mint ISO file from the official website.
- Create a bootable USB drive using a tool like Rufus.
- Backup any important files or data on your computer.
- Disable Secure Boot in your computer’s BIOS settings.
- Make sure you have enough free disk space to install Linux Mint.
- Restart your computer and boot from the USB drive.
Once you have completed these steps, you will be ready to install Linux Mint on your Windows 10 computer.
Download Linux Mint ISO

To install Linux Mint on Windows 10, you will first need to download the Linux Mint ISO file. The ISO file contains the complete installation package for Linux Mint, which you will then use to create a bootable USB drive or DVD.
Here are the steps to download the Linux Mint ISO:
| Step 1: | Open your web browser and go to the official Linux Mint website. |
| Step 2: | Navigate to the “Download” section of the website. |
| Step 3: | Choose the edition of Linux Mint you want to download. There are different editions available, such as Cinnamon, MATE, and Xfce. |
| Step 4: | Select the version of Linux Mint you want to download. It is recommended to choose the latest stable version. |
| Step 5: | Choose the architecture of your computer. Most modern computers use the 64-bit architecture, but if you are unsure, you can check by going to “Settings” > “System” > “About” on your Windows 10 computer. |
| Step 6: | Click on the “Download” button to start downloading the Linux Mint ISO file. |
Once the download is complete, you will have the Linux Mint ISO file ready to use for the installation process.
Create a Bootable USB Drive
To install Linux Mint on Windows 10, you will need to create a bootable USB drive. This will allow you to boot into the Linux Mint installation process and install the operating system on your computer.
Here is a step-by-step guide on how to create a bootable USB drive:
- Download the Linux Mint ISO file from the official website.
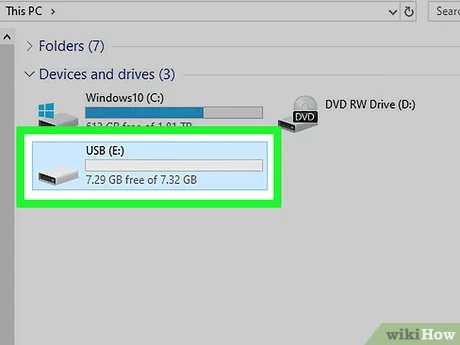
- Insert a USB drive with at least 4GB of storage into your computer.
- Open the Rufus application.
- Select the USB drive you inserted from the “Device” dropdown menu.
- Click on the “Select” button next to the “Boot selection” option and navigate to the location where you downloaded the Linux Mint ISO file.
- Click on the “Start” button to begin the process of creating a bootable USB drive.
- Wait for the process to complete. This may take a few minutes.
- Once the process is finished, you will have a bootable USB drive with Linux Mint.
Now you are ready to install Linux Mint on your Windows 10 computer. Simply restart your computer and boot from the USB drive to begin the installation process.
Backup Your Data
Before proceeding with the installation of Linux Mint on Windows 10, it is crucial to backup your data to ensure that you don’t lose any important files or documents. The installation process involves partitioning your hard drive, which can potentially lead to data loss if not done correctly.
To backup your data, follow these steps:
| Step 1: | Identify the files and folders that you want to backup. This may include documents, photos, videos, and any other important data. |
| Step 2: | Copy the selected files and folders to an external storage device, such as a USB drive or an external hard drive. Make sure that the storage device has enough space to accommodate all the data. |
| Step 3: | Verify that the backup was successful by checking the copied files and folders on the external storage device. Ensure that all the important data is present and accessible. |
By backing up your data, you can have peace of mind knowing that your files are safe and secure during the installation process. In the event of any unforeseen issues or errors, you can easily restore your data from the backup.
Once you have successfully backed up your data, you can proceed with the installation of Linux Mint on Windows 10 without worrying about losing any important files.
Installation
Installing Linux Mint on Windows 10 is a straightforward process that can be done in a few simple steps. Here’s how to do it:
- First, download the Linux Mint ISO file from the official website.
- Once the ISO file is downloaded, create a bootable USB drive using tools like Rufus or Etcher.
- Insert the bootable USB drive into your Windows 10 computer.
- Restart your computer and enter the BIOS settings by pressing the designated key (usually F2 or Del) during startup.
- In the BIOS settings, change the boot order to prioritize the USB drive.
- Save the changes and exit the BIOS settings.
- Your computer will now boot from the USB drive.
- Select the “Install Linux Mint” option from the boot menu.
- Follow the on-screen instructions to choose your language, keyboard layout, and other preferences.
- When prompted, select the option to install Linux Mint alongside Windows 10.
- Allocate disk space for Linux Mint and create a partition.
- Continue with the installation process and wait for it to complete.
- Once the installation is finished, restart your computer.
- You will now have the option to choose between Windows 10 and Linux Mint during startup.
That’s it! You have successfully installed Linux Mint on your Windows 10 computer. Enjoy exploring the world of Linux!
Boot from USB Drive
To install Linux Mint on your Windows 10 computer, you will need to boot from a USB drive. Here is a step-by-step guide on how to do it:
1. Insert the USB drive into a USB port on your Windows 10 computer.
2. Restart your computer and enter the BIOS settings. The key to enter the BIOS settings may vary depending on your computer’s manufacturer, but it is usually one of the following: F2, F10, Del, or Esc. Consult your computer’s manual or look for on-screen prompts during startup to find the correct key.
3. Once you are in the BIOS settings, navigate to the “Boot” or “Boot Order” section. This section may be named differently depending on your computer’s manufacturer.
4. In the “Boot” or “Boot Order” section, change the boot order so that the USB drive is the first boot option. This will ensure that your computer boots from the USB drive instead of the internal hard drive.
5. Save the changes and exit the BIOS settings. This will restart your computer.
6. As your computer restarts, it should now boot from the USB drive. If it doesn’t, you may need to repeat steps 2-5 and double-check that the boot order is correctly set.
7. Once your computer successfully boots from the USB drive, you will be presented with the Linux Mint installation menu. From here, you can follow the on-screen instructions to install Linux Mint on your Windows 10 computer.
By following these steps, you will be able to boot from a USB drive and install Linux Mint on your Windows 10 computer. Enjoy exploring the world of Linux!


