
Are you a Mac user who wants to install Jupyter Notebook? Look no further! In this step-by-step guide, we will walk you through the process of installing Jupyter Notebook on your Mac.
Jupyter Notebook is a powerful tool that allows you to create and share documents that contain live code, equations, visualizations, and narrative text. It is widely used by data scientists, researchers, and developers for data analysis, machine learning, and more.
To install Jupyter Notebook on your Mac, you will need to follow a few simple steps. Don’t worry, we will guide you through each step, making the installation process a breeze.
So, let’s get started and install Jupyter Notebook on your Mac!
Requirements for Installing Jupyter Notebook

Before you can install Jupyter Notebook on your Mac, you need to make sure you have the following requirements:
1. Python: Jupyter Notebook is built on Python, so you need to have Python installed on your Mac. You can check if Python is already installed by opening the Terminal and typing python –version. If Python is not installed, you can download and install it from the official Python website.
2. pip: pip is a package management system used to install and manage software packages written in Python. It should be installed by default when you install Python. You can check if pip is installed by opening the Terminal and typing pip –version. If pip is not installed, you can install it by following the instructions on the official pip website.
3. Virtualenv (optional): Virtualenv is a tool used to create isolated Python environments. It is recommended to use virtualenv to install Jupyter Notebook in order to avoid conflicts with other Python packages. You can install virtualenv by opening the Terminal and typing pip install virtualenv.
Once you have met these requirements, you are ready to proceed with the installation of Jupyter Notebook on your Mac.
Mac Operating System
The Mac operating system, also known as macOS, is the proprietary operating system developed by Apple Inc. It is designed to run exclusively on Apple’s Macintosh computers. One of the advantages of using a Mac is the seamless integration of hardware and software, providing a user-friendly and intuitive experience.
If you want to install Jupyter Notebook on your Mac, you can follow these step-by-step instructions to get started. Jupyter Notebook is an open-source web application that allows you to create and share documents that contain live code, equations, visualizations, and narrative text. It is widely used by data scientists, researchers, and developers for data analysis, machine learning, and scientific computing.
Python Installed on Mac

To install Jupyter Notebook on your Mac, you first need to have Python installed. Python is a popular programming language that is widely used for data analysis, machine learning, and web development. Fortunately, Python comes pre-installed on most Mac computers, so you may already have it installed on your machine.
To check if Python is installed on your Mac, open the Terminal application and type the following command:
python --version
If Python is installed, you will see the version number displayed in the Terminal. If Python is not installed, you can download and install it from the official Python website (https://www.python.org/downloads/).
Once you have Python installed, you can proceed to install Jupyter Notebook on your Mac. Jupyter Notebook is a web-based interactive computing environment that allows you to create and share documents that contain live code, equations, visualizations, and narrative text.
Terminal Application

To install Jupyter Notebook on your Mac, you will need to use the Terminal application. The Terminal application is a command-line interface that allows you to interact with your computer using text commands.
Here is a step-by-step guide on how to install Jupyter Notebook using the Terminal application:
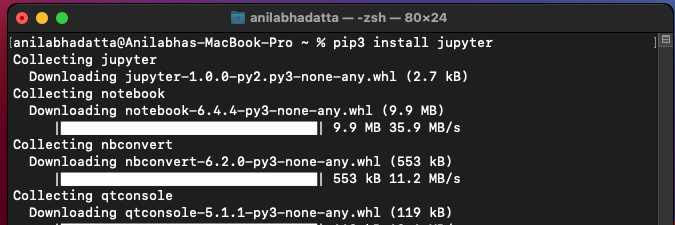
- Open the Terminal application on your Mac. You can find it in the Utilities folder, which is located in the Applications folder.
- Type the following command in the Terminal window and press Enter:
pip install jupyter. This command will install the Jupyter package using the pip package manager. - Wait for the installation process to complete. You may see some output in the Terminal window indicating the progress of the installation.
- Once the installation is complete, type the following command in the Terminal window and press Enter:
jupyter notebook. This command will start the Jupyter Notebook application. - A new browser window should open automatically, displaying the Jupyter Notebook interface. If it doesn’t, you can manually open a web browser and navigate to
http://localhost:8888. - Now you can start using Jupyter Notebook to create and run Python code, write Markdown text, and more.
That’s it! You have successfully installed Jupyter Notebook on your Mac using the Terminal application. Enjoy using Jupyter Notebook for your data analysis and coding projects!
Step 1: Install Python on Mac
To install Jupyter Notebook on your Mac, you first need to have Python installed. Python is a powerful programming language that is widely used in data analysis, machine learning, and scientific computing. Here’s how you can install Python on your Mac:
- Check if Python is already installed: Open the Terminal application on your Mac and type
python --version. If Python is already installed, you will see the version number. If not, you will need to install it. - Install Python: Visit the official Python website at python.org/downloads and download the latest version of Python for Mac. Run the installer and follow the instructions to complete the installation.
- Verify the installation: Open the Terminal application again and type
python --version. You should now see the version number of the Python you just installed.
Once you have Python installed on your Mac, you can proceed to the next step and install Jupyter Notebook.
Download Python Installer
To install Jupyter Notebook on your Mac, you first need to download the Python installer. Python is the programming language that Jupyter Notebook runs on, so it is essential to have it installed on your machine.
To download the Python installer, follow these steps:
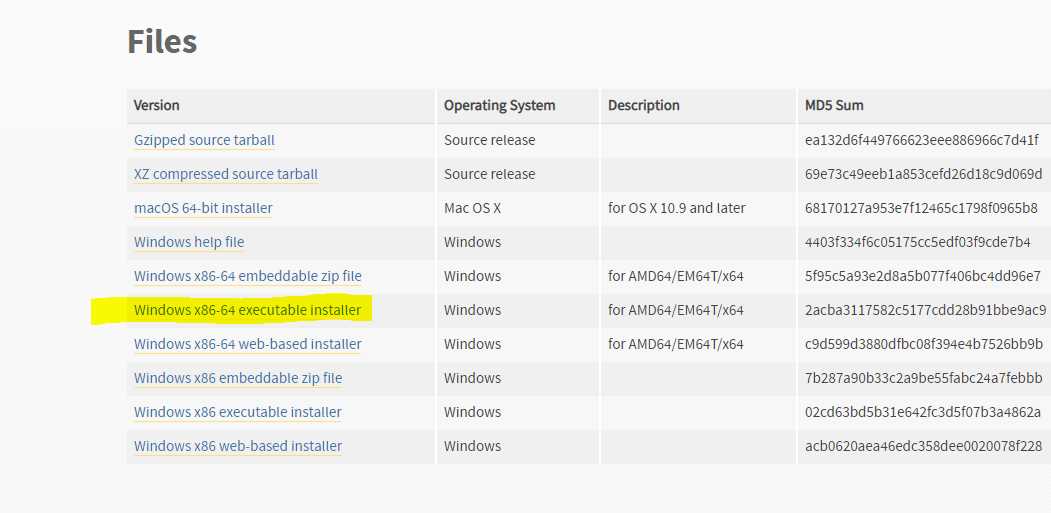
- Go to the official Python website at https://www.python.org/downloads/.
- Click on the “Download” button for the latest version of Python.
- Choose the macOS installer that matches your operating system version. Make sure to select the correct installer for your Mac.
- Once the installer file is downloaded, open it by double-clicking on it.
- Follow the on-screen instructions to complete the installation process.
After the installation is complete, you will have Python installed on your Mac, which is a prerequisite for installing Jupyter Notebook.
Note: If you already have Python installed on your Mac, make sure it is a compatible version with Jupyter Notebook. You can check the Python version by opening the Terminal and running the command python --version.
Run Python Installer

To install Jupyter Notebook on your Mac, you first need to install Python. Python is a programming language that Jupyter Notebook runs on.
Here are the steps to run the Python installer:
| Step 1 | Open your web browser and go to the official Python website. |
| Step 2 | Click on the “Downloads” tab. |
| Step 3 | Scroll down and find the latest version of Python for Mac. |
| Step 4 | Click on the “Download” button next to the version you want to install. |
| Step 5 | Once the installer is downloaded, double-click on it to run it. |
| Step 6 | Follow the instructions in the installer to complete the installation process. |
After you have successfully installed Python, you can proceed to install Jupyter Notebook on your Mac.
Verify Python Installation
To use Jupyter Notebook, you need to have Python installed on your Mac. Here’s how to verify if Python is installed:
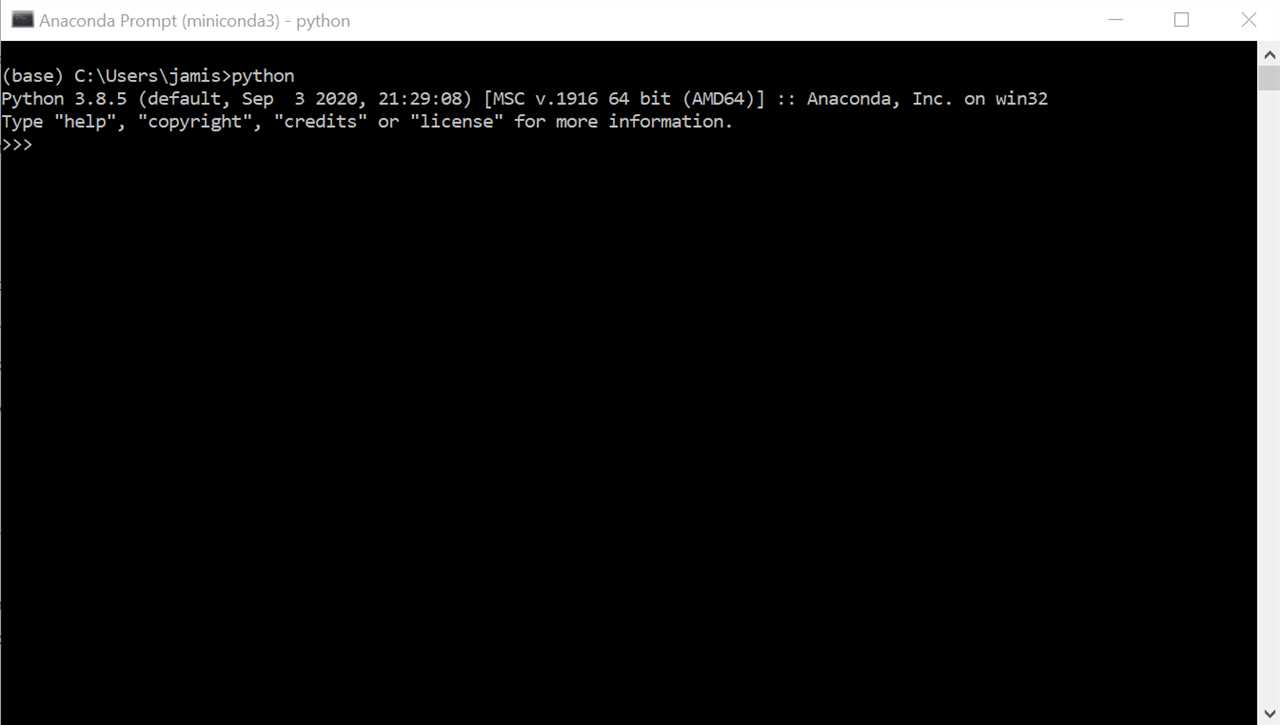
Step 1: Open the Terminal application on your Mac.
Step 2: Type python –version and press Enter.
If Python is installed, you will see the version number displayed. For example, it might say “Python 3.9.2”.
If Python is not installed, you will see an error message. In that case, you need to install Python before proceeding with the Jupyter Notebook installation.

