If you have an older CPU that is not officially supported by Windows 11, you may be wondering if there is a way to upgrade your system without having to buy a new processor. Fortunately, there are some workarounds that can allow you to install Windows 11 on an unsupported CPU. In this step-by-step guide, we will walk you through the process of installing Windows 11 on your system, even if your CPU does not meet the official requirements.
Before we get started, it’s important to note that installing Windows 11 on an unsupported CPU may not provide the same level of performance and compatibility as on a supported CPU. However, if you are willing to take the risk and want to experience the new features and improvements of Windows 11, this guide is for you.
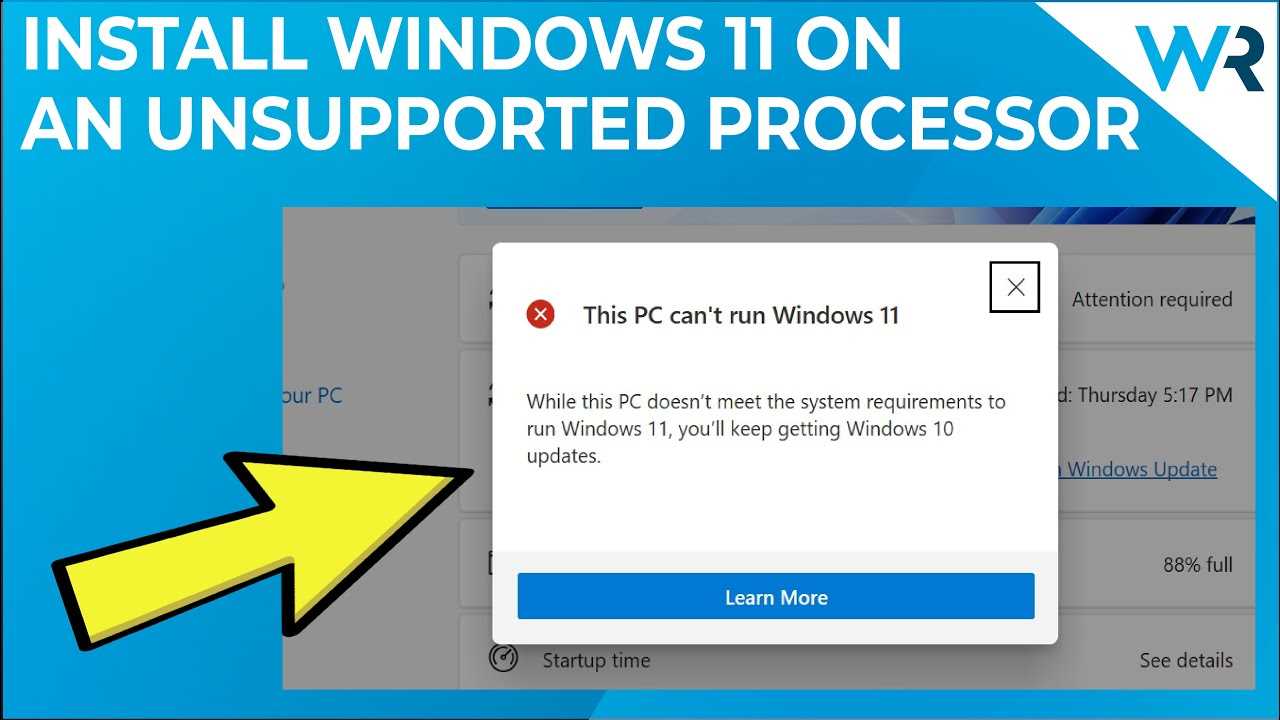
The first step in installing Windows 11 on an unsupported CPU is to check the compatibility of your system. Microsoft has provided a tool called the PC Health Check that can help you determine if your CPU meets the requirements for Windows 11. If your CPU is listed as unsupported, don’t worry, there are still ways to proceed.
One method to install Windows 11 on an unsupported CPU is by using a modified ISO file. These modified ISO files have been created by the community and include the necessary patches and workarounds to bypass the CPU compatibility check during installation. You can find these modified ISO files on various online forums and websites.
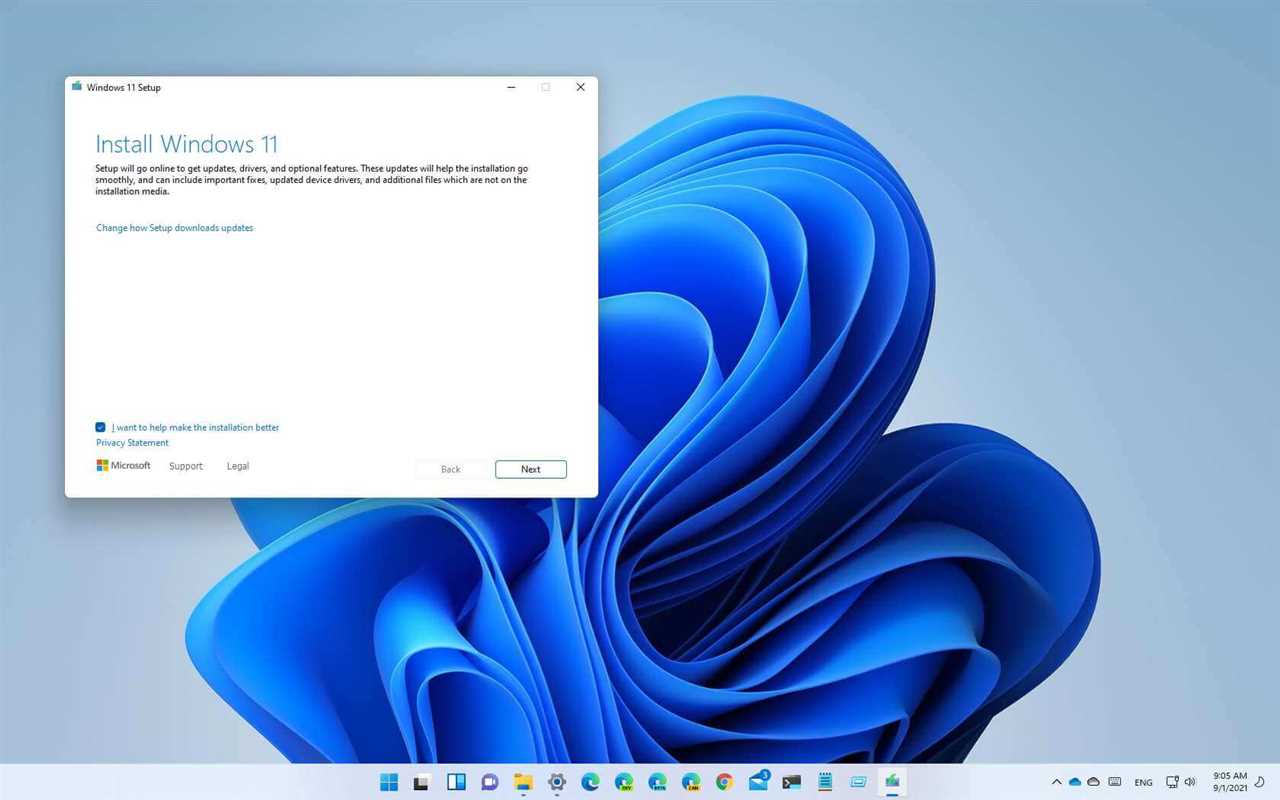
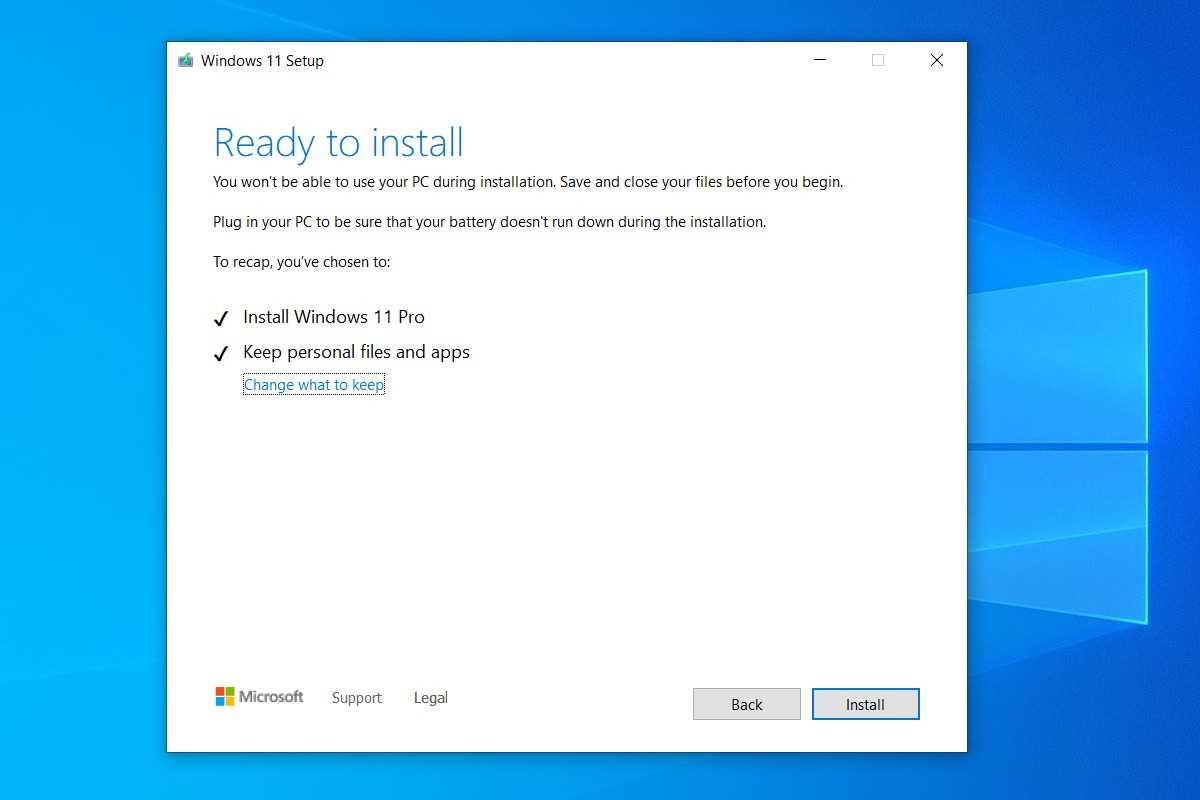
Once you have obtained the modified ISO file, you can proceed with the installation process. Simply burn the ISO file to a USB drive or DVD, and then boot your system from the USB drive or DVD. Follow the on-screen instructions to install Windows 11 on your system. Keep in mind that this method may not be officially supported by Microsoft, so proceed at your own risk.
In conclusion, while Windows 11 has strict CPU requirements, it is still possible to install it on an unsupported CPU with some workarounds. By following the steps outlined in this guide, you can experience the new features and improvements of Windows 11 on your system, even if your CPU is not officially supported. Just remember to proceed with caution and be aware of the potential risks involved.
Requirements for Installing Windows 11 on Unsupported CPU

Upgrading to Windows 11 on an unsupported CPU requires meeting certain requirements to ensure compatibility with the operating system. Although Windows 11 has stricter hardware requirements compared to its predecessor, Windows 10, there are ways to bypass these limitations and install Windows 11 on an unsupported CPU.
The main requirement for installing Windows 11 on an unsupported CPU is to have a compatible system. This means that your computer should meet the minimum hardware specifications outlined by Microsoft for Windows 11. These specifications include the CPU, RAM, storage, and graphics card requirements.
However, since you have an unsupported CPU, you will need to find alternative methods to make it compatible with Windows 11. One way to achieve this is by using a compatibility tool or patch that modifies the system files to trick Windows 11 into thinking that your CPU meets the requirements.
It’s important to note that installing Windows 11 on an unsupported CPU may not provide the same level of performance and stability as on a supported CPU. This is because the compatibility tool or patch may introduce certain limitations or compromises that can affect the overall functioning of the operating system.
Additionally, it’s recommended to have a backup of your important files and data before attempting to install Windows 11 on an unsupported CPU. This is to ensure that you can revert back to your previous operating system in case any issues arise during the installation process.
| Minimum Requirements for Windows 11 |
|---|
| CPU: 1 gigahertz (GHz) or faster with 2 or more cores on a compatible 64-bit processor |
| RAM: 4 gigabytes (GB) or more |
| Storage: 64 GB or more |
| Graphics card: DirectX 12 compatible graphics / WDDM 2.x |
| Display: High definition (720p) display, 9″ or greater diagonal, 8 bits per color channel |
| Internet connection: Internet connectivity is necessary to perform updates and to download and take advantage of some features |
By meeting these requirements and using a compatibility tool or patch, you can attempt to install Windows 11 on an unsupported CPU. However, it’s important to keep in mind the potential limitations and risks associated with this process.
Check CPU Compatibility
Before attempting to install Windows 11 on an unsupported CPU, it is crucial to check the compatibility of your CPU with the new operating system. Windows 11 has specific system requirements that need to be met in order for it to run smoothly on your system.
To check the compatibility of your CPU, you can follow these steps:
| Step | Description |
|---|---|
| 1 | Open the Start menu and search for “System Information”. |
| 2 | Click on the “System Information” app to open it. |
| 3 | In the System Information window, look for the “Processor” field. |
| 4 | Note down the name and model number of your CPU. |
| 5 | Visit the official Windows 11 system requirements page on the Microsoft website. |
| 6 | Compare the name and model number of your CPU with the list of supported CPUs provided on the website. |
| 7 | If your CPU is listed as unsupported, it means that it does not meet the minimum requirements for running Windows 11. |
If your CPU is unsupported, you may still be able to install Windows 11 using unofficial methods, but it is important to note that this can lead to compatibility issues and may not provide the optimal performance. It is recommended to upgrade your CPU to a supported model if you want to fully enjoy the features and benefits of Windows 11.
Ensure Sufficient RAM and Storage

Before attempting to install Windows 11 on an unsupported CPU, it is important to ensure that your computer meets the minimum requirements for RAM and storage. Windows 11 has specific requirements in terms of memory and storage, and failing to meet these requirements can result in compatibility issues and a less-than-optimal operating experience.
The minimum RAM requirement for Windows 11 is 4 gigabytes (GB), but it is recommended to have at least 8 GB for optimal performance. If your computer currently has less than 4 GB of RAM, it may be necessary to upgrade your memory before proceeding with the installation.
In addition to RAM, you should also check your computer’s storage capacity. Windows 11 requires a minimum of 64 GB of storage, but it is recommended to have at least 128 GB for the operating system and any additional software or files. If your computer does not meet the minimum storage requirement, you may need to upgrade your hard drive or consider using an external storage device.
To check your computer’s RAM and storage, you can go to the “System” settings in Windows. Here, you will find information about your computer’s specifications, including the amount of RAM and storage capacity. If you are unsure about how to upgrade your RAM or storage, it is recommended to consult the manufacturer’s documentation or seek assistance from a professional.
| Minimum Requirements | Recommended Requirements |
|---|---|
| RAM: 4 GB | RAM: 8 GB |
| Storage: 64 GB | Storage: 128 GB |
By ensuring that your computer has sufficient RAM and storage, you can help improve the compatibility and performance of Windows 11 on an unsupported CPU. It is important to note that while meeting the minimum requirements is necessary, having more RAM and storage can provide a better overall experience and allow for smoother multitasking and running of resource-intensive applications.
Update BIOS

One of the key steps to install Windows 11 on an unsupported CPU is to update the BIOS of your system. The BIOS (Basic Input/Output System) is responsible for initializing and configuring the hardware components of your computer, including the CPU.
Before attempting to upgrade your BIOS, it is important to check the system requirements of Windows 11 and ensure that your CPU is unsupported due to compatibility issues. If your CPU meets the minimum requirements but is still considered unsupported, updating the BIOS may help resolve the compatibility issue.
To update the BIOS, follow these steps:
| 1. | Identify your motherboard model and manufacturer. This information can usually be found in the BIOS settings or on the physical motherboard itself. |
| 2. | Visit the manufacturer’s website and navigate to the support or downloads section. |
| 3. | Search for the latest BIOS update for your specific motherboard model. |
| 4. | Download the BIOS update file and save it to a USB flash drive. |
| 5. | Restart your computer and enter the BIOS settings by pressing the designated key during the boot process (usually Del, F2, or F10). |
| 6. | Navigate to the BIOS update section and select the option to update the BIOS from the USB flash drive. |
| 7. | Follow the on-screen instructions to complete the BIOS update process. |
| 8. | Once the update is finished, restart your computer. |
Updating the BIOS can be a delicate process, so it is important to follow the manufacturer’s instructions carefully and ensure that your computer is connected to a reliable power source during the update. It is also recommended to backup any important data before proceeding with the BIOS update.
After updating the BIOS, you can attempt to install Windows 11 again and check if the CPU compatibility issue has been resolved. If not, there may be other factors contributing to the unsupported CPU status, and further troubleshooting or hardware upgrades may be necessary.
Preparing for Windows 11 Installation
Before you proceed with the installation of Windows 11 on an unsupported CPU, it is important to ensure compatibility and meet the operating system’s requirements. Here are the steps to prepare for the upgrade:
- Check your CPU: Verify if your CPU meets the minimum requirements for Windows 11. The new operating system has stricter CPU compatibility criteria, so it is crucial to ensure your CPU is supported.
- Review system requirements: Familiarize yourself with the system requirements for Windows 11. These include specifications for RAM, storage, graphics card, and other hardware components. Ensure that your system meets or exceeds these requirements.
- Backup your data: Before proceeding with any installation or upgrade, it is always recommended to back up your important files and data. This will help prevent any data loss in case of unforeseen issues during the installation process.
- Download Windows 11 installation files: Obtain the official Windows 11 installation files from a trusted source. Ensure that you have a stable internet connection to download the files without interruptions.
- Create a bootable USB drive: Once you have downloaded the Windows 11 installation files, create a bootable USB drive. This will allow you to install the operating system on your computer.
- Prepare your computer: Before starting the installation process, ensure that your computer is ready. Close any open applications, disconnect any unnecessary peripherals, and ensure that your computer is plugged into a power source.
By following these steps, you will be well-prepared to install Windows 11 on an unsupported CPU. It is important to note that installing Windows 11 on an unsupported CPU may result in compatibility issues and may not provide the optimal performance. Proceed with caution and consider upgrading your CPU if possible.
Backup Your Data

Before attempting to install Windows 11 on an unsupported CPU, it is crucial to backup your data to ensure that you do not lose any important files or documents during the installation process. This step is especially important because installing an operating system upgrade on an unsupported CPU can potentially lead to system compatibility issues and data loss.
To backup your data, you can use various methods such as external hard drives, cloud storage services, or even creating a system image. It is recommended to use a combination of these methods to ensure that your data is securely backed up.
External Hard Drives: Connect an external hard drive to your computer and copy all your important files and folders onto it. Make sure to organize your data properly and create separate folders for different types of files.
Cloud Storage Services: Sign up for a reliable cloud storage service such as Google Drive, Dropbox, or OneDrive. Upload your important files and documents to the cloud, ensuring that they are safely stored and accessible from any device with an internet connection.
System Image: Creating a system image allows you to create a complete backup of your operating system, including all installed programs, settings, and files. This method is useful if you want to restore your system to its previous state in case something goes wrong during the installation process.
By backing up your data, you can have peace of mind knowing that your important files are safe and secure, even if the installation of Windows 11 on an unsupported CPU does not go as planned. Remember to double-check the system requirements and compatibility before proceeding with the installation to minimize any potential risks.
Create a Bootable USB Drive
To install Windows 11 on an unsupported CPU, you will need to create a bootable USB drive. This will allow you to bypass the operating system’s requirements and compatibility checks.
Here are the steps to create a bootable USB drive:
Step 1: Download the Windows 11 installation media from the official Microsoft website.
Step 2: Insert a USB drive with at least 8GB of storage capacity into your computer.
Step 3: Open the downloaded Windows 11 ISO file using a virtual drive software or extract the contents using a file archiver.
Step 4: Copy all the extracted files from the ISO to the root directory of the USB drive.
Step 5: Safely eject the USB drive from your computer.
Now, you have successfully created a bootable USB drive for installing Windows 11 on an unsupported CPU. You can now proceed with the installation or upgrade process by booting from the USB drive.
Note: Keep in mind that installing Windows 11 on an unsupported CPU may lead to compatibility issues and performance problems. It is recommended to check the system requirements and compatibility before proceeding with the installation.