
Microsoft Word is a powerful word processing program that allows you to create, edit, and format documents with ease. Whether you’re a student, a professional, or just someone who wants to improve their writing skills, knowing how to use Microsoft Word is essential. In this comprehensive guide, we will walk you through the basics of using Microsoft Word, from creating a new document to formatting text and adding images.
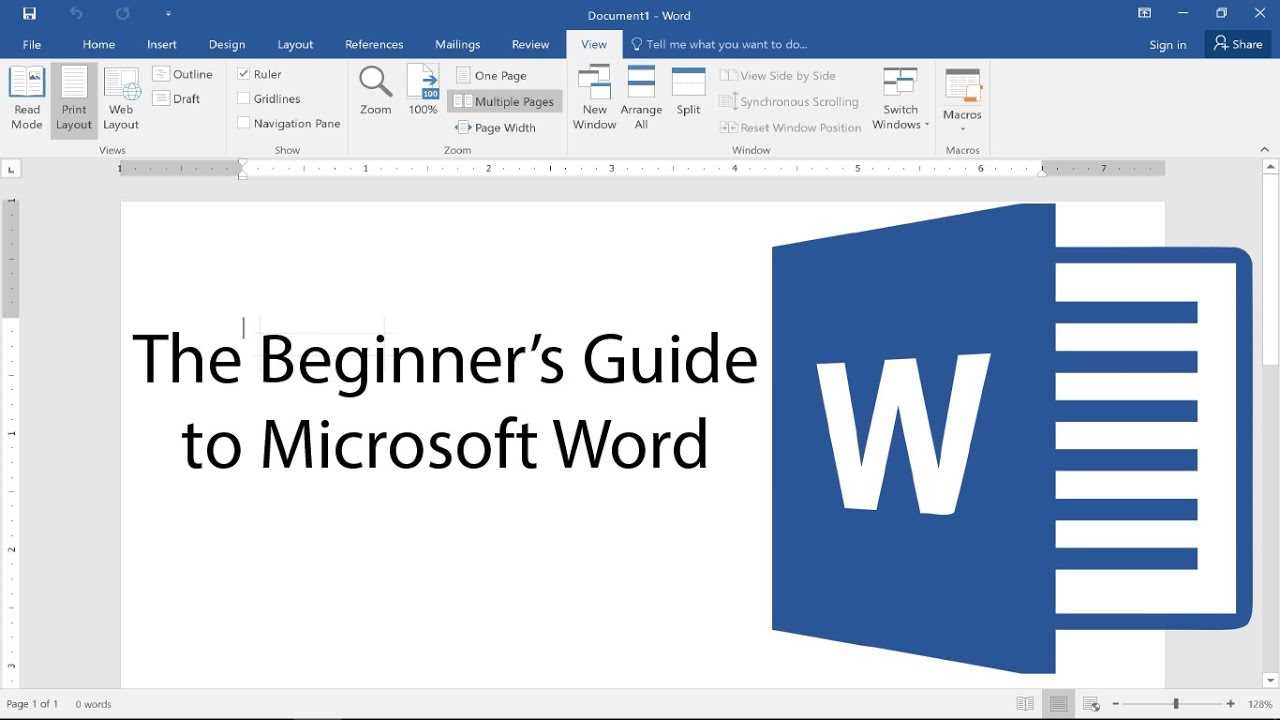
First, let’s start with the basics. To open Microsoft Word, simply click on the Word icon on your desktop or search for it in the Start menu. Once Word is open, you will be greeted with a blank document. This is where you will do all of your writing and editing.
Next, let’s talk about how to create a new document. To create a new document, click on the “File” tab in the upper left corner of the screen, then select “New” from the drop-down menu. You will be presented with a variety of options, including blank documents, templates, and recently used documents. Choose the option that best suits your needs, and a new document will be created.
Now that you have a new document, let’s learn how to use some of the basic features of Microsoft Word. To start typing, simply click anywhere on the blank document and begin typing. You can format your text using the toolbar at the top of the screen. Use the “Bold” button to make your text bold, the “Italic” button to make it italic, and the “Underline” button to underline it. You can also change the font, font size, and font color using the respective buttons on the toolbar.
Getting Started
Microsoft Word is a powerful word processing program that allows you to create and edit documents. If you’re new to Word, here’s a step-by-step guide on how to get started:
- Open Microsoft Word by clicking on the Word icon on your desktop or by searching for it in the Start menu.
- Once Word is open, you’ll see a blank document. This is where you can start typing and creating your document.
- To save your document, click on the “File” tab in the top left corner of the screen, then select “Save As”. Choose a location on your computer where you want to save the document, give it a name, and click “Save”.
- To format your text, select the text you want to format by clicking and dragging your cursor over it. Then, use the formatting options in the toolbar at the top of the screen to change the font, size, color, and more.
- If you want to add images, tables, or other elements to your document, click on the appropriate tab in the toolbar and select the element you want to add.
- To check your spelling and grammar, click on the “Review” tab in the toolbar, then select “Spelling & Grammar”. Word will highlight any errors and provide suggestions for corrections.
- When you’re finished with your document, you can print it by clicking on the “File” tab, then selecting “Print”. Choose your printer and any other printing options you want, then click “Print”.
Now that you know the basics of how to use Word, you can start creating your own documents. Experiment with different features and options to make your documents look professional and polished.
Installing Microsoft Word
Microsoft Word is a powerful word processing program that is widely used for creating documents, reports, and other written materials. To use Microsoft Word, you first need to install it on your computer. Here are the steps to install Microsoft Word:
Step 1: Purchase a Microsoft Office subscription or a standalone copy of Microsoft Word from the official Microsoft website or an authorized retailer.
Step 2: Once you have obtained the installation files, double-click on the setup file to begin the installation process.
Step 3: Follow the on-screen instructions to complete the installation. You may be prompted to enter your product key, agree to the terms of service, and choose the installation location.
Step 4: After the installation is complete, launch Microsoft Word by clicking on the program icon or searching for it in the Start menu.
Step 5: If this is your first time using Microsoft Word, you will be prompted to sign in with your Microsoft account or create a new account. Signing in allows you to access additional features and services, such as cloud storage and collaboration tools.
Step 6: Once you are signed in, you can start using Microsoft Word to create, edit, and format your documents. Familiarize yourself with the various features and tools available to make the most of this powerful word processing program.
By following these steps, you can easily install Microsoft Word and begin using it to create professional-looking documents.
Opening Microsoft Word
Microsoft Word is a powerful word processing program that allows you to create and edit documents. Learning how to open Microsoft Word is the first step in using this essential tool.
To open Microsoft Word, follow these simple steps:
- Click on the Start menu in the bottom left corner of your screen.
- Scroll through the list of programs until you find Microsoft Word.
- Click on Microsoft Word to open the program.
Alternatively, you can also open Microsoft Word by double-clicking on a Word document file. If you have a Word document saved on your computer, simply locate the file and double-click on it to open it in Microsoft Word.
Once Microsoft Word is open, you can start creating and editing documents. Familiarize yourself with the various features and tools available in Word to make the most of this versatile program.
Now that you know how to open Microsoft Word, you can begin using it to write reports, letters, and other documents. With its user-friendly interface and extensive range of features, Microsoft Word is an essential tool for any writer or professional.
Understanding the Interface
Microsoft Word is a powerful word processing program that allows you to create, edit, and format documents. To effectively use Microsoft Word, it is important to understand its interface.
The interface of Microsoft Word consists of various elements that help you navigate and perform tasks. The main components of the interface include the ribbon, the Quick Access Toolbar, the document area, and the status bar.
The ribbon is located at the top of the window and contains tabs, groups, and commands. It organizes the different features and functions of Microsoft Word into logical categories, such as Home, Insert, Page Layout, References, and more. Each tab contains related groups of commands, and each group contains specific commands that you can use to perform tasks.
The Quick Access Toolbar is located above the ribbon and provides quick access to commonly used commands. By default, it includes commands like Save, Undo, and Redo, but you can customize it to add or remove commands that you frequently use.
The document area is the main area where you can create and edit your documents. It displays the content of your document and allows you to apply formatting, insert images and tables, and perform other editing tasks.
The status bar is located at the bottom of the window and provides information about the current document, such as the page number, word count, and zoom level. It also includes various buttons and options that allow you to change the view, switch between different layouts, and access additional features.
Understanding the interface of Microsoft Word is essential for efficiently using the program. By familiarizing yourself with the ribbon, the Quick Access Toolbar, the document area, and the status bar, you can navigate through the different features and functions of Microsoft Word with ease and effectively create and edit your documents.
Creating and Formatting Documents

Microsoft Word is a powerful word processing tool that allows you to create and format documents with ease. Whether you are writing a letter, creating a report, or designing a flyer, Word provides a wide range of features to help you achieve professional-looking results.
When starting a new document in Word, you have the option to choose from a variety of templates or start from scratch. Templates are pre-designed documents that can save you time and effort by providing a layout and formatting options. If you prefer to start from scratch, you can simply open a blank document and begin typing.
Once you have your document open, you can use Word’s formatting tools to customize the appearance of your text. You can change the font, size, and color of your text, as well as apply bold, italic, or underline formatting. Word also allows you to align your text, adjust line spacing, and create bulleted or numbered lists.
In addition to formatting text, Word offers a range of tools for creating and formatting other elements in your document. You can insert images, tables, and shapes to enhance your document and make it more visually appealing. Word also provides options for adding headers and footers, page numbers, and a table of contents.
Another useful feature of Word is its ability to track changes and collaborate with others. You can use the Track Changes feature to make edits and comments in a document, which can be reviewed and accepted or rejected by others. Word also allows you to share your document with others, either by sending it as an email attachment or by saving it to a shared location.
Overall, Microsoft Word is a versatile tool that can be used to create and format a wide range of documents. Whether you are a student, a professional, or a casual user, Word provides the tools you need to create polished and professional-looking documents.
Creating a New Document
Microsoft Word is a powerful word processing program that allows you to create and edit documents. To start using Word, you need to create a new document. Here’s how:
- Open Microsoft Word on your computer.
- Click on the “File” tab at the top left corner of the screen.
- Select “New” from the drop-down menu.
- You will be presented with several options for creating a new document. You can choose to start with a blank document, use a template, or open a recent document.
- If you choose to start with a blank document, click on the “Blank document” option.
- A new blank document will open, and you can start typing or formatting your text.
Using Microsoft Word to create a new document is simple and straightforward. Whether you’re writing a letter, creating a report, or drafting a resume, Word provides all the tools you need to create professional-looking documents.
Saving and Naming Documents
When working with Microsoft Word, it is important to know how to save and name your documents properly. Saving your work ensures that you don’t lose any progress and allows you to easily access your files in the future. Here are the steps on how to save and name documents in Microsoft Word:
- Click on the “File” tab located in the top left corner of the screen.
- From the drop-down menu, select “Save As”.
- A new window will appear, allowing you to choose the location where you want to save your document. You can select a folder on your computer or save it to an external storage device.
- In the “File name” field, enter a descriptive name for your document. It is recommended to use a name that reflects the content of the document.
- Choose the file format you want to save your document as. Microsoft Word offers various formats, such as .docx, .pdf, and .txt.
- Click the “Save” button to save your document.
By following these steps, you can ensure that your documents are saved properly and can be easily identified in the future. It is also a good practice to regularly save your work while you are working on it to avoid losing any progress in case of unexpected computer issues.
Formatting Text and Paragraphs
Microsoft Word is a powerful word processing program that allows users to easily format text and paragraphs. With a variety of tools and options, you can customize the appearance of your documents to suit your needs.
To format text in Microsoft Word, simply select the desired text and use the formatting options available in the toolbar. You can change the font, size, color, and style of the text to make it stand out or match the overall design of your document.
In addition to formatting individual words or phrases, you can also format entire paragraphs. This includes adjusting the alignment, indentation, and spacing of the text. By using the paragraph formatting options, you can create a professional and well-organized document.
One useful feature in Microsoft Word is the ability to apply styles to your text and paragraphs. Styles are pre-defined sets of formatting options that can be applied with a single click. This can save you time and ensure consistency throughout your document.
Another important aspect of formatting text and paragraphs is the use of lists. Microsoft Word offers both bulleted and numbered lists, which can help organize information and make it easier to read. You can customize the appearance of the lists to fit your needs.
Overall, Microsoft Word provides a wide range of options for formatting text and paragraphs. By taking advantage of these tools, you can create professional-looking documents that are easy to read and visually appealing.


