If you’re eager to install the latest version of Windows, but your computer doesn’t have a TPM (Trusted Platform Module) chip, don’t worry! In this step-by-step guide, we’ll show you how to install Windows 11 without TPM.
TPM is a security feature that provides hardware-based encryption and helps protect your system from unauthorized access. However, not all computers come with a TPM chip, especially older models. But that doesn’t mean you can’t enjoy the new features and improvements of Windows 11.
To install Windows 11 without TPM, you’ll need to make a few adjustments to your computer’s BIOS settings. Don’t worry if you’re not familiar with BIOS – we’ll guide you through the process. Just follow the steps below:
Step 1: Start by accessing your computer’s BIOS settings. You can usually do this by pressing a specific key during the boot process, such as F2 or Del. Consult your computer’s manual or manufacturer’s website for the exact key.
Step 2: Once you’re in the BIOS settings, look for the Security or Advanced tab. Here, you should find an option related to TPM. Disable or turn off TPM to proceed with the installation.
Step 3: Save your changes and exit the BIOS settings. Your computer will restart.
Step 4: Now, you’re ready to install Windows 11 without TPM. Insert the Windows 11 installation media (USB or DVD) into your computer and boot from it.
Step 5: Follow the on-screen instructions to install Windows 11. When prompted to choose the installation type, select the Custom option.
Step 6: On the next screen, you’ll see a list of available drives. Select the drive where you want to install Windows 11 and click Next.
Step 7: Windows 11 will now begin the installation process. Sit back and relax while it does its magic.
Step 8: Once the installation is complete, your computer will restart. Follow the on-screen instructions to set up Windows 11 and customize your settings.
That’s it! You’ve successfully installed Windows 11 without TPM. Enjoy the new features and improved performance of the latest Windows operating system.
Note: Disabling TPM may have security implications, so proceed with caution. It’s recommended to enable TPM if your computer supports it.
Overview of TPM and Windows 11
Trusted Platform Module (TPM) is a hardware-based security feature that is designed to provide additional security measures for your computer. It is a microchip that is embedded on the motherboard of your computer and works in conjunction with the operating system to provide enhanced security features.
Windows 11, the latest version of Microsoft’s operating system, has made TPM a requirement for installation. This means that in order to install Windows 11, your computer must have a TPM chip. However, there are ways to install Windows 11 without TPM, although it is not recommended as it may compromise the security of your system.
TPM provides a variety of security features, including secure boot, device encryption, and key management. It helps protect against unauthorized access to your system and helps ensure the integrity of your operating system and data. With TPM, you can have peace of mind knowing that your computer is protected against various threats.
Windows 11 takes advantage of TPM to provide a more secure and reliable operating system. It leverages the capabilities of TPM to enhance security features such as Windows Hello, which allows for secure biometric authentication, and BitLocker, which provides full disk encryption.
While TPM is not a new technology, it has become more important with the release of Windows 11. Microsoft has made TPM a requirement for installation to ensure that users have the necessary security measures in place to protect their systems.
| Benefits of TPM | Windows 11 Features |
|---|---|
| Enhanced security | Windows Hello |
| Protection against unauthorized access | BitLocker |
| Secure boot | Device encryption |
In conclusion, TPM is an important component for ensuring the security of your computer, and Windows 11 has made it a requirement for installation. While it is possible to install Windows 11 without TPM, it is not recommended as it may compromise the security of your system. It is always best to have TPM enabled to take advantage of the enhanced security features it provides.
Why Install Windows 11 Without TPM?

TPM (Trusted Platform Module) is a security feature that provides hardware-based encryption and security capabilities. It is designed to protect sensitive data and ensure the integrity of the system. However, not all computers have TPM installed, and some users may want to install Windows 11 on their devices without TPM.
There are several reasons why someone might choose to install Windows 11 without TPM:
| Compatibility: | Some older computers or devices may not have TPM installed, and installing Windows 11 without TPM allows users to upgrade their operating system without having to purchase new hardware. |
| Flexibility: | By installing Windows 11 without TPM, users have the flexibility to choose the operating system that best suits their needs, even if their device does not meet the TPM requirements. |
| Testing and Development: | For developers and testers, installing Windows 11 without TPM allows them to test their applications and software on different devices, including those without TPM, to ensure compatibility and functionality. |
| Workaround: | In some cases, users may encounter issues with TPM or face compatibility problems with certain software or drivers. Installing Windows 11 without TPM can be a workaround to overcome these issues and continue using their devices. |
It is important to note that installing Windows 11 without TPM may compromise the security features provided by TPM. However, it is ultimately the user’s decision to weigh the benefits and drawbacks and choose the installation method that suits their needs.
Requirements for Installing Windows 11 Without TPM
Windows 11 is the latest version of Microsoft’s operating system, bringing a range of new features and improvements. However, one of the requirements for installing Windows 11 is the presence of a TPM (Trusted Platform Module) on your device. While TPM provides enhanced security, not all computers have this feature.
If your computer doesn’t have a TPM, you might be wondering if it’s still possible to install Windows 11. The good news is that Microsoft has provided an alternative option for users without TPM. Here are the requirements for installing Windows 11 without TPM:
- Compatible hardware: Your computer should meet the minimum hardware requirements for Windows 11. This includes a compatible processor, sufficient RAM, and storage space.
- Secure Boot: Your computer must support Secure Boot, which is a security feature that ensures only trusted software is loaded during the boot process.
- UEFI firmware: Your computer should have UEFI (Unified Extensible Firmware Interface) firmware instead of the older BIOS (Basic Input/Output System).
- Windows 11 ISO: You will need a Windows 11 ISO file to install the operating system. This can be obtained from the official Microsoft website or other trusted sources.
- Installation media: You will need a USB drive or DVD to create a bootable installation media for Windows 11.
By meeting these requirements, you can install Windows 11 without TPM and enjoy the new features and improvements that the operating system offers. It’s important to note that installing Windows 11 without TPM may not provide the same level of security as having TPM enabled, so it’s recommended to consider upgrading your hardware if possible.
Disclaimer: Installing Windows 11 without TPM may void your warranty or violate the terms of service of your device manufacturer. Proceed at your own risk.
Check Your System Compatibility
Before proceeding with the installation of Windows 11 without TPM, it is important to check if your system meets the necessary requirements. TPM (Trusted Platform Module) is a security feature that is required by Windows 11. However, there are ways to install Windows 11 without TPM.
To check your system compatibility, follow these steps:
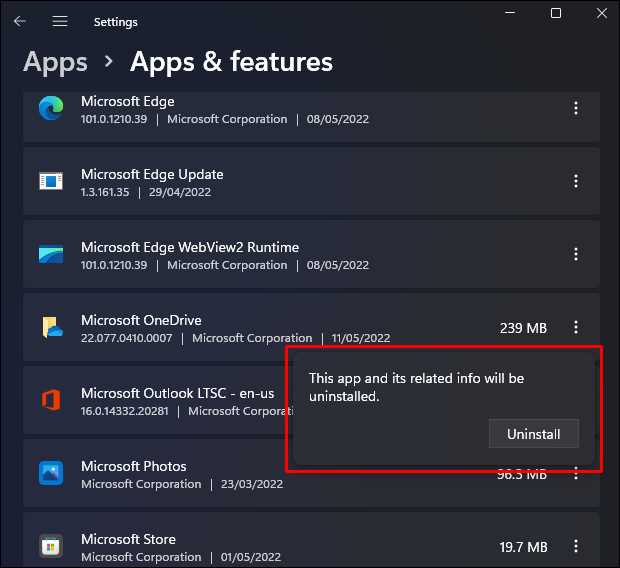
- Go to the Start menu and click on the Settings icon.
- In the Settings window, click on the System option.
- From the left sidebar, click on the About option.
- Scroll down and look for the Device specifications section.
- Check if your system meets the minimum requirements for Windows 11, including processor, RAM, storage, and graphics card.
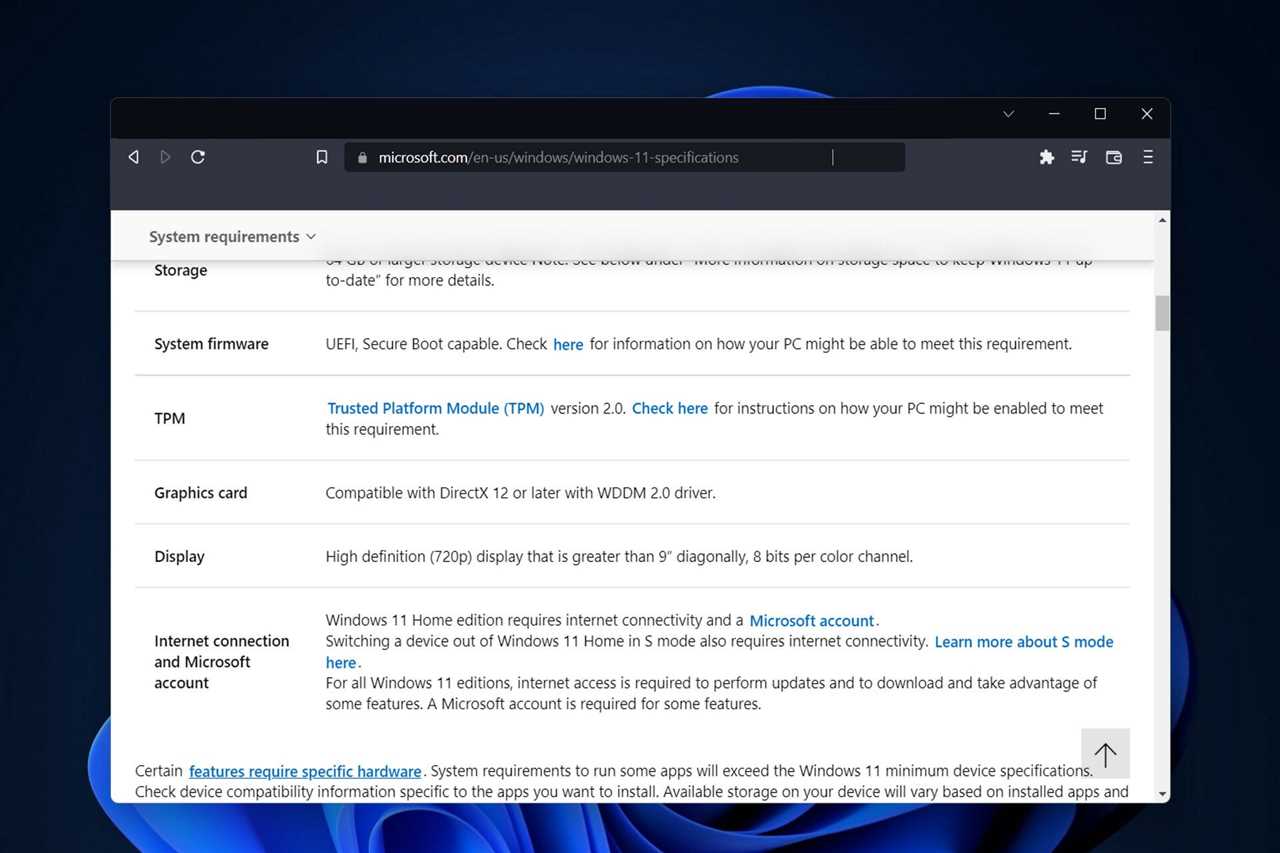
- Next, scroll down and look for the Windows specifications section.
- Check if your system has TPM version 2.0 or higher. If it does not have TPM or has an older version, you will need to install Windows 11 without TPM.
By following these steps, you can determine if your system is compatible with Windows 11 without TPM. If your system meets the minimum requirements but does not have TPM, you can proceed with the installation using alternative methods.
Disable TPM in BIOS
If you want to install Windows 11 without TPM, you may need to disable TPM in your computer’s BIOS settings. Here’s how you can do it:
Step 1: Restart your computer and enter the BIOS setup by pressing the designated key (usually F2 or Del) during the startup process.
Step 2: Navigate to the Security or Advanced tab in the BIOS menu.
Step 3: Look for the TPM (Trusted Platform Module) setting and select it.
Step 4: Change the TPM setting from “Enabled” to “Disabled”.
Step 5: Save the changes and exit the BIOS setup.
Step 6: Proceed with the Windows 11 installation as usual.
By disabling TPM in the BIOS, you can bypass the TPM requirement and install Windows 11 on your computer. However, keep in mind that disabling TPM may have security implications, so it’s important to weigh the risks before proceeding.
Prepare a Bootable USB Drive
To install Windows 11 without TPM, you will need to create a bootable USB drive. This will allow you to install the operating system on your computer without the need for a TPM (Trusted Platform Module) chip.
Here are the steps to prepare a bootable USB drive:
| Step 1: | Download the Windows 11 ISO file from the official Microsoft website. |
| Step 2: | Insert a USB drive with at least 8GB of storage capacity into your computer. |
| Step 3: | Open the Windows 11 ISO file using a file extraction tool like WinRAR or 7-Zip. |
| Step 4: | Extract the contents of the ISO file to the USB drive. |
| Step 5: | Once the extraction is complete, safely eject the USB drive from your computer. |
Now you have a bootable USB drive that you can use to install Windows 11 without TPM. Simply insert the USB drive into your computer and follow the on-screen instructions to complete the installation process.
Step-by-Step Guide to Install Windows 11 Without TPM
If your computer does not have a TPM (Trusted Platform Module) but you still want to install Windows 11, you can follow these steps:
- Make sure your computer meets the minimum system requirements for Windows 11.
- Download the Windows 11 installation media from the official Microsoft website.
- Create a bootable USB drive with the Windows 11 installation files.
- Restart your computer and boot from the USB drive.
- Select your language, time zone, and keyboard layout preferences.
- Click on “Install now” to start the installation process.
- Read and accept the license terms.
- On the “Which type of installation do you want?” screen, select “Custom: Install Windows only (advanced)”.
- Choose the partition where you want to install Windows 11.
- Click on “Next” to begin the installation.
- Wait for the installation process to complete.
- Follow the on-screen instructions to set up Windows 11.
- Once the setup is complete, you can start using Windows 11 on your computer without TPM.
It’s important to note that installing Windows 11 without TPM may not provide the same level of security and functionality as a system with TPM. However, if you still want to proceed with the installation, you can follow the steps above.
Step 1: Backup Your Data
Before proceeding with the installation of Windows 11 without TPM, it is crucial to backup all your important data. This step ensures that you don’t lose any valuable information during the installation process.
Creating a backup of your data is essential because installing a new operating system can sometimes lead to data loss or corruption. By backing up your data, you can easily restore it if anything goes wrong during the installation.
There are several ways to backup your data:
- Use an external hard drive or USB flash drive to copy and store your files.
- Upload your files to a cloud storage service like Google Drive, Dropbox, or OneDrive.
- Create a system image backup using built-in Windows tools or third-party software.
Make sure to include all your important documents, photos, videos, and any other files that you don’t want to lose. It’s always better to be safe than sorry, so take the time to backup your data before proceeding with the installation of Windows 11 without TPM.
Step 2: Access BIOS Settings
To install Windows 11 without TPM, you need to access the BIOS settings of your computer. The BIOS (Basic Input/Output System) is a firmware that is responsible for initializing the hardware components of your computer and loading the operating system.
Follow the steps below to access the BIOS settings:
| 1. | Restart your computer. |
| 2. | During the boot process, look for a message that indicates the key you need to press to enter the BIOS settings. This key is usually displayed on the screen for a short period of time, so you need to be quick. |
| 3. | Once you identify the key, press it repeatedly until the BIOS settings screen appears. The key can vary depending on the manufacturer of your computer, but it is often F2, F10, or Del. |
| 4. | Once you are in the BIOS settings, navigate to the “Security” or “Advanced” tab using the arrow keys on your keyboard. |
| 5. | Look for an option related to TPM (Trusted Platform Module) or PTT (Platform Trust Technology). Enable this option if it is disabled. |
| 6. | Save the changes and exit the BIOS settings. This can usually be done by pressing the F10 key or selecting the “Exit” option. |
By accessing the BIOS settings and enabling the TPM or PTT option, you will be able to install Windows 11 without TPM and proceed with the installation process.