Jupyter Notebook is an interactive computing environment that allows you to create and share documents containing live code, equations, visualizations, and explanatory text. It is widely used by data scientists, researchers, and programmers for data analysis, machine learning, and scientific computing.
If you are a Python enthusiast or a beginner in programming, Jupyter Notebook is a must-have tool in your software arsenal. It provides an easy-to-use interface for writing and executing Python code, making it an ideal choice for learning and experimenting with the language.
Installing Jupyter Notebook on Windows is a straightforward process that can be done in a few simple steps. In this step-by-step guide, we will walk you through the installation process, ensuring that you have everything you need to start using Jupyter Notebook on your Windows machine.
What is Jupyter Notebook?
Jupyter Notebook is an interactive computing environment that allows users to create and share documents containing live code, equations, visualizations, and explanatory text. It is a powerful tool for data analysis, scientific research, and programming in Python.
With Jupyter Notebook, you can write and execute Python code in a web-based interface, making it easy to experiment, test ideas, and collaborate with others. It provides a flexible and interactive environment for exploring and analyzing data, creating visualizations, and documenting your work.
To use Jupyter Notebook, you need to download and install it on your Windows computer. The installation process is straightforward and can be done in a few simple steps. Once installed, you can launch Jupyter Notebook and start creating and running Python code right away.
Whether you are a beginner learning Python or an experienced programmer, Jupyter Notebook is a valuable tool that can enhance your programming experience and productivity. It provides a user-friendly interface, powerful features, and a wide range of libraries and tools for data analysis, machine learning, and scientific computing.
In summary, Jupyter Notebook is a versatile and powerful programming environment that allows you to write, execute, and share Python code in an interactive and collaborative manner. It is an essential tool for anyone working with Python and is widely used in the data science and research communities.
Why use Jupyter Notebook?

Jupyter Notebook is a powerful software tool that provides a convenient programming environment for data analysis, visualization, and machine learning tasks. It allows users to create and share documents that contain live code, equations, visualizations, and narrative text.
There are several reasons why you should consider using Jupyter Notebook:
- Interactive coding: Jupyter Notebook allows you to write and execute code in an interactive manner. You can run code cells individually, which makes it easier to debug and test your code.
- Data exploration: Jupyter Notebook provides a flexible and intuitive interface for exploring and analyzing data. You can easily import and manipulate datasets, visualize data using charts and graphs, and perform statistical analysis.
- Collaboration: Jupyter Notebook allows multiple users to work on the same document simultaneously. This makes it easy to collaborate with colleagues or share your work with others.
- Reproducibility: Jupyter Notebook enables you to create reproducible research by combining code, data, and documentation in a single document. This makes it easier to share and reproduce your analysis.
- Extensibility: Jupyter Notebook supports a wide range of programming languages, including Python, R, and Julia. You can easily install and use additional libraries and packages to extend the functionality of Jupyter Notebook.
By downloading and installing Jupyter Notebook on your Windows system, you can take advantage of these features and create a powerful programming environment for your data analysis and machine learning tasks.
Step 1: Download Anaconda Distribution
To get started with Jupyter Notebook on Windows, you need to download and install Anaconda Distribution. Anaconda is a popular software package that includes Python and other programming tools.
Here are the steps to download Anaconda Distribution:
- Go to the Anaconda website.
- Click on the "Download" button for the Windows version.
- Choose the Python 3.x version, as Jupyter Notebook requires Python.
- Once the download is complete, run the installer.
- Follow the installation instructions, selecting the default options.
- After the installation is finished, you can open Jupyter Notebook by searching for it in the start menu or by running the "jupyter notebook" command in the command prompt.
By downloading and installing Anaconda Distribution, you will have access to Jupyter Notebook and other useful tools for Python programming on your Windows machine.
What is Anaconda Distribution?
Anaconda Distribution is a software installation that provides a complete environment for data science and scientific computing. It is specifically designed for Windows, and includes Python, Jupyter Notebook, and other essential tools and libraries for programming and data analysis.
With Anaconda Distribution, you can easily set up a Python environment on your Windows machine without having to manually install each component separately. It comes with a user-friendly graphical installer that simplifies the installation process.
One of the main advantages of Anaconda Distribution is its inclusion of the Jupyter Notebook, a web-based interactive computing environment that allows you to create and share documents that contain live code, equations, visualizations, and narrative text. This makes it a powerful tool for data exploration, prototyping, and collaboration.
In addition to Python and Jupyter Notebook, Anaconda Distribution also includes a wide range of popular libraries and packages for data science, such as NumPy, Pandas, Matplotlib, and scikit-learn. These libraries provide efficient and convenient tools for data manipulation, analysis, and visualization.
Whether you are a beginner or an experienced programmer, Anaconda Distribution offers a comprehensive and user-friendly platform for working with Python and data science. It provides a streamlined and integrated environment that allows you to focus on your projects and analysis, rather than spending time on manual installations and configurations.
Overall, Anaconda Distribution is a powerful software package that simplifies the installation and setup of a Python environment on Windows. It includes essential tools and libraries for programming and data analysis, making it an ideal choice for anyone interested in data science and scientific computing.
How to download Anaconda Distribution?

If you want to download Anaconda Distribution, follow these steps:
- Go to the Anaconda website.
- Click on the "Download" button.
- Choose the version of Anaconda you want to download (Python 2.7 or Python 3.7).
- Select the appropriate installer for your operating system (Windows, macOS, or Linux).
- Click on the installer to start the download.
- Once the download is complete, run the installer.
- Follow the installation instructions, making sure to select the options you want (such as adding Anaconda to your PATH environment variable).
- Wait for the installation to finish.
- Once the installation is complete, you can launch Anaconda Navigator or use the Anaconda Prompt to start using Anaconda.
By downloading Anaconda Distribution, you will have access to Jupyter Notebook, an interactive programming environment that allows you to create and share documents containing live code, equations, visualizations, and explanatory text. With Anaconda, you can easily set up a Python environment for data analysis, machine learning, and scientific computing on your Windows system.
So, don't wait any longer! Download Anaconda Distribution now and start exploring the world of programming with Python.
Step 2: Install Anaconda Distribution
Anaconda Distribution is a popular software environment for Windows that is widely used in programming and data analysis. It includes Python, Jupyter Notebook, and many other useful libraries and tools.
To begin the installation process, you need to download the Anaconda installer for Windows from the official website. You can find the download link on the Anaconda website by searching for "Anaconda download" in your favorite search engine.
Once you have downloaded the installer, double-click on the file to start the installation process. Follow the on-screen instructions to complete the installation.
During the installation, you will be asked to choose whether to install Anaconda for just your user account or for all users on the computer. It is recommended to choose the option to install Anaconda for all users, as this will make it easier to use Anaconda from any user account on your Windows system.
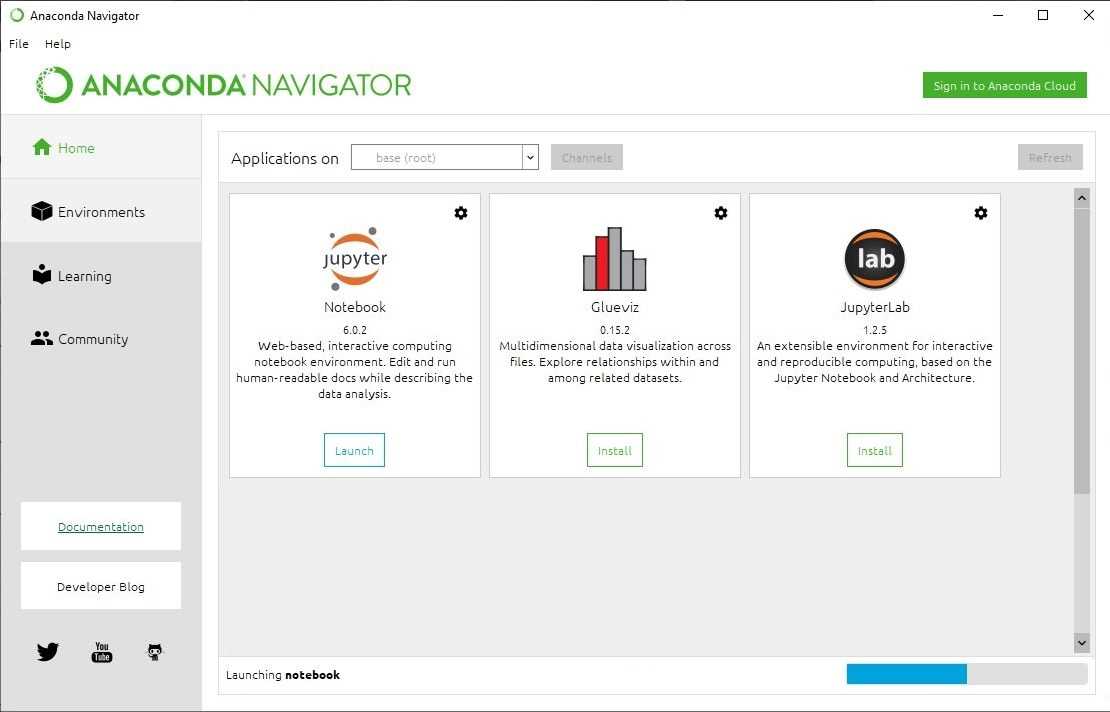
After the installation is complete, you can launch Anaconda Navigator, which is a graphical interface that allows you to manage your Python environments and launch Jupyter Notebook. You can also launch Jupyter Notebook directly from the Windows Start menu by searching for "Jupyter Notebook" and clicking on the appropriate shortcut.
Now that you have successfully installed Anaconda Distribution on your Windows system, you are ready to start using Jupyter Notebook for your programming and data analysis tasks.
How to install Anaconda Distribution on Windows?
Installing Anaconda Distribution on Windows is a straightforward process that allows you to set up a Python programming environment with Jupyter Notebook. Follow these steps to download and install Anaconda:
- Visit the Anaconda website and navigate to the Downloads page.
- Choose the Windows version of Anaconda Distribution that matches your operating system (32-bit or 64-bit).
- Click on the download link to start the installation process.
- Once the download is complete, locate the installer file and double-click on it to launch the installation wizard.
- Follow the instructions provided by the installation wizard to complete the installation.
- During the installation, you will be asked to choose whether to add Anaconda to your system's PATH environment variable. It is recommended to select this option to make it easier to access Anaconda from the command line.
- After the installation is complete, you can launch Anaconda Navigator, which provides a graphical user interface for managing your Python environments and packages.
- Alternatively, you can also launch Jupyter Notebook directly from the Anaconda Prompt by typing "jupyter notebook" and pressing Enter.
By following these steps, you will have successfully installed Anaconda Distribution on your Windows system. You can now start using Jupyter Notebook and explore the world of Python programming.
What are the installation options?
When it comes to installing Jupyter Notebook on a Windows environment, there are a few options available. The easiest and most recommended way is to download and install the Anaconda distribution, which includes Jupyter Notebook along with other useful software for Python programming. Anaconda provides a hassle-free installation process and ensures that all the necessary dependencies are properly installed.
If you prefer a more lightweight installation, you can download and install the Jupyter Notebook directly using the Python package manager, pip. This option requires you to have Python already installed on your system. You can simply open the command prompt and run the command "pip install jupyter" to install Jupyter Notebook.
Another option is to use the Jupyter Notebook installer, which is available on the official Jupyter website. This installer provides a graphical user interface that guides you through the installation process. It automatically installs Python and all the necessary dependencies for Jupyter Notebook.
Regardless of the installation option you choose, once Jupyter Notebook is installed on your Windows system, you can start using it to create and run Python code, create interactive notebooks, and explore data in a convenient and efficient manner.
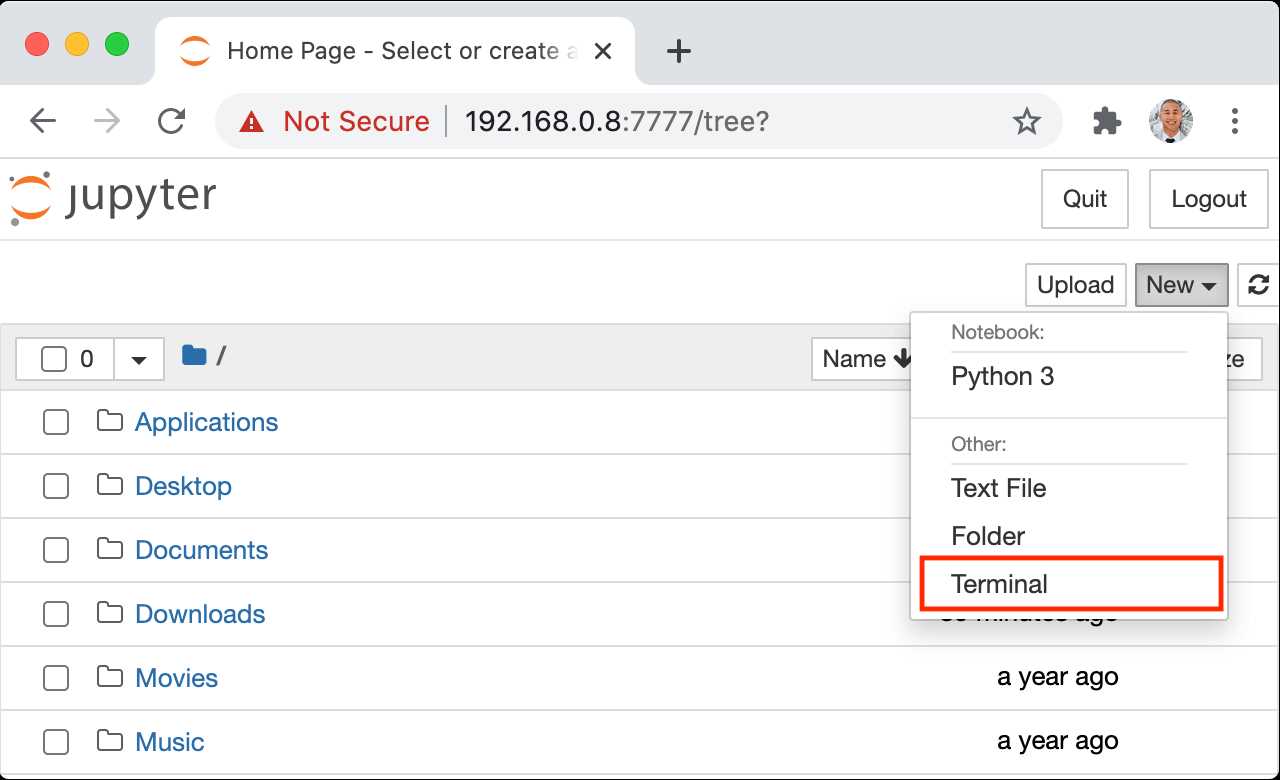
Step 3: Launch Jupyter Notebook
After completing the installation process, you are now ready to launch Jupyter Notebook. Jupyter Notebook is a powerful software tool used for programming in Python and creating interactive notebooks.
To launch Jupyter Notebook, follow these steps:
- Open the command prompt or Anaconda Prompt.
- Type the command "jupyter notebook" and press Enter.
- A new browser window will open, displaying the Jupyter Notebook interface.
By launching Jupyter Notebook, you are creating a local programming environment where you can write and execute Python code, create visualizations, and document your work in a notebook format.
Now that you have successfully launched Jupyter Notebook, you can start exploring its features and capabilities to enhance your programming experience.