
If you’re a Mac user and looking for a powerful text editor, Sublime Text is a great choice. It’s lightweight, fast, and highly customizable. In this article, we’ll guide you through the process of installing Sublime Text on your Mac using Homebrew.
Homebrew is a package manager for Mac that allows you to easily install and manage software packages from the command line. It’s a popular choice among developers and makes the installation process quick and hassle-free.
To install Sublime Text using Homebrew, you’ll first need to have Homebrew installed on your Mac. If you haven’t installed it yet, don’t worry, we’ll walk you through the process step by step.
Once you have Homebrew installed, open your terminal and type the following command to install Sublime Text:
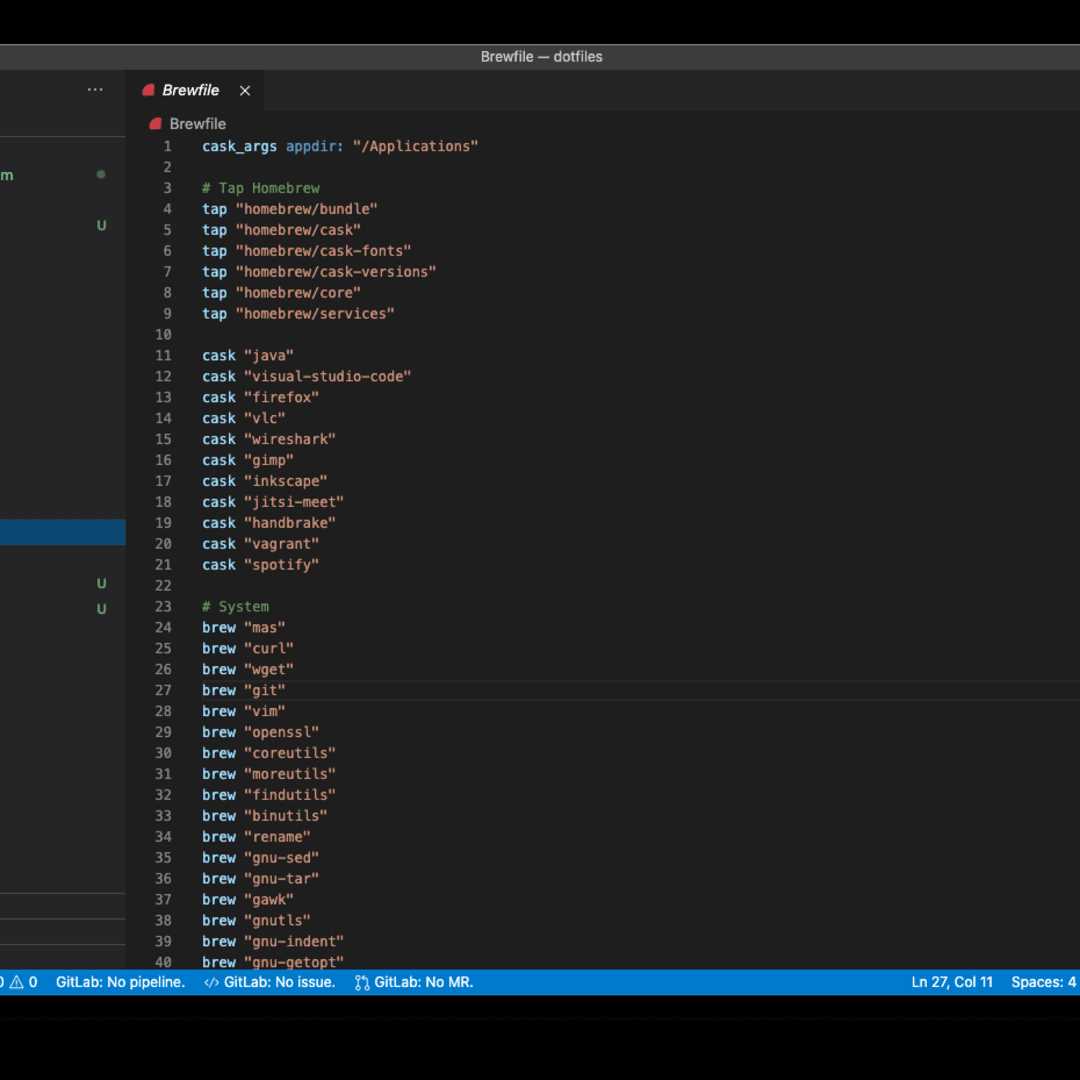
brew install sublime-text
This command will download and install the latest version of Sublime Text on your Mac. Once the installation is complete, you can launch Sublime Text from the Applications folder or by searching for it in Spotlight.
That’s it! You’ve successfully installed Sublime Text on your Mac using Homebrew. Now you can start using Sublime Text to write code, edit text, and take advantage of its powerful features.
Prerequisites
Before you can install Sublime Text on your Mac, you need to make sure you have the following:
- A Mac computer
- Access to the internet
- A valid Sublime Text license or a trial version
If you don’t have Sublime Text installed on your Mac yet, you can download it from the official Sublime Text website. Make sure to choose the appropriate version for your Mac’s operating system.
Once you have these prerequisites in place, you can proceed with the installation process.
Mac Operating System
The Mac operating system, also known as macOS, is the operating system developed by Apple Inc. for its Macintosh line of computers. It is designed to provide a seamless and intuitive user experience, with a focus on simplicity and elegance.
One popular text editor for Mac users is Sublime Text. Sublime Text is a powerful and versatile text editor that is highly customizable and offers a wide range of features for developers and programmers. It is known for its speed, efficiency, and ease of use.
To install Sublime Text on a Mac, you can use Homebrew, a package manager for macOS. Homebrew allows you to easily install and manage software packages from the command line.
To install Sublime Text using Homebrew, follow these steps:
- Open the Terminal application on your Mac.
- Enter the following command to install Homebrew:
- Once Homebrew is installed, enter the following command to install Sublime Text:
- Wait for the installation to complete.
- Once the installation is finished, you can launch Sublime Text by searching for it in Spotlight or by opening it from the Applications folder.
ruby -e "$(curl -fsSL https://raw.githubusercontent.com/Homebrew/install/master/install)"brew install sublime-textSublime Text is now installed on your Mac, and you can start using it to edit and write code. Enjoy the powerful features and customization options that Sublime Text offers!
Homebrew Package Manager
Homebrew is a popular package manager for macOS that allows you to easily install and manage software packages on your Mac. It is a command-line tool that uses the Terminal to install, update, and uninstall packages.
To install Sublime Text using Homebrew, you first need to install Homebrew itself. Follow these steps:
- Open the Terminal application on your Mac.
- Enter the following command and press Enter:
- Wait for the installation to complete. You may be prompted to enter your password.
/bin/bash -c "$(curl -fsSL https://raw.githubusercontent.com/Homebrew/install/HEAD/install.sh)"Once Homebrew is installed, you can use it to install Sublime Text by following these steps:
- Open the Terminal application on your Mac.
- Enter the following command and press Enter:
- Wait for the installation to complete. Homebrew will download and install Sublime Text on your Mac.
brew install sublime-textAfter the installation is complete, you can launch Sublime Text by searching for it in Spotlight or by opening it from the Applications folder.
Using Homebrew to install Sublime Text ensures that you have the latest version of the software and makes it easy to update or uninstall it in the future.
Installation Steps
Follow these steps to install Sublime Text on your Mac using Homebrew:
- Open Terminal on your Mac.
- Install Homebrew by entering the following command:
/bin/bash -c "$(curl -fsSL https://raw.githubusercontent.com/Homebrew/install/HEAD/install.sh)"
- Once Homebrew is installed, run the following command to update it:
brew update
- Now, you can install Sublime Text by entering the following command:
brew install --cask sublime-text
- Wait for the installation to complete.
- Once the installation is finished, you can launch Sublime Text by searching for it in Spotlight or by opening it from the Applications folder.
Congratulations! You have successfully installed Sublime Text on your Mac using Homebrew.


