
If you own an MSI B550 Tomahawk motherboard, keeping your BIOS up to date is essential for optimal performance and compatibility with the latest hardware and software. In this step-by-step guide, we will walk you through the process of updating the BIOS on your MSI B550 Tomahawk motherboard.
Step 1: Download the Latest BIOS Update
The first step in updating your BIOS is to download the latest BIOS update from the official MSI website. Make sure to select the correct BIOS version for your specific motherboard model, in this case, the MSI B550 Tomahawk.
Step 2: Prepare a USB Drive
Next, you will need to prepare a USB drive to transfer the BIOS update file to your motherboard. Format the USB drive to FAT32 and make sure it is empty.
Step 3: Extract the BIOS Update File
Once you have downloaded the BIOS update file, extract it to the root directory of your USB drive. Make sure to keep the file name and format unchanged.
Step 4: Enter BIOS and Update
Now, restart your computer and enter the BIOS by pressing the designated key during the boot process (usually Del or F2). Once in the BIOS, navigate to the “M-Flash” or “Flash BIOS” section.
Step 5: Select the BIOS Update File
In the M-Flash or Flash BIOS section, select the option to update the BIOS. Choose the BIOS update file from the USB drive and confirm your selection.
Step 6: Update the BIOS
Follow the on-screen instructions to update the BIOS. Do not turn off your computer or interrupt the update process, as it may cause irreversible damage to your motherboard.
Step 7: Restart and Verify
Once the BIOS update is complete, restart your computer. Enter the BIOS again and verify that the BIOS version has been successfully updated to the latest version.
By following these step-by-step instructions, you can easily update the BIOS on your MSI B550 Tomahawk motherboard and ensure that your system is running smoothly with the latest firmware.
Preparation
Before updating the BIOS on your MSI B550 Tomahawk, it is important to make sure you have everything you need and take the necessary precautions. Follow these steps to prepare:
1. Backup your data: Updating the BIOS can sometimes result in data loss or system instability. It is always a good idea to back up your important files and documents before proceeding.
2. Check for compatibility: Make sure that the BIOS update you are planning to install is compatible with your MSI B550 Tomahawk motherboard. Visit the MSI website and download the latest BIOS version specifically designed for your motherboard model.
3. Read the release notes: Take the time to read the release notes for the BIOS update. This will provide you with important information about the changes and improvements included in the update.
4. Download the necessary tools: Visit the MSI website and download the BIOS update utility for your motherboard model. You may also need to download additional software or drivers required for the update process.
5. Prepare a USB drive: You will need a USB drive to transfer the BIOS update files to your MSI B550 Tomahawk motherboard. Make sure the USB drive is formatted correctly and has enough free space to accommodate the update files.
6. Disconnect unnecessary devices: To avoid any potential issues during the BIOS update process, it is recommended to disconnect any unnecessary devices from your MSI B550 Tomahawk motherboard. This includes external hard drives, printers, and any other USB devices.
7. Connect to a stable power source: It is crucial to ensure that your MSI B550 Tomahawk motherboard is connected to a stable power source during the BIOS update. Use a reliable power supply and avoid any power interruptions or fluctuations.
8. Familiarize yourself with the update process: Take the time to read the user manual or any available guides provided by MSI. Familiarize yourself with the steps involved in updating the BIOS on your MSI B550 Tomahawk motherboard to ensure a smooth and successful update.
By following these preparation steps, you can minimize the risk of encountering any issues during the BIOS update process and ensure a successful update for your MSI B550 Tomahawk motherboard.
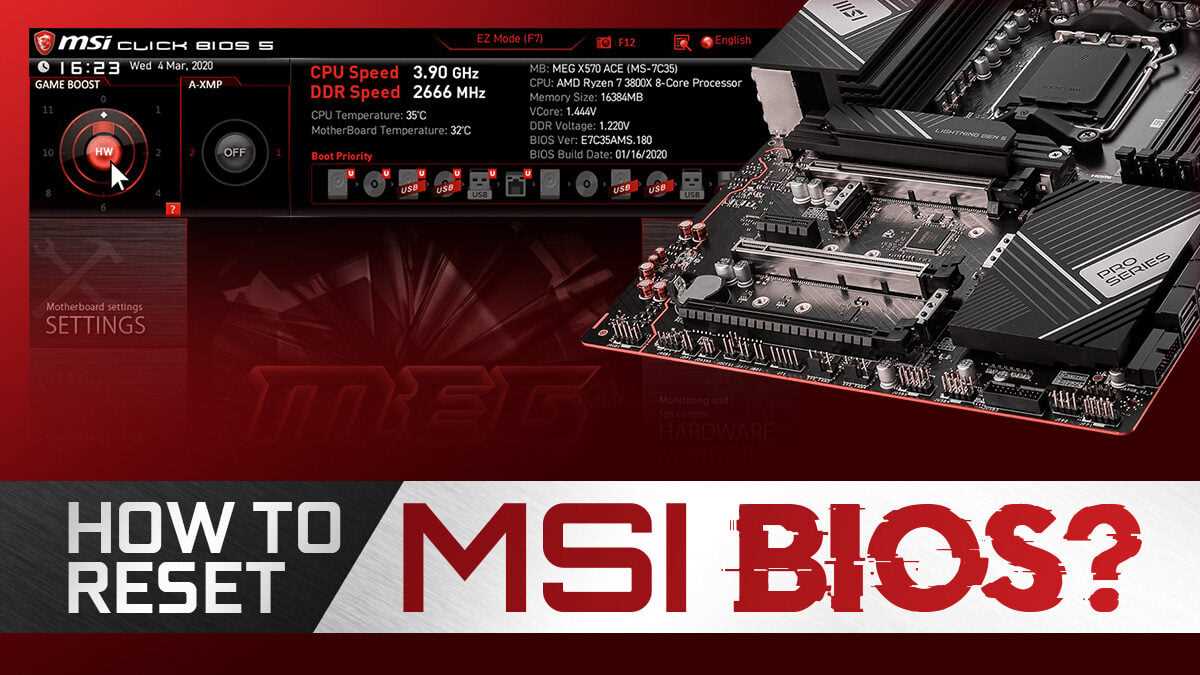
Check the current BIOS version
Before updating the BIOS on your MSI B550 Tomahawk motherboard, it is important to check the current version of the BIOS installed on your system. This will help you determine if an update is necessary and ensure that you are installing the correct version.
To check the current BIOS version on your MSI B550 Tomahawk, you can follow these steps:
- Start by booting up your computer and entering the BIOS setup. You can usually do this by pressing the “Delete” key or another key specified by your motherboard manufacturer during the boot process.
- Once you are in the BIOS setup, navigate to the “System Information” or “Main” tab. The exact location may vary depending on your motherboard model.
- Look for the “BIOS Version” or “UEFI Version” entry. This will display the current version of the BIOS installed on your system.
Make a note of the current BIOS version, as you will need this information when downloading and installing the updated BIOS.
Download the latest BIOS version

To update the BIOS on your MSI B550 Tomahawk motherboard, you will need to download the latest BIOS version from the official MSI website. Follow the steps below to download the BIOS:
- Open your preferred web browser and go to the MSI official website.
- Navigate to the support section of the website.
- Enter “B550 Tomahawk” in the search bar to find the product page for your motherboard.
- Once on the product page, locate the “Downloads” or “Support” tab.
- Under the “Downloads” or “Support” tab, you will find a list of available downloads for your motherboard.
- Look for the BIOS section and find the latest version available.
- Click on the download link for the latest BIOS version.
- Save the BIOS file to a location on your computer that you can easily access.
Once you have downloaded the latest BIOS version for your MSI B550 Tomahawk motherboard, you can proceed to the next step of the BIOS update process.
Prepare a USB flash drive

To update the BIOS on your MSI B550 Tomahawk motherboard, you will need a USB flash drive. Follow these steps to prepare the USB flash drive:
- Format the USB flash drive: Connect the USB flash drive to your computer and format it to FAT32 file system.
- Download the latest BIOS version: Go to the MSI website and download the latest BIOS version for your MSI B550 Tomahawk motherboard. Make sure to save the BIOS file to your computer.
- Copy the BIOS file to the USB flash drive: Once the BIOS file is downloaded, copy it to the root directory of the USB flash drive. Make sure not to put it inside any folders.
- Safely eject the USB flash drive: After copying the BIOS file, safely eject the USB flash drive from your computer.
Your USB flash drive is now ready to be used for updating the BIOS on your MSI B550 Tomahawk motherboard.
Updating BIOS
To update the BIOS on your MSI B550 Tomahawk motherboard, follow these steps:
| Step 1 | Go to the MSI website and navigate to the support page for the B550 Tomahawk. |
| Step 2 | Download the latest BIOS update file for your motherboard model. |
| Step 3 | Extract the downloaded file to a USB flash drive formatted in FAT32. |
| Step 4 | Restart your computer and enter the BIOS setup by pressing the DEL key during startup. |
| Step 5 | Navigate to the “M-FLASH” tab in the BIOS setup. |
| Step 6 | Select the USB flash drive containing the BIOS update file. |
| Step 7 | Follow the on-screen instructions to update the BIOS. |
| Step 8 | After the update is complete, restart your computer. |
By following these steps, you can easily update the BIOS on your MSI B550 Tomahawk motherboard and ensure that you have the latest firmware for optimal performance and compatibility.
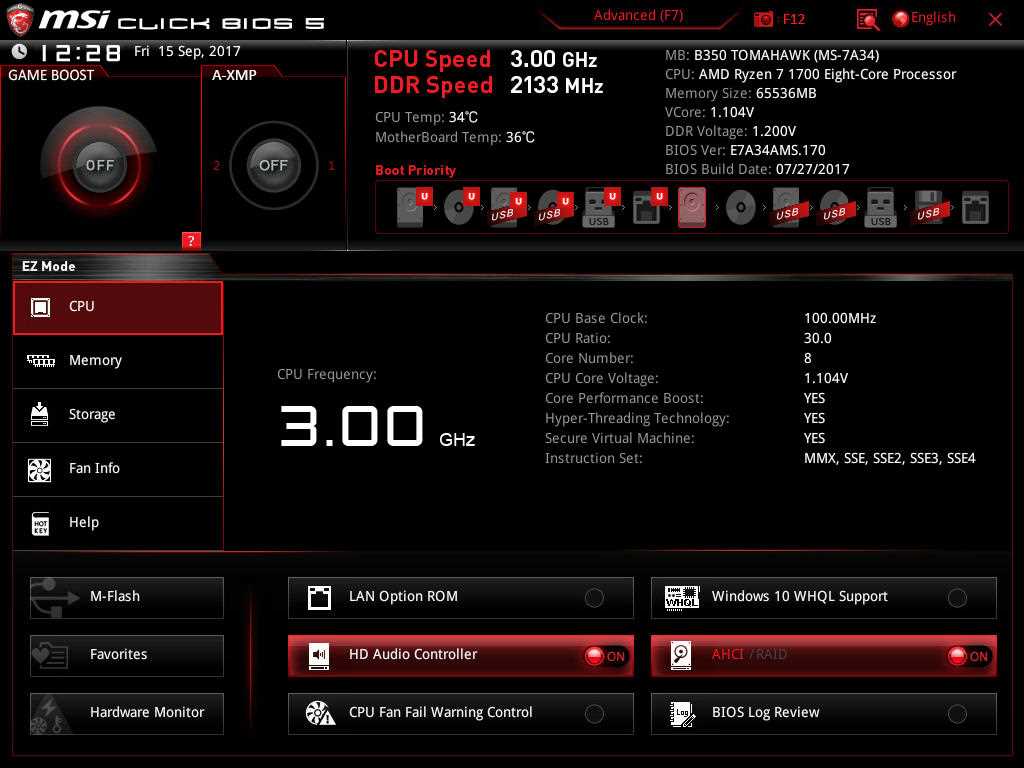
Enter BIOS setup
To update the BIOS on your MSI B550 Tomahawk motherboard, you will need to enter the BIOS setup. Follow the steps below to access the BIOS:
- Turn on your computer and press the “Delete” key repeatedly during the boot process. This will take you to the BIOS setup utility.
- Once you are in the BIOS setup, navigate to the “Settings” or “Advanced” tab using the arrow keys on your keyboard.
- Look for an option called “BIOS Update” or “Firmware Update” and select it.
- Choose the method of updating the BIOS. You can either use a USB flash drive with the BIOS file or connect to the internet to download the latest BIOS version.
- If you are using a USB flash drive, make sure it is plugged into one of the USB ports on your motherboard.
- Follow the on-screen instructions to complete the BIOS update process. This may involve selecting the BIOS file from the USB drive or downloading the latest version from the internet.
- Once the BIOS update is complete, restart your computer to apply the changes.
By following these steps, you will be able to enter the BIOS setup on your MSI B550 Tomahawk motherboard and update the BIOS to the latest version.
Backup current BIOS settings
Before proceeding with the BIOS update on your MSI B550 Tomahawk motherboard, it is important to backup your current BIOS settings. This will ensure that you can revert back to your previous settings if any issues arise during the update process.
To backup your current BIOS settings, follow these steps:
- Power on your computer and enter the BIOS setup by pressing the “Delete” key during the boot process.
- Navigate to the “Save & Exit” tab using the arrow keys on your keyboard.
- Select the “Save Changes & Reset” option to save your current BIOS settings to a USB flash drive.
- Insert a USB flash drive into one of the available USB ports on your motherboard.
- Wait for the BIOS to finish saving your settings to the USB flash drive. This may take a few moments.
- Once the process is complete, remove the USB flash drive from your computer.
Now that you have successfully backed up your current BIOS settings, you can proceed with the BIOS update on your MSI B550 Tomahawk motherboard.
Update BIOS using the USB flash drive
If you want to update the BIOS on your MSI B550 Tomahawk motherboard, you can do so using a USB flash drive. Here’s how:
- First, visit the MSI website and navigate to the support page for the B550 Tomahawk motherboard.
- Download the latest BIOS update file for your motherboard model.
- Format a USB flash drive to FAT32 file system.
- Copy the downloaded BIOS update file to the root directory of the USB flash drive.
- Insert the USB flash drive into one of the USB ports on your computer.
- Restart your computer and enter the BIOS setup by pressing the “Delete” key during the boot process.
- Navigate to the “M-Flash” tab in the BIOS setup.
- Select the USB flash drive as the boot device.
- Choose the BIOS update file from the USB flash drive and start the update process.
- Wait for the update process to complete. Do not turn off your computer or remove the USB flash drive during this time.
- Once the update is finished, restart your computer and enter the BIOS setup again.
- Verify that the BIOS has been successfully updated by checking the version number.
Updating the BIOS can help improve system stability, compatibility, and performance. It’s important to follow the instructions carefully and ensure that your computer is connected to a reliable power source during the update process.
Verification

After completing the BIOS update on your MSI B550 Tomahawk, it is important to verify that the update was successful. Here are the steps to verify the BIOS update:
- Restart your computer and enter the BIOS setup by pressing the designated key (usually Del or F2) during the boot process.
- Navigate to the “System Information” or “Main” tab in the BIOS menu.
- Look for the BIOS version information. It should match the version you updated to.
- Check for any new features or improvements that were mentioned in the update release notes.
- Exit the BIOS setup and boot into your operating system.
- Run any software or applications that were previously experiencing issues to see if the update resolved them.
- Monitor your system’s stability and performance for a few days to ensure that the BIOS update did not introduce any new problems.
If you encounter any issues or notice any discrepancies after the BIOS update, you may need to consider reverting to the previous BIOS version or contacting MSI support for further assistance.


