Are you looking to install Ubuntu on VMware? This step-by-step guide will walk you through the process, making it easy for even beginners to follow along. Whether you’re setting up a virtual machine for testing purposes or creating a cluster of Ubuntu servers, this guide has got you covered.
Before we dive into the installation process, let’s quickly go over some important words and concepts you should be familiar with. Ubuntu is a popular Linux distribution known for its user-friendly interface and extensive software library. VMware, on the other hand, is a virtualization platform that allows you to run multiple operating systems on a single machine.
Now that we have a basic understanding of the language and tools involved, let’s get started with the installation. The first step is to download the Ubuntu ISO file from the official website. Make sure to choose the correct version for your system, whether it’s 32-bit or 64-bit. Once the download is complete, you’re ready to move on to the next step.
Next, you’ll need to create a new virtual machine in VMware. Open VMware and click on “Create a New Virtual Machine.” Follow the prompts to select the Ubuntu ISO file you downloaded earlier, choose a name and location for your virtual machine, and allocate the desired amount of memory and storage. Once you’ve completed these steps, click “Finish” to create the virtual machine.
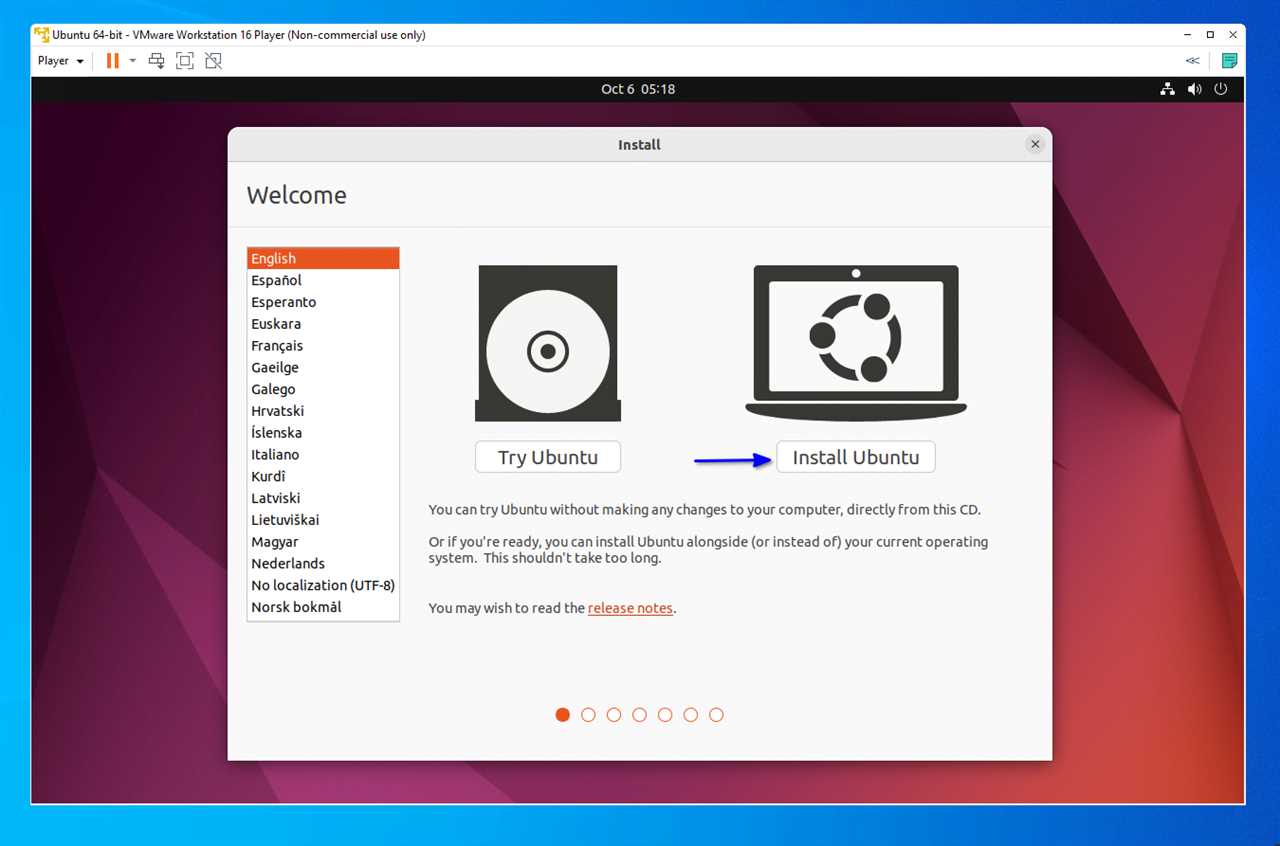
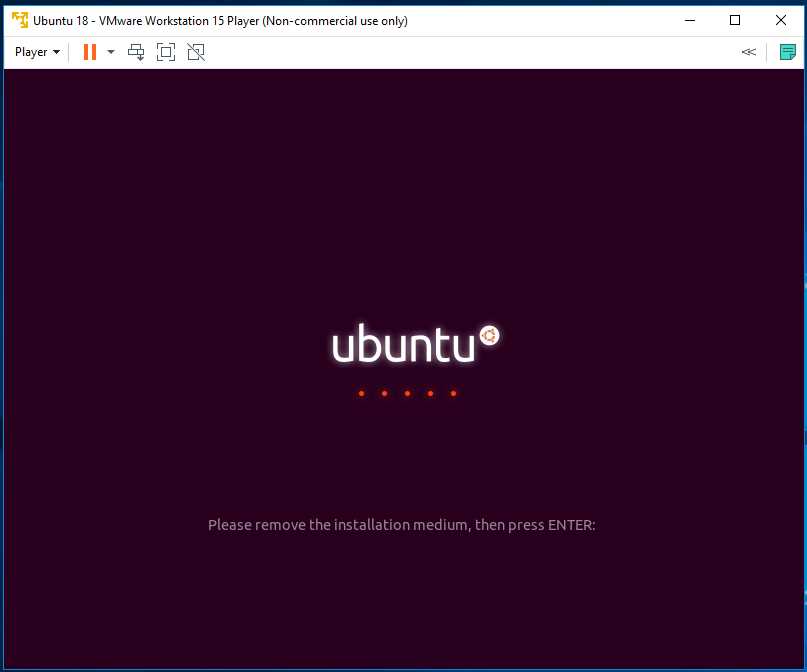
With the virtual machine created, you can now power it on and begin the Ubuntu installation process. Follow the on-screen instructions to select your language, keyboard layout, and time zone. When prompted, choose the “Install Ubuntu” option and follow the prompts to set up your username and password, as well as any other preferences you may have.
Once the installation is complete, you can reboot the virtual machine and start using Ubuntu on VMware. Congratulations, you’ve successfully installed Ubuntu on VMware! Now you can explore the vast list of features and applications that Ubuntu has to offer, whether it’s for personal use or in a professional setting.
Preparing for Installation
Before you begin the installation process, there are a few steps you need to take to ensure a smooth setup. Follow these instructions to properly prepare for installing Ubuntu on VMware:
1. Familiarize yourself with VMware: Make sure you have a basic understanding of VMware and its features. This will help you navigate through the installation process more efficiently.
2. Choose the right version of Ubuntu: Visit the official Ubuntu website and download the version of Ubuntu you wish to install. Ensure that the version you choose is compatible with VMware.
3. Create a virtual machine: Open VMware and create a new virtual machine. Specify the Ubuntu ISO file you downloaded as the installation media.
4. Allocate resources: Assign an appropriate amount of memory, CPU cores, and storage to the virtual machine. This will ensure optimal performance during the installation process.
5. Configure network settings: Choose the appropriate network settings for your virtual machine. You can select NAT, Bridged, or Host-only depending on your requirements.
6. Enable virtualization: Make sure that virtualization is enabled in your computer’s BIOS settings. This will allow VMware to run smoothly and efficiently.
7. Familiarize yourself with Ubuntu installation process: Read through the official Ubuntu documentation to understand the installation process. This will help you navigate through the installation screens and make informed decisions.
8. Create a keyword list: Compile a list of keywords related to the installation process. This will help you search for specific information or troubleshoot any issues that may arise during the installation.
9. Set up a language preference: Decide on the language you want to use during the installation process. This will ensure that the installation screens and prompts are displayed in your preferred language.
By following these steps, you will be well-prepared to install Ubuntu on VMware and successfully set up your virtual machine cluster.
Downloading Ubuntu ISO
Before you can install Ubuntu on VMware, you need to download the Ubuntu ISO file. The ISO file contains the installation files for Ubuntu, and it is necessary for the installation process.
To download the Ubuntu ISO file, follow these steps:
- Open a web browser and go to the official Ubuntu website.
- On the Ubuntu website, navigate to the Downloads section.
- In the Downloads section, you will find a list of available Ubuntu versions. Choose the version that you want to install on VMware.
- Click on the download link for the chosen version.
- On the download page, you will see different options for downloading Ubuntu. Choose the option that is compatible with VMware.
- Once you have selected the appropriate option, click on the download button.
- The Ubuntu ISO file will start downloading to your computer.
Make sure to save the ISO file in a location that is easily accessible. You will need to locate the ISO file later when configuring VMware.
By following these steps, you can download the Ubuntu ISO file and prepare it for the installation process on VMware.
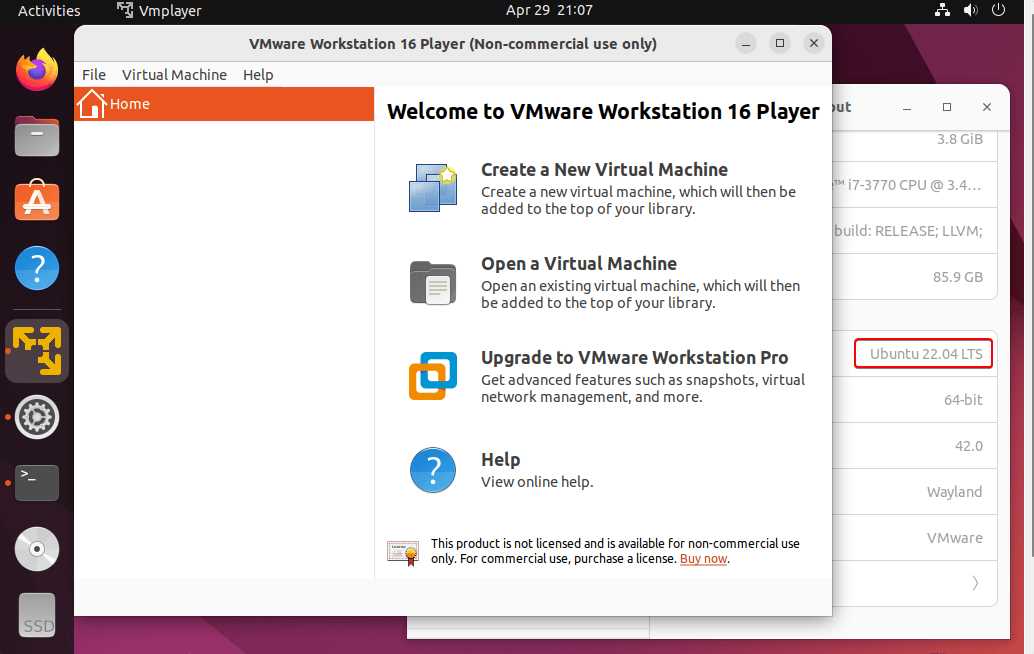
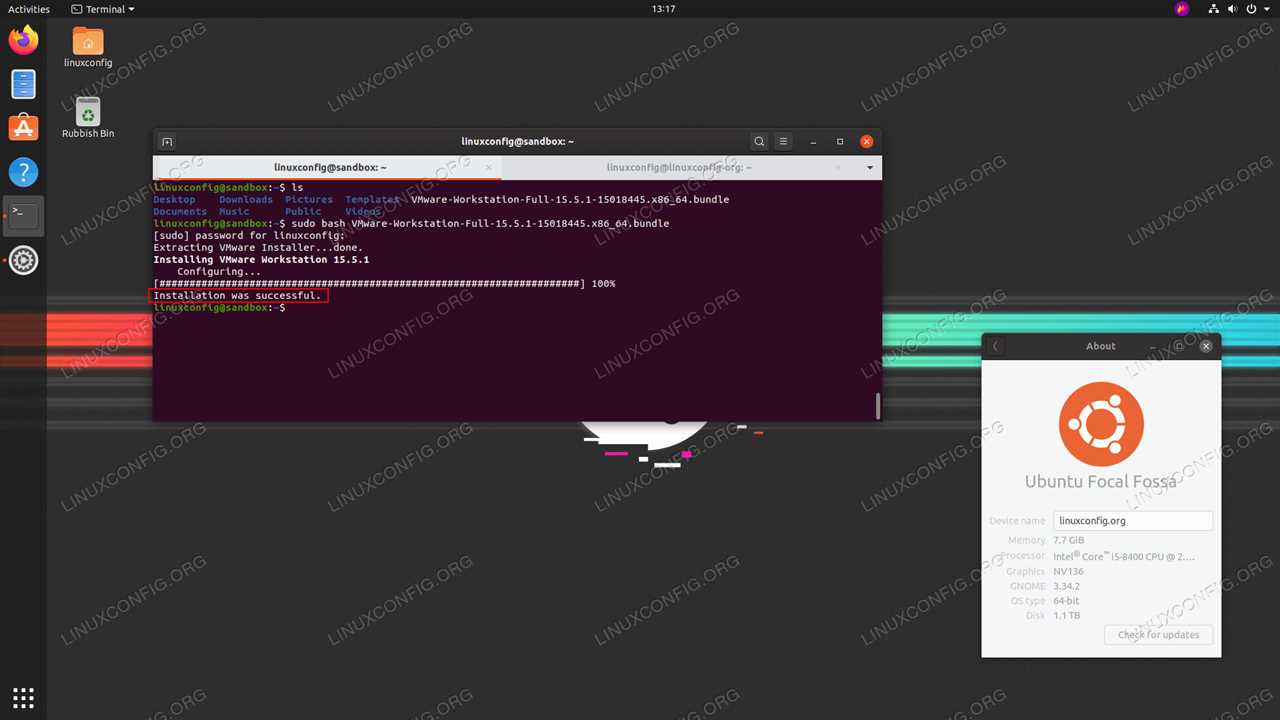
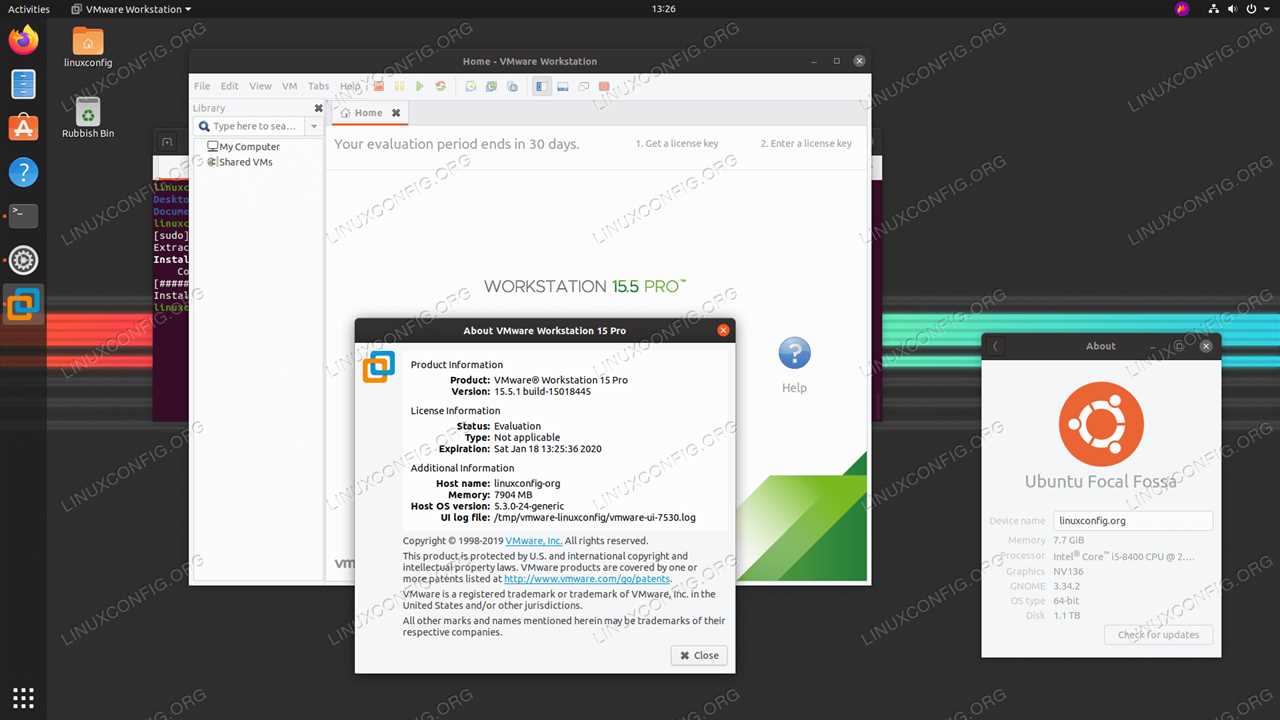
Installing VMware Workstation
To install VMware Workstation on your Ubuntu cluster, follow these steps:
- Download the VMware Workstation installation package from the official website.
- Open a terminal and navigate to the directory where the downloaded package is located.
- Run the following command to make the installation package executable:
chmod +x VMware-Workstation-XXXXXXX.bundle - Start the installation process by running the following command:
sudo ./VMware-Workstation-XXXXXXX.bundle - Follow the on-screen instructions to complete the installation.
- Once the installation is finished, launch VMware Workstation from the applications menu.
- Enter your license key or choose the trial version.
- Start creating your virtual machines and configuring your Ubuntu cluster.
By following these steps, you will be able to install VMware Workstation on your Ubuntu cluster and start using it to create and manage virtual machines.
Creating a New Virtual Machine

When installing Ubuntu on VMware, the first step is to create a new virtual machine. This allows you to simulate a separate computer within your existing operating system.
To create a new virtual machine, follow these steps:
- Open VMware and click on “Create a New Virtual Machine”.
- Select the “Typical” option and click “Next”.
- Choose the installation media. In this case, select the Ubuntu ISO file that you have downloaded.
- Specify the operating system you are installing. In this case, select “Linux” and “Ubuntu” as the version.
- Choose a name and location for your virtual machine. Make sure to use a descriptive name that will help you identify it later.
- Specify the disk capacity for your virtual machine. It is recommended to allocate at least 20GB of space for Ubuntu.
- Customize the hardware settings if needed. You can adjust the number of processors, memory, and network adapter settings.
- Review the summary and click “Finish” to create the virtual machine.
By following these steps, you will have successfully created a new virtual machine for installing Ubuntu on VMware. This will allow you to run Ubuntu alongside your existing operating system, providing you with a powerful and flexible development environment.
Configuring the Virtual Machine
Once you have installed VMware and Ubuntu, the next step is to configure the virtual machine to ensure optimal performance and compatibility. Here are some key steps to follow:
1. Adjust the virtual machine’s memory and CPU settings to meet your requirements. This can be done by accessing the virtual machine settings in VMware and modifying the allocated resources.
2. Enable virtualization technology in the BIOS settings of your physical machine. This will allow the virtual machine to take full advantage of your hardware resources.
3. Configure the network settings of the virtual machine. You can choose between bridged, NAT, or host-only networking depending on your needs. Bridged networking allows the virtual machine to have its own IP address on the same network as your physical machine, while NAT and host-only networking provide more isolated environments.
4. Install VMware Tools on the Ubuntu virtual machine. VMware Tools is a set of utilities that enhances the performance and functionality of the virtual machine. It includes drivers for the virtual hardware, as well as additional features like drag-and-drop and shared folders.
5. Customize the virtual machine’s settings based on your preferences. You can configure options such as power management, display resolution, and input devices to optimize your experience.
By following these steps, you can ensure that your Ubuntu virtual machine is properly configured and ready to use in VMware. Take the time to review each setting and make any necessary adjustments to create the ideal environment for your needs.
Allocating Resources
When installing Ubuntu on VMware, it is important to allocate the appropriate resources to ensure optimal performance. The following steps will guide you through the process of allocating resources:
Step 1: Launch VMware and select the virtual machine where you want to install Ubuntu.
Step 2: Click on the “Settings” button to open the virtual machine settings.
Step 3: In the settings window, navigate to the “Hardware” tab.
Step 4: Here, you can allocate resources such as CPU, memory, and storage to the virtual machine.
Step 5: To allocate CPU resources, click on the “Processors” option and select the desired number of virtual processors.
Step 6: To allocate memory resources, click on the “Memory” option and specify the amount of memory you want to allocate to the virtual machine.
Step 7: To allocate storage resources, click on the “Hard Disk” option and select the desired storage capacity.
Step 8: Once you have allocated the necessary resources, click on the “OK” button to save the changes.
Step 9: You can now proceed with the installation of Ubuntu on the allocated resources.
By allocating the appropriate resources, you can ensure that your Ubuntu installation on VMware runs smoothly and efficiently. Make sure to allocate enough resources to meet the requirements of your specific use case, whether it’s for personal use or running a cluster of virtual machines.
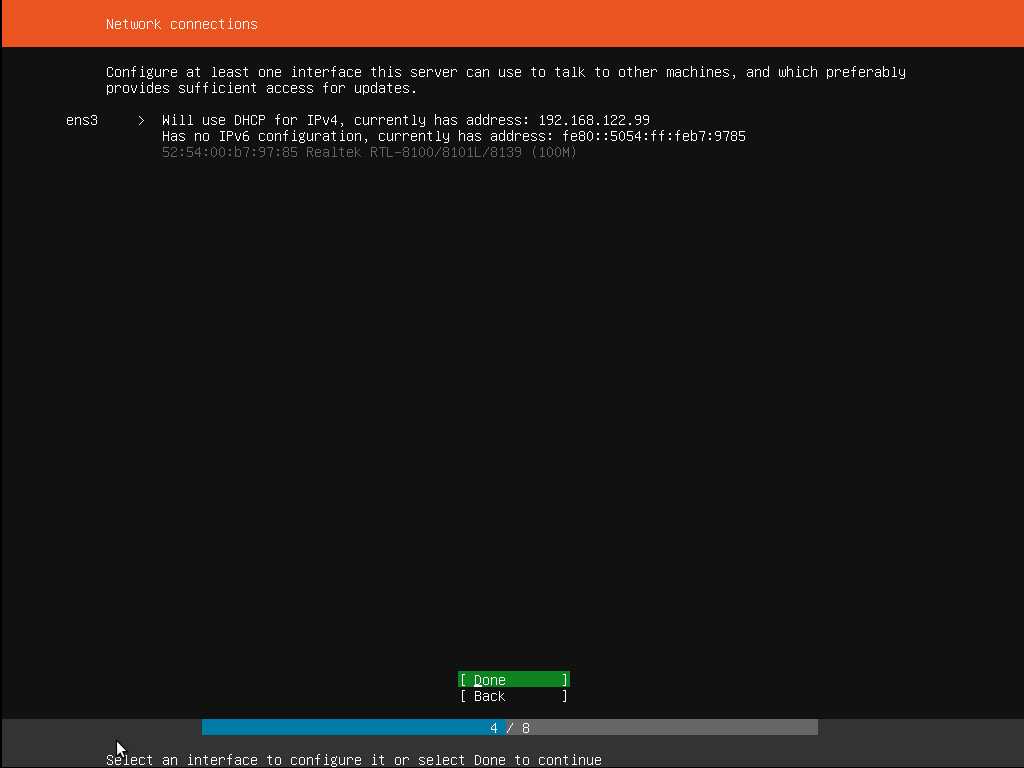
Setting Up Network
Setting up the network in Ubuntu on VMware is an important step to ensure proper connectivity and communication within your virtual environment. By configuring the network settings correctly, you can enable your Ubuntu virtual machine to connect to the internet, access shared resources, and communicate with other devices on the network.
To set up the network in Ubuntu on VMware, follow these steps:
| Step | Description |
|---|---|
| 1 | Open the VMware application and select your Ubuntu virtual machine. |
| 2 | Click on the “Edit virtual machine settings” option. |
| 3 | In the Virtual Machine Settings window, select the “Network Adapter” option. |
| 4 | Choose the desired network connection type for your Ubuntu virtual machine, such as “Bridged”, “NAT”, or “Host-only”. |
| 5 | Click on the “OK” button to save the changes. |
| 6 | Start your Ubuntu virtual machine. |
| 7 | Open the terminal in Ubuntu and run the command “ifconfig” to check the network interfaces and their IP addresses. |
| 8 | If necessary, configure the network settings manually by editing the “/etc/network/interfaces” file. |
| 9 | Test the network connectivity by pinging an external IP address or domain name. |
By following these steps, you can successfully set up the network in Ubuntu on VMware and ensure smooth communication between your virtual machine and the external network. Remember to use the appropriate network connection type based on your requirements and network setup.
Adjusting Display Settings
When installing Ubuntu on VMware, it is important to adjust the display settings to ensure optimal performance and visual clarity. Follow the steps below to adjust the display settings:
| Step | Description |
|---|---|
| 1 | Open the VMware cluster where the Ubuntu virtual machine is located. |
| 2 | Select the Ubuntu virtual machine from the list of available VMs. |
| 3 | Click on the “Settings” option to open the virtual machine settings. |
| 4 | Navigate to the “Display” tab in the settings menu. |
| 5 | Adjust the display resolution by moving the slider or entering a custom resolution. |
| 6 | Enable or disable the “Accelerate 3D graphics” option based on your requirements. |
| 7 | Click “OK” to save the changes and apply the new display settings. |
By adjusting the display settings, you can optimize the visual experience of Ubuntu on VMware and ensure that it meets your specific needs and preferences.