Welcome to our step-by-step guide on how to install npm! Whether you’re a beginner or an experienced developer, npm is an essential tool for managing and sharing JavaScript packages. By following these simple instructions, you’ll have npm up and running in no time.
Step 1: Check if Node.js is installed
Before installing npm, you need to make sure that Node.js is installed on your system. npm is bundled with Node.js, so if you already have Node.js installed, you’ll have npm as well. To check if Node.js is installed, open your terminal or command prompt and run the following command:
node -v
If you see a version number printed on the screen, it means Node.js is installed. If not, you’ll need to download and install Node.js from the official website.
Step 2: Install npm
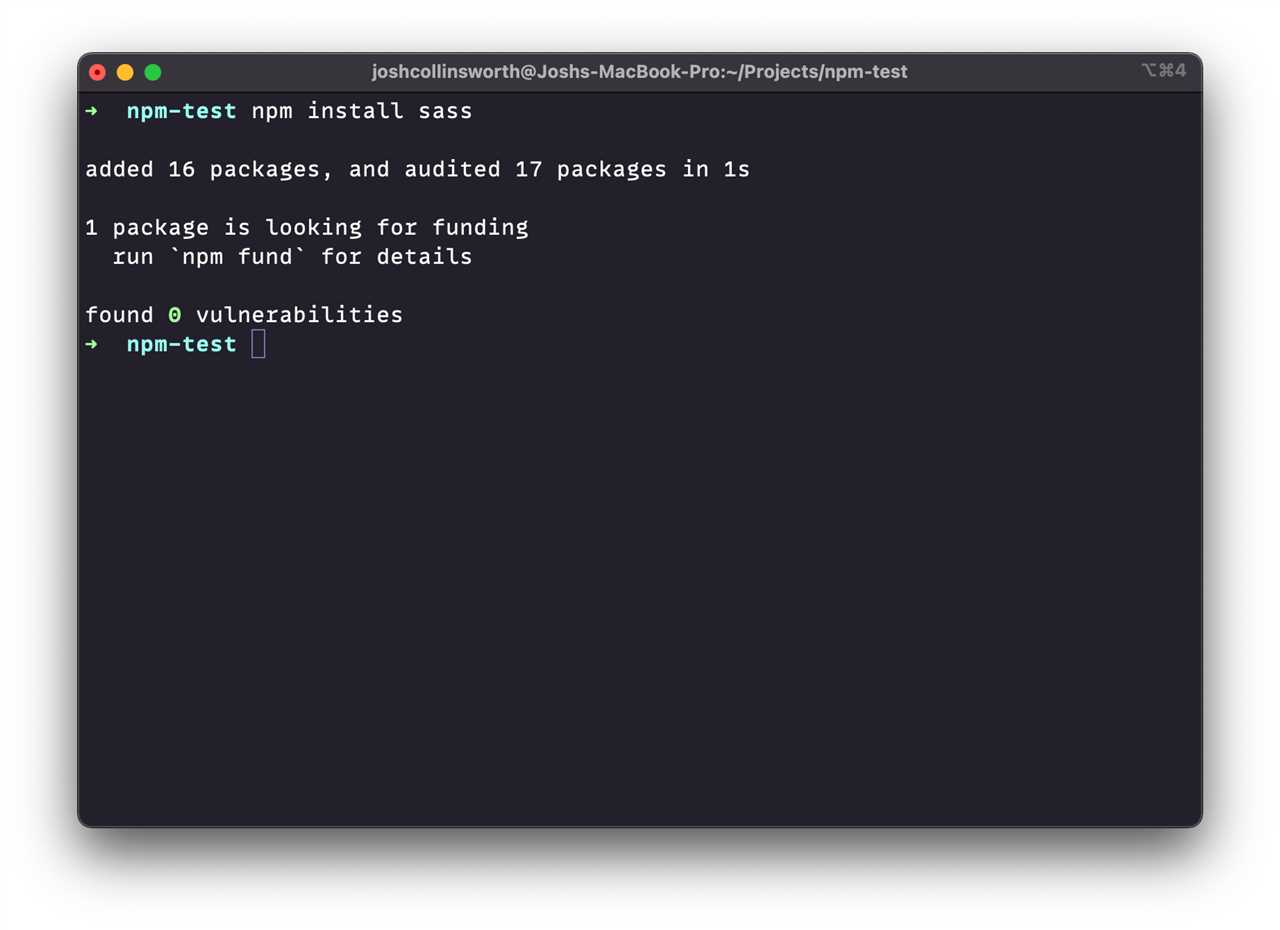
Once you have Node.js installed, installing npm is as simple as running a single command. Open your terminal or command prompt and enter the following command:
npm install npm@latest -g
This command will install the latest version of npm globally on your system. The -g flag ensures that npm is installed globally, allowing you to use it from any directory.
Step 3: Verify the installation
To verify that npm is installed correctly, you can run the following command:
npm -v
If you see a version number printed on the screen, congratulations! You have successfully installed npm on your system. You’re now ready to start using npm to manage your JavaScript packages.
That’s it! You’ve completed the step-by-step guide on how to install npm. Now you can take full advantage of npm’s powerful features and vast library of packages to enhance your JavaScript development workflow.
Section 1: Installing Node.js
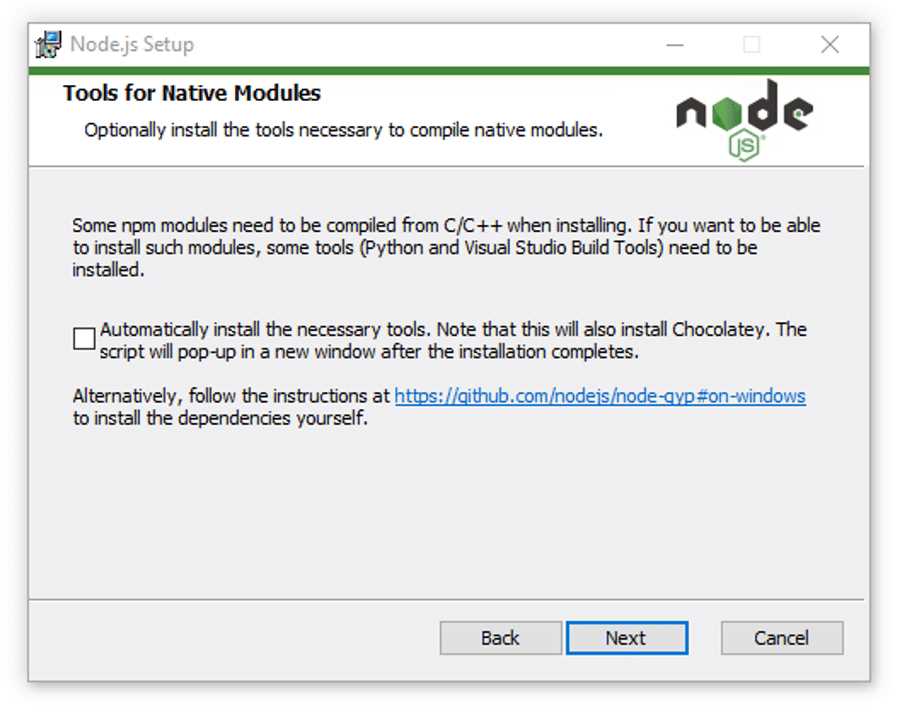
To install npm, you first need to install Node.js. Node.js is a JavaScript runtime that allows you to run JavaScript on the server side. npm, which stands for Node Package Manager, is a package manager for Node.js and is included with the installation of Node.js.
Here is a step-by-step guide on how to install Node.js:
- Go to the official Node.js website at https://nodejs.org.
- Click on the “Downloads” button.
- Choose the version of Node.js you want to install. It is recommended to choose the LTS (Long Term Support) version for stability.
- Once the download is complete, run the installer.
- Follow the instructions in the installer to complete the installation.
- After the installation is complete, open a command prompt or terminal window.
- Verify that Node.js and npm are installed by running the following commands:
node -v
npm -v
If you see the version numbers of Node.js and npm, then the installation was successful.
Congratulations! You have successfully installed Node.js, which includes npm. You are now ready to start using npm to manage your Node.js packages.
Step 1: Downloading Node.js
In order to install npm, you first need to download and install Node.js. Node.js is a JavaScript runtime that allows you to run JavaScript on the server side. npm is a package manager for Node.js that allows you to easily install and manage third-party libraries and modules.
Here are the steps to download Node.js:
| 1. | Go to the official Node.js website at https://nodejs.org. |
| 2. | Click on the “Downloads” button. |
| 3. | Choose the version of Node.js that is appropriate for your operating system. There are versions available for Windows, macOS, and Linux. |
| 4. | Once you have chosen the version, click on the corresponding download link to start the download. |
| 5. | After the download is complete, run the installer and follow the instructions to install Node.js on your computer. |
Once Node.js is installed, you will have access to npm and you can proceed to the next step of the installation process.
Step 2: Running the Installer
Once you have downloaded the npm installer, the next step is to run it on your computer. The installation process is straightforward and can be completed in just a few simple steps.
To install npm, follow these instructions:
| 1. | Open the terminal or command prompt on your computer. |
| 2. | Navigate to the location where you saved the npm installer. |
| 3. | Run the installer by typing the command npm-install and pressing Enter. |
| 4. | Follow the on-screen prompts to complete the installation process. |
| 5. | Once the installation is complete, you can verify that npm is installed correctly by typing the command npm -v and pressing Enter. This will display the version number of npm installed on your computer. |
That’s it! You have successfully installed npm on your computer. Now you can start using npm to manage your JavaScript packages and dependencies.
Step 3: Verifying the Installation
After completing the installation process, it is important to verify that npm has been installed correctly on your system. This step will ensure that you can use npm to install packages and manage dependencies for your projects.
To verify the installation, open your command prompt or terminal and type the following command:
npm -v
This command will display the version number of npm installed on your system. If you see a version number, it means that npm has been successfully installed.
If you encounter any errors or the command is not recognized, it may indicate that npm was not installed properly. In such cases, you may need to reinstall npm following the previous steps.
Once you have verified the installation, you are ready to start using npm to install packages and manage your project dependencies. The next step is to learn how to use npm commands to install packages.
Section 2: Installing npm
Now that you understand what npm is and why it is important, let’s move on to the installation process. Installing npm is a straightforward process that can be done in just a few simple steps.
The first step is to check if you already have npm installed on your system. You can do this by opening your command prompt or terminal and typing npm -v. If you see a version number displayed, it means that npm is already installed and you can skip to the next step. If not, you will need to install npm.
To install npm, you will need to install Node.js first. npm is bundled with Node.js, so by installing Node.js, you will automatically get npm as well. You can download the latest version of Node.js from the official website (https://nodejs.org) and follow the installation instructions for your operating system.
Once you have installed Node.js, you can verify that npm is installed by running the npm -v command again. If you see a version number displayed, it means that npm has been successfully installed.
That’s it! You have now successfully installed npm on your system. In the next section, we will learn how to use npm to manage packages and dependencies for your projects.
Step 1: Opening the Command Line Interface
To install npm, you will need to use the Command Line Interface (CLI) on your computer. The CLI allows you to interact with your computer’s operating system using text commands.
To open the Command Line Interface, follow these steps:
- On Windows, press the Windows key + R to open the Run dialog box. Type “cmd” and press Enter.
- On macOS, open the Terminal application. You can find it in the Utilities folder within the Applications folder.
- On Linux, open the Terminal application. You can usually find it in the Applications or System Tools menu.
Once you have opened the Command Line Interface, you are ready to proceed with the installation process.