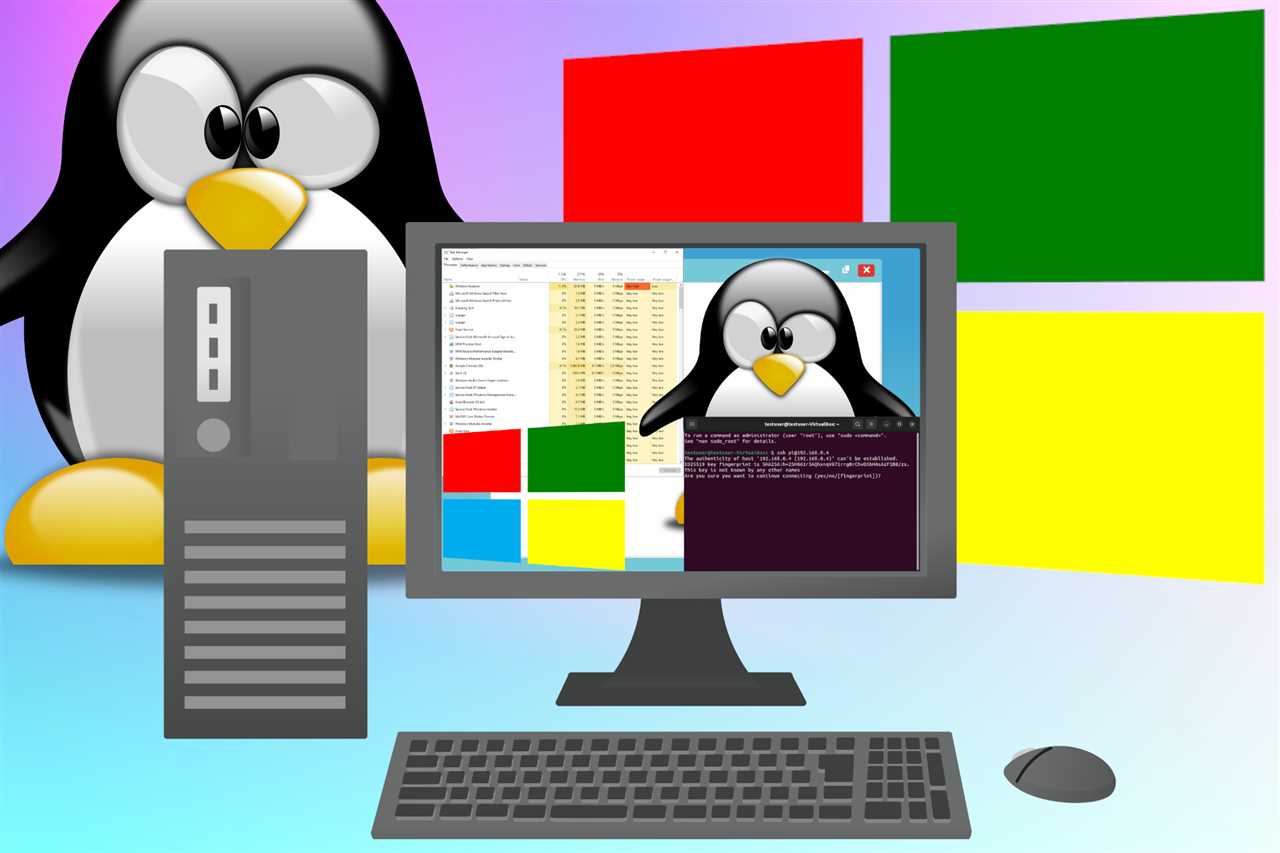
If you’re looking to expand your computing horizons and explore the world of Linux, you’re in luck! With the release of Windows 11, installing Linux on your Windows machine has become easier than ever before. Whether you’re a seasoned Linux user or a complete beginner, this step-by-step guide will walk you through the process of installing Linux on your Windows 11 system.
Linux is a powerful and versatile operating system that offers a wide range of benefits, including increased security, customization options, and access to a vast library of open-source software. By installing Linux on your Windows 11 machine, you can enjoy the best of both worlds and take advantage of the strengths of both operating systems.
In this guide, we’ll cover everything you need to know to successfully install Linux on your Windows 11 system. From choosing the right Linux distribution for your needs to creating a bootable USB drive and configuring your system, we’ll walk you through each step of the process. So, let’s get started and unlock the full potential of your Windows 11 machine with Linux!
Section 1: Preparing Your System
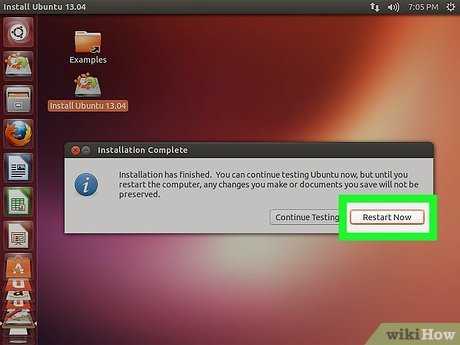
Before you can install Linux on Windows 11, you need to make sure your system is properly prepared. Here are the steps you need to follow:
Step 1: Check your system requirements. Make sure your computer meets the minimum requirements for running Linux. This includes having enough storage space, memory, and a compatible processor.
Step 2: Backup your data. Before making any changes to your system, it’s always a good idea to backup your important files and documents. This will ensure that you don’t lose any data during the installation process.
Step 3: Create a bootable USB drive. You will need a bootable USB drive with the Linux distribution you want to install. You can create a bootable USB drive using tools like Rufus or Etcher.
Step 4: Disable secure boot. Secure boot is a feature in Windows 11 that prevents unauthorized operating systems from loading during the boot process. To install Linux, you will need to disable secure boot in your system’s BIOS settings.
Step 5: Enable virtualization. Some Linux distributions require virtualization to be enabled in order to run properly. You can enable virtualization in your system’s BIOS settings.
Step 6: Allocate disk space. Decide how much disk space you want to allocate for your Linux installation. You can either create a separate partition or use a virtual machine to install Linux.
Step 7: Update your system. Before installing Linux, make sure your Windows 11 system is up to date. This will ensure that you have the latest security patches and bug fixes.
By following these steps, you will be ready to install Linux on your Windows 11 system. In the next section, we will walk you through the installation process step by step.
Checking System Requirements

Before you proceed to install Linux on Windows 11, it is important to check if your system meets the necessary requirements. This will ensure a smooth installation process and optimal performance.
1. Compatibility: Make sure that your computer is compatible with Linux. While Linux can be installed on most systems, it is always a good idea to check the compatibility list provided by the Linux distribution you plan to install.
2. Disk Space: Ensure that you have enough free disk space to accommodate the Linux installation. The amount of space required may vary depending on the Linux distribution you choose, but it is generally recommended to have at least 20GB of free space.
3. RAM: Check if your system has enough RAM to run both Windows 11 and Linux simultaneously. While Linux can run on lower RAM configurations, it is recommended to have at least 4GB of RAM for a smooth experience.
4. Processor: Verify if your processor supports virtualization technology. This is important as most Linux distributions require virtualization support for certain features and functionalities.
5. Secure Boot: If your system has Secure Boot enabled, you may need to disable it before installing Linux. Secure Boot can prevent the installation of unsigned operating systems, including Linux distributions.
6. Backup: It is always a good practice to back up your important files and data before installing Linux. While the installation process is generally safe, it is better to be prepared for any unforeseen circumstances.
By ensuring that your system meets these requirements, you can proceed with confidence to install Linux on Windows 11 and enjoy the benefits of both operating systems.
Creating a Backup of Your Data
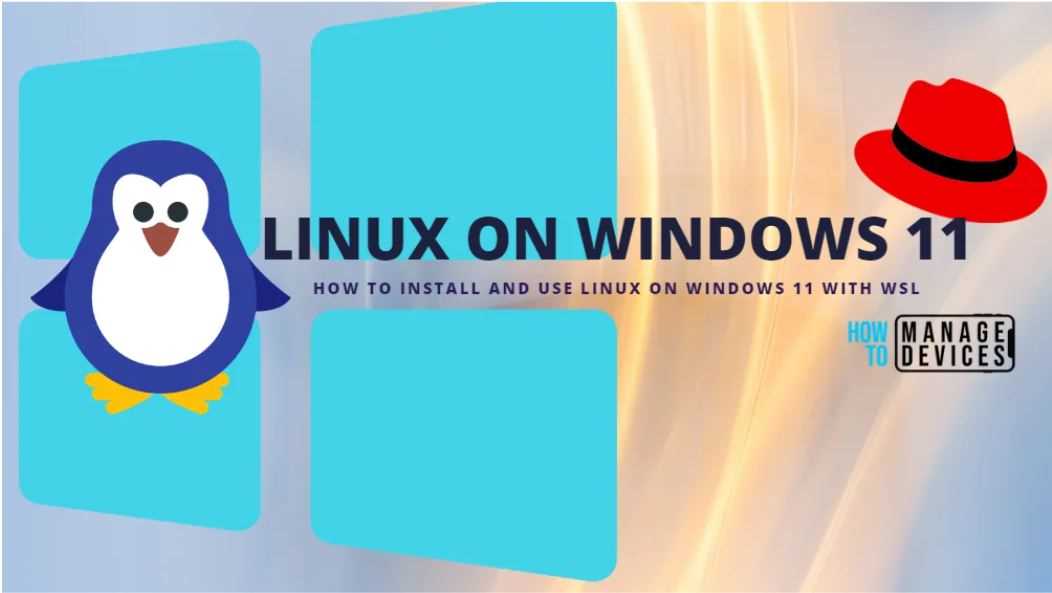
Before proceeding with the installation of Linux on Windows 11, it is highly recommended to create a backup of your data. This step is crucial to ensure that you don’t lose any important files or documents during the installation process.
There are several ways you can create a backup of your data:
- External Hard Drive: Connect an external hard drive to your Windows 11 computer and copy all your important files and folders to the drive. This will create a separate copy of your data that you can restore later if needed.
- Cloud Storage: Use a cloud storage service like Google Drive, Dropbox, or OneDrive to upload and store your important files. This method allows you to access your data from anywhere and provides an extra layer of security.
- Network Storage: If you have a network-attached storage (NAS) device or a shared network folder, you can copy your data to these locations. This option is useful if you have multiple devices connected to the same network.
- USB Flash Drive: If you have a small amount of data that you want to backup, you can use a USB flash drive. Simply copy your files to the drive and keep it in a safe place.
Regardless of the method you choose, make sure to verify that your backup is complete and accessible before proceeding with the Linux installation. It’s also a good idea to create a system image backup of your Windows 11 installation, as this will allow you to restore your computer to its previous state if anything goes wrong during the Linux installation process.
Remember, creating a backup of your data is an essential step to protect your files and ensure a smooth installation of Linux on Windows 11. Don’t skip this step to avoid any potential data loss.
Updating Windows 11

Before you proceed with the installation of Linux on Windows 11, it is important to ensure that your Windows 11 operating system is up to date. Updating Windows 11 is crucial to ensure compatibility and a smooth installation process.
To update Windows 11, follow these steps:
- Click on the Start menu in the bottom left corner of the screen.
- Select the Settings icon, which looks like a gear.
- In the Settings menu, click on the “Windows Update” option.
- Click on the “Check for updates” button.
- If there are any available updates, Windows 11 will automatically download and install them.
- Once the updates are installed, you may be prompted to restart your computer. If so, click on the “Restart now” button.
It is important to keep your Windows 11 operating system up to date to ensure that you have the latest security patches and bug fixes. This will also help to ensure a smooth installation process when installing Linux on Windows 11.
Section 2: Choosing a Linux Distribution

When it comes to installing Linux on Windows 11, one of the first decisions you’ll need to make is which Linux distribution to choose. With so many options available, it can be overwhelming to know where to start. This section will guide you through the process of selecting the right Linux distribution for your needs.
Before diving into the different distributions, it’s important to consider your goals and requirements. Are you looking for a beginner-friendly distribution with a user-friendly interface? Or do you prefer a more advanced distribution with greater customization options? Additionally, consider the software and applications you plan to use on Linux, as some distributions may be better suited for specific purposes.
One popular Linux distribution that is often recommended for beginners is Ubuntu. Known for its ease of use and extensive community support, Ubuntu is a great choice for those new to Linux. It offers a familiar desktop environment and a wide range of software options.
If you’re interested in a lightweight distribution that can run on older hardware, you might consider Xubuntu or Lubuntu. These distributions are based on Ubuntu but use lighter desktop environments, making them more resource-efficient.
For those looking for a more advanced and customizable experience, Arch Linux is a popular choice. Arch Linux follows a “do-it-yourself” philosophy, allowing users to build their own customized Linux system from the ground up. While it requires more technical knowledge, it offers greater flexibility and control.
Other popular distributions include Fedora, Debian, and openSUSE, each with its own unique features and strengths. Take the time to research and compare different distributions to find the one that best fits your needs and preferences.
Once you’ve chosen a Linux distribution, you can proceed to the next step of the installation process. In the next section, we will guide you through the steps of creating a bootable USB drive to install Linux on Windows 11.
Researching Different Linux Distributions

When it comes to installing Linux on Windows 11, one of the first steps is to research and choose a Linux distribution that best suits your needs. There are many different distributions available, each with its own unique features and advantages.
Here are some factors to consider when researching different Linux distributions:
- Compatibility: Ensure that the Linux distribution you choose is compatible with Windows 11. Some distributions may have specific requirements or limitations when it comes to running on Windows.
- User-Friendliness: If you are new to Linux, you may want to consider a distribution that is known for its user-friendly interface and ease of use. Look for distributions that provide comprehensive documentation and support.
- Package Manager: Different distributions use different package managers, which are tools for installing, updating, and managing software packages. Research the package manager used by each distribution and determine if it aligns with your preferences and requirements.
- Software Availability: Consider the availability of software packages and applications for the Linux distribution you are interested in. Some distributions may have a larger community and repository of software, while others may be more niche.
- Hardware Support: Check if the Linux distribution supports the hardware components of your Windows 11 system. Look for compatibility with your graphics card, Wi-Fi adapter, and other peripherals.
- Community and Support: Research the community and support resources available for each Linux distribution. Look for active forums, documentation, and user groups that can help you troubleshoot issues and learn more about the distribution.
By thoroughly researching different Linux distributions, you can make an informed decision and choose the one that best fits your needs and preferences. Once you have selected a distribution, you can proceed with the installation process on your Windows 11 system.
Selecting the Right Linux Distribution for Your Needs
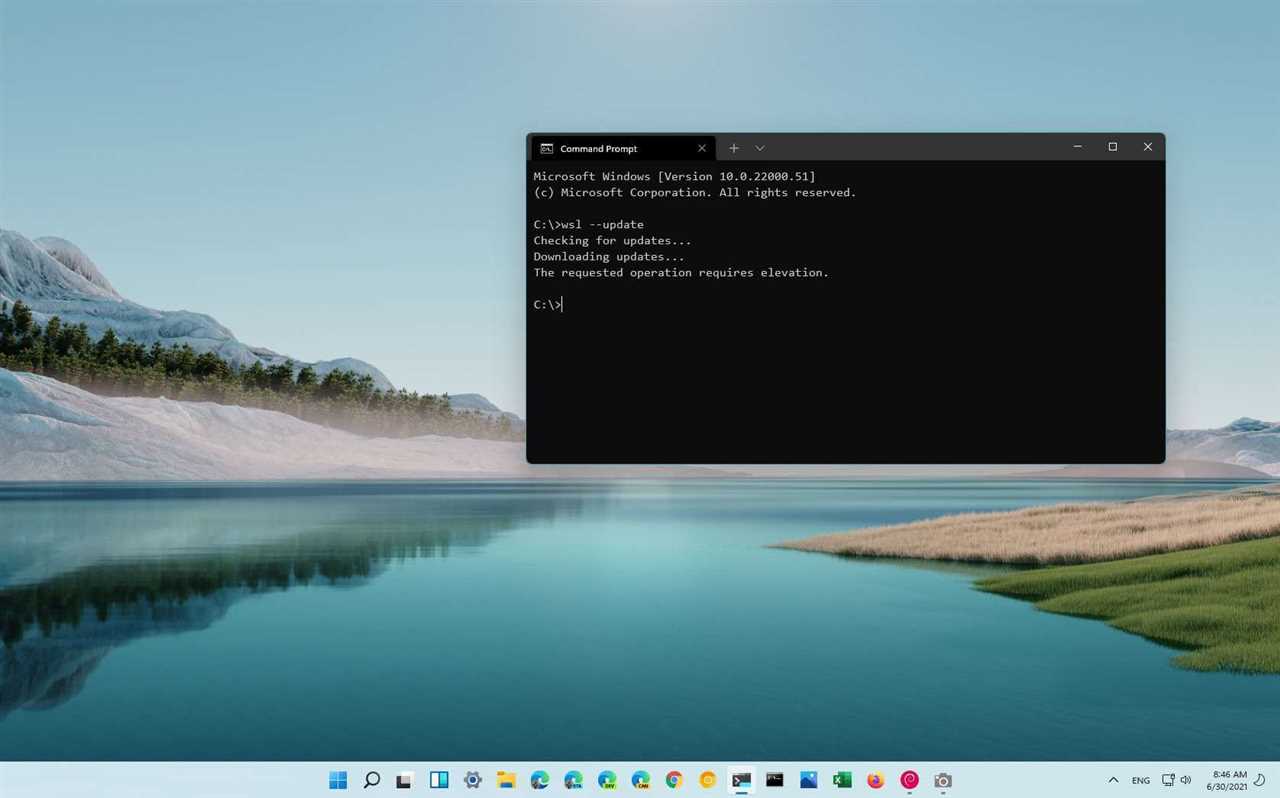
When it comes to installing Linux on Windows 11, one of the first decisions you’ll need to make is choosing the right Linux distribution for your needs. With so many options available, it can be overwhelming to know where to start. Here are some factors to consider when selecting the right Linux distribution:
1. Purpose: Think about what you plan to use Linux for. Are you a developer looking for a distribution with robust programming tools? Or are you a beginner who needs a user-friendly distribution with a simple interface? Understanding your purpose will help narrow down your options.
2. Compatibility: Ensure that the Linux distribution you choose is compatible with Windows 11. Check for any specific system requirements or compatibility issues before proceeding with the installation.
3. User Interface: Linux distributions come with different desktop environments, each offering a unique user interface. Take some time to explore the available options and choose one that suits your preferences and familiarity.
4. Package Management: Consider the package management system used by the Linux distribution. Some distributions use Debian’s package manager (APT), while others use Red Hat’s package manager (RPM). Understanding the package management system can help you easily install and manage software.
5. Community and Support: Look for a Linux distribution with an active and supportive community. This can be helpful if you encounter any issues or need assistance during the installation or while using Linux.
By considering these factors, you can select the right Linux distribution that meets your needs and ensures a smooth installation on Windows 11.
Downloading the Linux Distribution

To install Linux on Windows 11, you will first need to download a Linux distribution. A Linux distribution is a complete operating system that includes the Linux kernel, along with a collection of software and tools.
There are many different Linux distributions available, each with its own set of features and software packages. Some popular Linux distributions include Ubuntu, Fedora, and Debian.
To download a Linux distribution, you can visit the official website of the distribution you want to install. Most Linux distributions offer a variety of download options, including different versions and desktop environments.
Once you have chosen a Linux distribution, you can click on the download link to start the download process. The download may take some time, depending on the size of the distribution and your internet connection speed.
After the download is complete, you will have a file with the .iso extension. This file is an image of the Linux distribution, and it can be used to install Linux on your Windows 11 system.
Now that you have downloaded the Linux distribution, you are ready to proceed to the next step, which is creating a bootable USB drive or DVD to install Linux on Windows 11.
Section 3: Creating a Bootable USB Drive
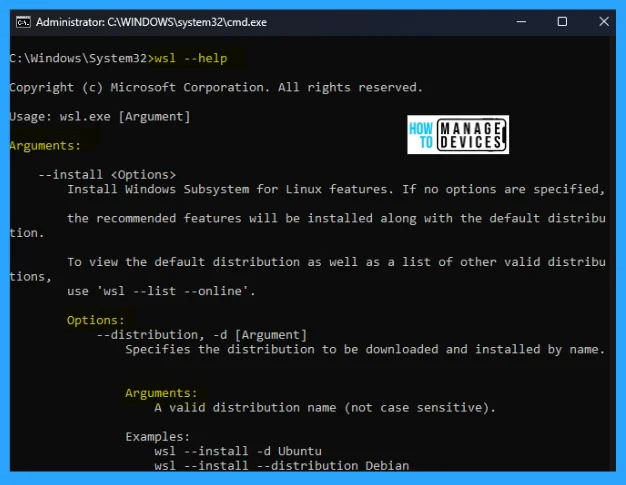
One of the first steps in installing Linux on Windows 11 is to create a bootable USB drive. This will allow you to install the Linux operating system on your computer. Here’s how you can create a bootable USB drive:
| Step 1: | Download the Linux distribution of your choice. There are many different distributions available, such as Ubuntu, Fedora, and Debian. Choose the one that best suits your needs. |
| Step 2: | Insert a USB drive into your computer. Make sure it has enough storage capacity to hold the Linux distribution. |
| Step 3: | Open the downloaded Linux distribution file. Most distributions come in the form of an ISO file. |
| Step 4: | Download and install a tool that can create a bootable USB drive. There are many tools available, such as Rufus, Etcher, and UNetbootin. |
| Step 5: | Open the tool and select the Linux distribution ISO file you downloaded in Step 3. |
| Step 6: | Select the USB drive you inserted in Step 2 as the destination for the bootable USB drive. |
| Step 7: | Click on the “Create” or “Start” button to begin the process of creating the bootable USB drive. |
| Step 8: | Wait for the tool to finish creating the bootable USB drive. This may take a few minutes. |
| Step 9: | Once the process is complete, safely eject the USB drive from your computer. |
Now you have a bootable USB drive that contains the Linux distribution of your choice. You can use this USB drive to install Linux on Windows 11 by following the next steps in this guide.

