If you’re looking to install Linux on your Windows 10 operating system, you’ve come to the right place. Installing Linux alongside Windows, also known as dual-booting, allows you to have both operating systems on your computer and choose which one to use at startup. This guide will walk you through the process step-by-step, ensuring a smooth installation and setup.
The first step is to create a partition on your Windows 10 system where you will install Linux. A partition is a separate section of your hard drive that can be used to install a different operating system. By creating a partition, you can keep your Windows 10 installation intact while also having space for Linux.
Once you have created a partition, the next step is to download a Linux distribution of your choice. There are many different distributions available, such as Ubuntu, Fedora, and Debian. Each distribution has its own unique features and user interface, so choose the one that best suits your needs.
After downloading the Linux distribution, you will need to create a bootable USB or DVD. This will allow you to install Linux on your Windows 10 system. Follow the instructions provided by the Linux distribution to create the bootable media.
With the bootable media ready, restart your computer and boot from the USB or DVD. This will launch the Linux installation process. Follow the on-screen instructions to select the partition you created earlier and proceed with the installation.
Once the installation is complete, you will have a dual-boot system with both Windows 10 and Linux. You can choose which operating system to use each time you start your computer. Enjoy the flexibility and power of having two operating systems on one machine!
Section 1: Preparing for Installation
In this tutorial, we will guide you through the step-by-step process of installing Linux on your Windows 10 operating system. Before we begin the installation, it is important to make sure your system is prepared for the dual-boot setup.
1. Check System Requirements:
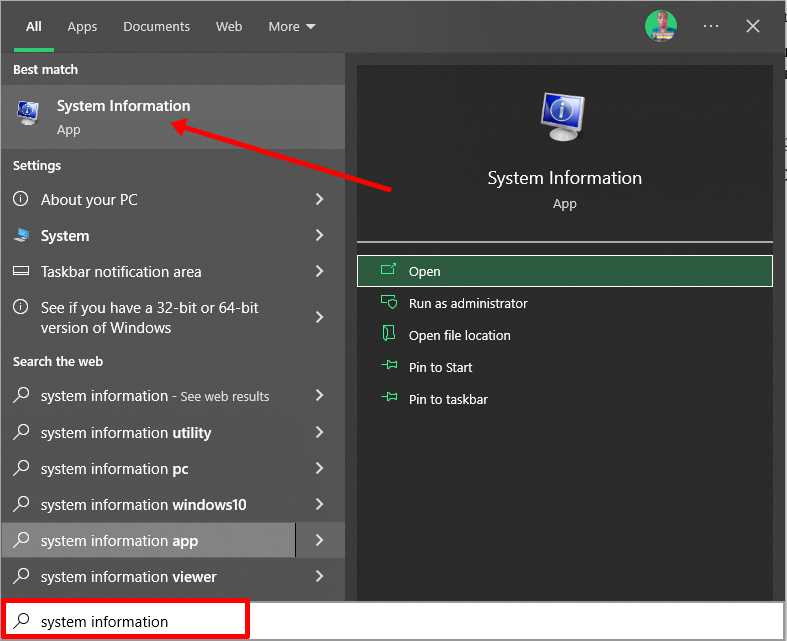
Before installing Linux, ensure that your Windows 10 system meets the minimum requirements for the Linux distribution you plan to install. This includes checking the processor, RAM, and storage requirements.
2. Backup Your Data:
It is always a good practice to back up your important files and data before making any changes to your system. This will help you avoid any potential data loss during the installation process.
3. Create a Partition:
In order to install Linux alongside Windows 10, you need to create a separate partition on your hard drive. This partition will be used to install the Linux operating system. Make sure you have enough free space on your hard drive to create the partition.
4. Download the Linux Distribution:
Choose the Linux distribution you want to install. There are many different distributions available, such as Ubuntu, Fedora, or Linux Mint. Visit the official website of the distribution and download the ISO file.
5. Create a Bootable USB Drive:
Once you have downloaded the ISO file, you need to create a bootable USB drive. This will allow you to install Linux from the USB drive. There are various tools available, such as Rufus or Etcher, that can help you create a bootable USB drive.
6. Disable Secure Boot:
Before starting the installation process, you may need to disable the Secure Boot feature in your system’s BIOS settings. This will allow you to boot from the USB drive and install Linux.
7. Enable Legacy Boot:
If your system has UEFI firmware, you may need to enable the Legacy Boot option in the BIOS settings. This will ensure that your system can boot from the USB drive and install Linux.
By following these steps and preparing your system for installation, you will be ready to proceed with the dual-boot setup of Windows 10 and Linux.
Checking System Requirements
Before you begin the tutorial on how to install Linux on Windows 10, it is important to check if your system meets the necessary requirements. This will ensure a smooth and successful installation process.
Operating System: Make sure you are running Windows 10 on your computer. This tutorial is specifically designed for Windows 10 users.
Dual-Boot Compatibility: Verify if your computer supports dual-booting. Dual-booting allows you to have both Windows and Linux operating systems installed on separate partitions of your hard drive.
Partition Space: Ensure that you have enough free space on your hard drive to create a new partition for the Linux installation. It is recommended to have at least 20GB of free space for a basic Linux installation.
Linux Distribution: Decide which Linux distribution you want to install. There are various distributions available, such as Ubuntu, Fedora, and Debian. Choose the one that best suits your needs and preferences.
Installation Media: Obtain the installation media for your chosen Linux distribution. This can be a bootable USB drive or a DVD. Make sure you have a reliable and working installation media before proceeding.
By checking these system requirements, you can ensure that your computer is ready for the Linux installation process. Once you have verified that your system meets all the necessary requirements, you can proceed with the installation process.
Creating a Backup of Important Data
Before proceeding with the installation of Linux on your Windows 10 system, it is crucial to create a backup of all your important data. This step is necessary to ensure that you do not lose any valuable information during the installation process.
There are several methods you can use to create a backup of your data. One option is to manually copy your files to an external storage device, such as a USB drive or an external hard drive. Simply locate the files you want to backup, right-click on them, and select the “Copy” option. Then, navigate to your external storage device, right-click, and select the “Paste” option to transfer the files.
Another option is to use backup software to automate the process. There are many free and paid backup software available that can help you create a complete backup of your system. These tools often offer features like scheduled backups, incremental backups, and the ability to restore your data easily.
Regardless of the method you choose, make sure to include all your important files, documents, photos, videos, and any other data that you cannot afford to lose. It is also a good idea to double-check your backup to ensure that all the files have been successfully copied.
By creating a backup of your important data, you can have peace of mind knowing that even if something goes wrong during the Linux installation process, you will still have a copy of your files. This precautionary measure will help you avoid any potential data loss and allow you to restore your system to its previous state if needed.
Downloading Linux Distribution
Before you can install Linux on your Windows 10 operating system, you need to download a Linux distribution. A Linux distribution is a complete operating system that includes the Linux kernel, along with various software packages and tools.
There are several popular Linux distributions available, such as Ubuntu, Fedora, and Debian. Each distribution has its own unique features and package management system, so it’s important to choose the one that best suits your needs.
To download a Linux distribution, follow these steps:
| Step 1: | Open your web browser and navigate to the official website of the Linux distribution you want to download. |
| Step 2: | Look for a “Download” or “Get” button on the website. Click on it to proceed. |
| Step 3: | On the download page, you will usually have the option to choose between different versions of the Linux distribution. Select the version that is compatible with your Windows 10 system. |
| Step 4: | Once you have selected the version, you will be prompted to choose a download mirror. A download mirror is a server that hosts the files for the Linux distribution. Choose a mirror that is geographically close to your location for faster download speeds. |
| Step 5: | Click on the download link to start the download process. The size of the download will vary depending on the Linux distribution and version you have chosen. |
Once the download is complete, you will have a file with a .iso extension. This is an image file that contains the entire Linux distribution. You will need to use this file to create a bootable USB or DVD, which will be used to install Linux on your Windows 10 system. The process of creating a bootable USB or DVD will be covered in the next section of this tutorial.
Downloading the Linux distribution is an important step in the process of installing Linux on your Windows 10 system. Make sure to choose a distribution that suits your needs and download it from a trusted source.
Section 2: Installing Linux
Now that you have prepared your system for installation, it’s time to install Linux on your Windows 10 operating system. Follow this step-by-step tutorial to guide you through the process:
Step 1: Create a partition on your hard drive to allocate space for the Linux installation. This will ensure that both operating systems can coexist on your system.
Step 2: Download the Linux distribution of your choice from the official website. There are various distributions available, such as Ubuntu, Fedora, and Debian.
Step 3: Burn the downloaded Linux ISO file onto a USB drive or DVD. This will create a bootable media that you can use to install Linux on your system.
Step 4: Restart your computer and boot from the USB drive or DVD that contains the Linux installation files.
Step 5: Follow the on-screen instructions to begin the installation process. You will be prompted to choose the installation language, keyboard layout, and other preferences.
Step 6: Select the partition you created earlier to install Linux. Make sure to allocate enough space for the Linux system to function properly.
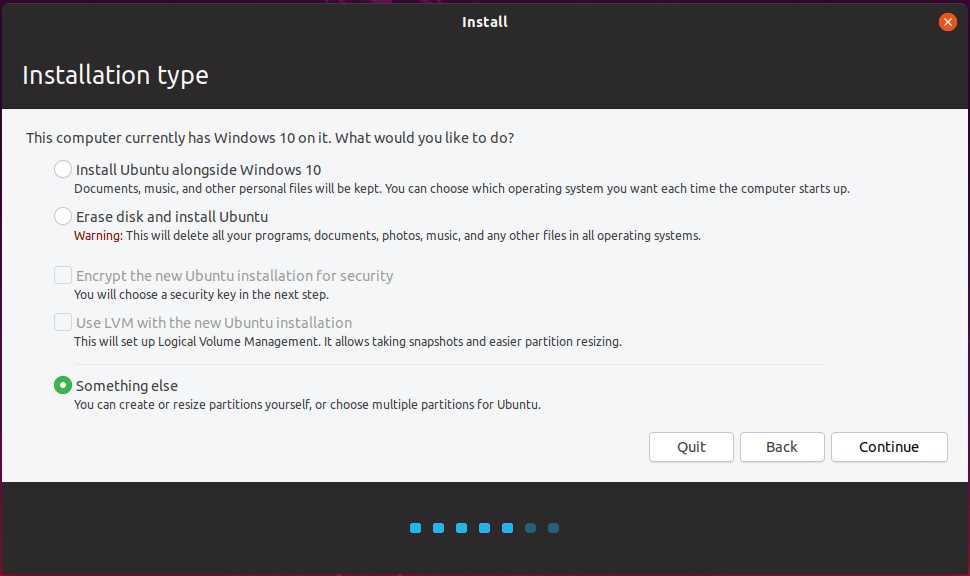
Step 7: Choose the installation type. You can either install Linux alongside Windows 10, erasing the entire disk and installing Linux, or manually partition the disk.
Step 8: Configure the bootloader settings. This will allow you to choose between Windows 10 and Linux when you start your computer.
Step 9: Wait for the installation process to complete. This may take some time, depending on your system’s specifications.
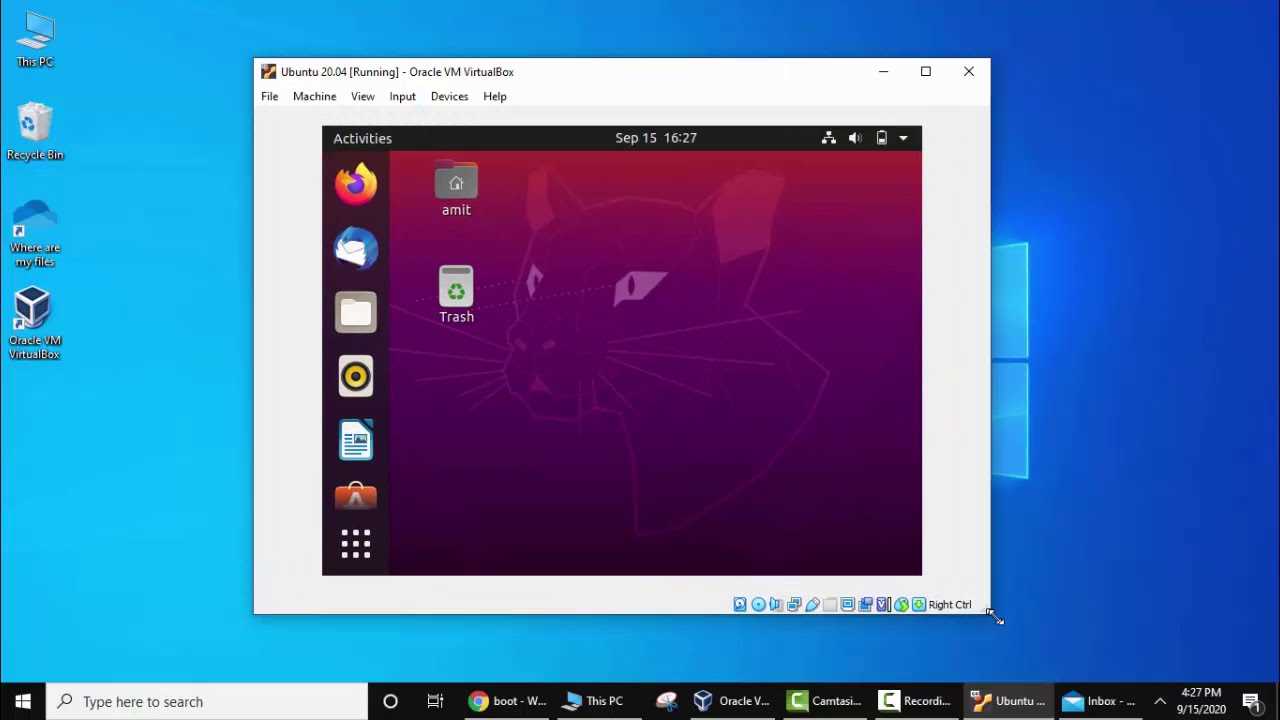
Step 10: Once the installation is finished, restart your computer. You will now have both Windows 10 and Linux installed on your system.
By following this step-by-step guide, you can successfully install Linux on your Windows 10 operating system. Enjoy exploring the world of Linux and its vast possibilities!