Welcome to our step-by-step guide on how to install TensorFlow in Anaconda! TensorFlow is a popular open-source machine learning framework that allows developers to build and train neural networks. Anaconda is a powerful Python distribution that simplifies package management and provides a convenient environment for data science and machine learning tasks. By installing TensorFlow in Anaconda, you can take advantage of both the extensive library ecosystem of Anaconda and the powerful capabilities of TensorFlow.
In this guide, we will walk you through the installation process, providing detailed instructions and explanations along the way. Whether you are a beginner or an experienced developer, this guide will help you get started with TensorFlow in Anaconda. By the end of this tutorial, you will have a fully functional TensorFlow installation in your Anaconda environment, ready to use for your machine learning projects.
So, let’s get started! Follow the steps below to install TensorFlow in Anaconda and unlock the full potential of this powerful machine learning framework. Whether you are using Windows, macOS, or Linux, this guide will cover the installation process for all operating systems. Get ready to dive into the world of machine learning with TensorFlow in Anaconda!
Section 1: Installing Anaconda
To install TensorFlow in Anaconda, you first need to install Anaconda itself. Anaconda is a popular distribution platform that provides a convenient way to manage and run Python packages and environments.
Follow these steps to install Anaconda:
- Visit the Anaconda website at https://www.anaconda.com/products/individual.
- Download the Anaconda installer for your operating system (Windows, macOS, or Linux).
- Once the installer is downloaded, double-click on it to start the installation process.
- Follow the on-screen instructions to complete the installation. Make sure to select the option to add Anaconda to your system PATH during the installation process.
- After the installation is complete, open the Anaconda Navigator or Anaconda Prompt to verify that Anaconda is installed correctly.
Now that you have Anaconda installed, you can proceed to the next step: installing TensorFlow.
Step 1: Downloading Anaconda

To install TensorFlow in Anaconda, you first need to download and install Anaconda. Anaconda is a popular open-source distribution of Python and R programming languages for data science and machine learning.
You can download Anaconda by following these steps:
| 1. | Go to the Anaconda website. |
| 2. | Click on the “Download” button. |
| 3. | Choose the appropriate version of Anaconda for your operating system (Windows, macOS, or Linux). |
| 4. | Click on the download link for the Python 3.x version of Anaconda. |
| 5. | Wait for the download to complete. |
| 6. | Once the download is finished, run the Anaconda installer. |
| 7. | Follow the installation instructions provided by the installer. |
| 8. | After the installation is complete, you can verify that Anaconda is installed correctly by opening a command prompt or terminal and typing “conda –version”. |
By following these steps, you will have successfully downloaded and installed Anaconda on your computer. Now you can proceed to the next step to install TensorFlow in Anaconda.
Step 2: Installing Anaconda
In order to install TensorFlow, you first need to install Anaconda, a popular open-source distribution of Python and R programming languages. Anaconda provides a convenient way to manage and install packages, making it easier to set up your development environment.
Here’s how you can install Anaconda:
- Go to the Anaconda website and download the installer for your operating system (Windows, macOS, or Linux).
- Once the installer is downloaded, run it and follow the on-screen instructions to install Anaconda.
- During the installation process, you can choose whether to install Anaconda for yourself or for all users on the system. Select the appropriate option based on your needs.
- Choose the installation location for Anaconda. The default location is usually fine, but you can choose a different directory if you prefer.
- After selecting the installation location, the installer will ask if you want to add Anaconda to your system’s PATH environment variable. It is recommended to select this option, as it allows you to easily access Anaconda from the command line.
- Once the installation is complete, you can verify that Anaconda is installed correctly by opening a new terminal or command prompt window and running the command
conda --version. If Anaconda is installed properly, you should see the version number displayed.
Now that you have Anaconda installed, you’re ready to proceed to the next step and install TensorFlow.
Step 3: Setting up Anaconda Environment

Once you have successfully installed Anaconda, the next step is to set up the environment for installing TensorFlow. Here’s how you can do it:
- Open the Anaconda Navigator.
- Click on the “Environments” tab on the left side of the window.
- Click on the “Create” button to create a new environment.
- Enter a name for the environment, such as “tensorflow_env”.
- Choose the desired Python version for the environment.
- Click on the “Create” button to create the environment.
- Once the environment is created, click on the “Home” tab on the left side of the window.
- Click on the drop-down menu next to the environment name and select “Open Terminal”.
- In the terminal window, type the following command to activate the environment:
conda activate tensorflow_env
Now you have successfully set up the Anaconda environment for installing TensorFlow. You are ready to proceed to the next step and install TensorFlow in the environment.
Section 2: Installing TensorFlow
Installing TensorFlow in Anaconda is a straightforward process that can be done in just a few steps. Follow the instructions below to get started:
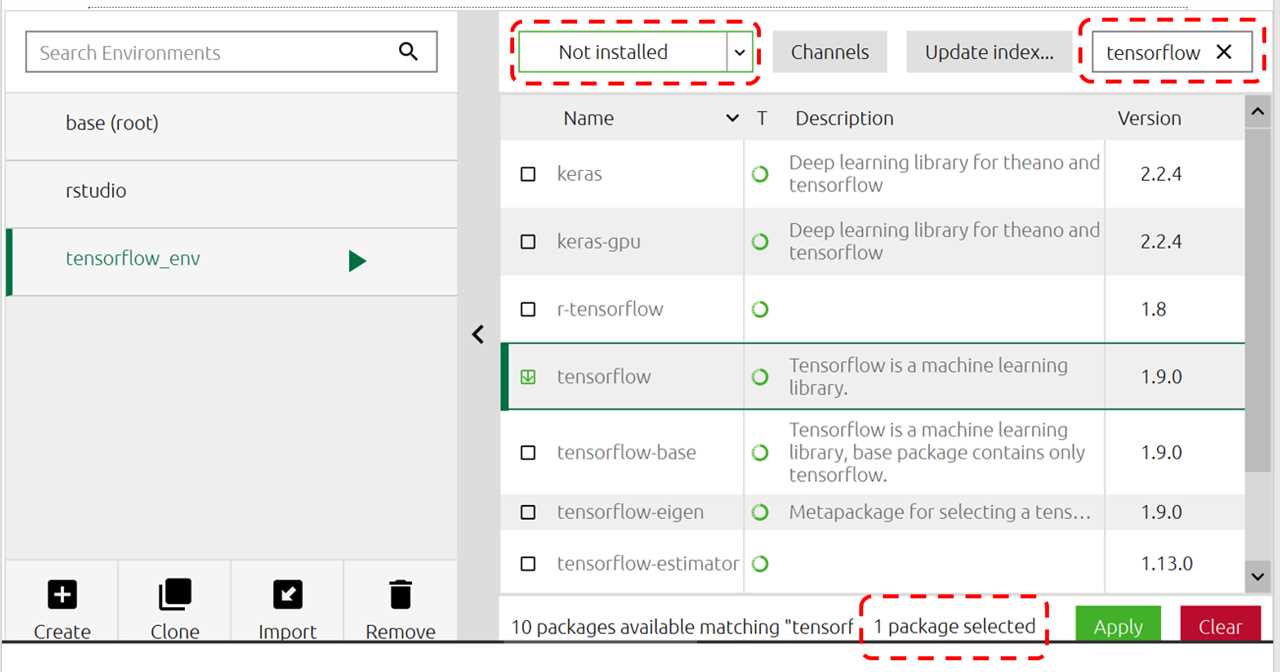
- Open Anaconda Navigator.
- Select the environment in which you want to install TensorFlow.
- Click on the “Channels” tab and add the following channels: conda-forge, anaconda, and defaults.
- Search for “tensorflow” in the search bar.
- Select the latest version of TensorFlow and click on the “Apply” button.
- Review the changes that will be made to your environment and click on the “Apply” button again to confirm the installation.
- Wait for the installation process to complete.
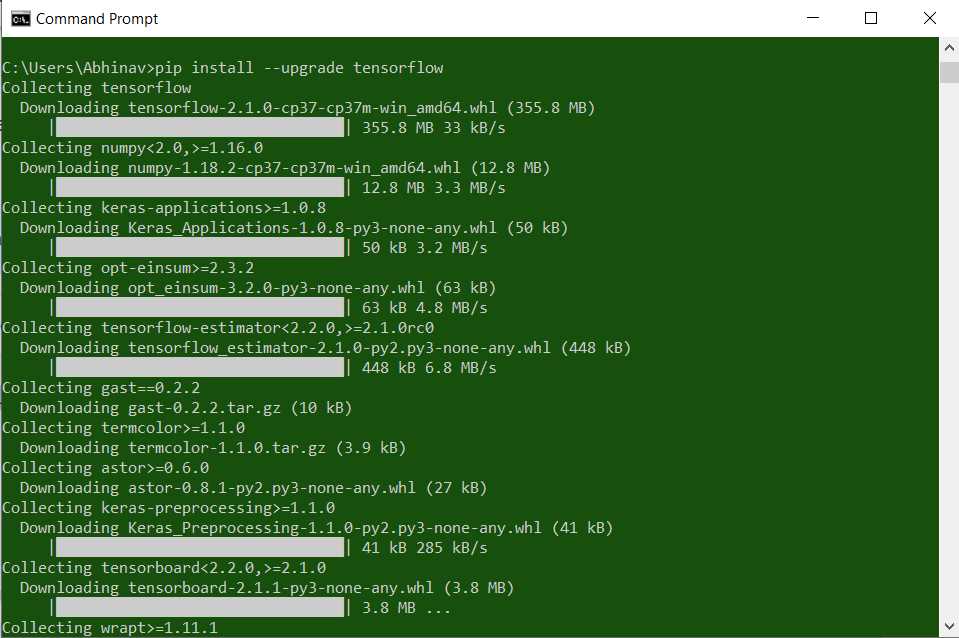
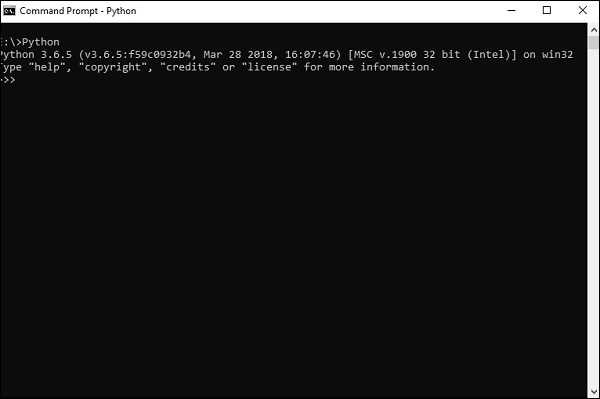
- Once the installation is finished, you can verify that TensorFlow is installed by opening a new terminal or command prompt and typing “python” to enter the Python interpreter. Then, import TensorFlow by typing “import tensorflow as tf” and press enter. If no errors occur, TensorFlow is successfully installed.
Congratulations! You have successfully installed TensorFlow in Anaconda. Now you can start using TensorFlow for your machine learning and deep learning projects.
Step 1: Creating a New Anaconda Environment
To install TensorFlow in Anaconda, you need to create a new environment specifically for this purpose. This allows you to isolate the TensorFlow installation from your other Python packages and dependencies.
To create a new Anaconda environment, open the Anaconda Navigator or Anaconda Prompt and follow these steps:
- Open the Anaconda Navigator or Anaconda Prompt.
- Create a new environment by running the following command:
conda create --name tensorflow
This command creates a new environment named “tensorflow”. You can replace “tensorflow” with any name you prefer.
After running the command, Anaconda will download and install the necessary packages and dependencies for the new environment.
Once the environment is created, activate it by running the following command:
conda activate tensorflow
This command activates the “tensorflow” environment, allowing you to install TensorFlow and other packages specific to this environment.
Now you are ready to proceed to the next step and install TensorFlow in your Anaconda environment.
Step 2: Activating the Environment
After successfully installing Anaconda and TensorFlow, the next step is to activate the environment in which TensorFlow is installed. This is necessary to ensure that the correct version of TensorFlow is being used and to avoid any conflicts with other packages.
To activate the environment, open the Anaconda Prompt or the terminal and type the following command:
conda activate tensorflow
This command will activate the TensorFlow environment, allowing you to use TensorFlow and its associated libraries. You will notice that the command prompt or terminal will change to indicate that the environment has been activated.
Note: If you named your environment something other than “tensorflow” during the installation process, replace “tensorflow” with the name of your environment in the command.
Once the environment is activated, you can proceed with using TensorFlow and running your machine learning models. It is important to always activate the environment before working with TensorFlow to ensure that the correct version and dependencies are being used.
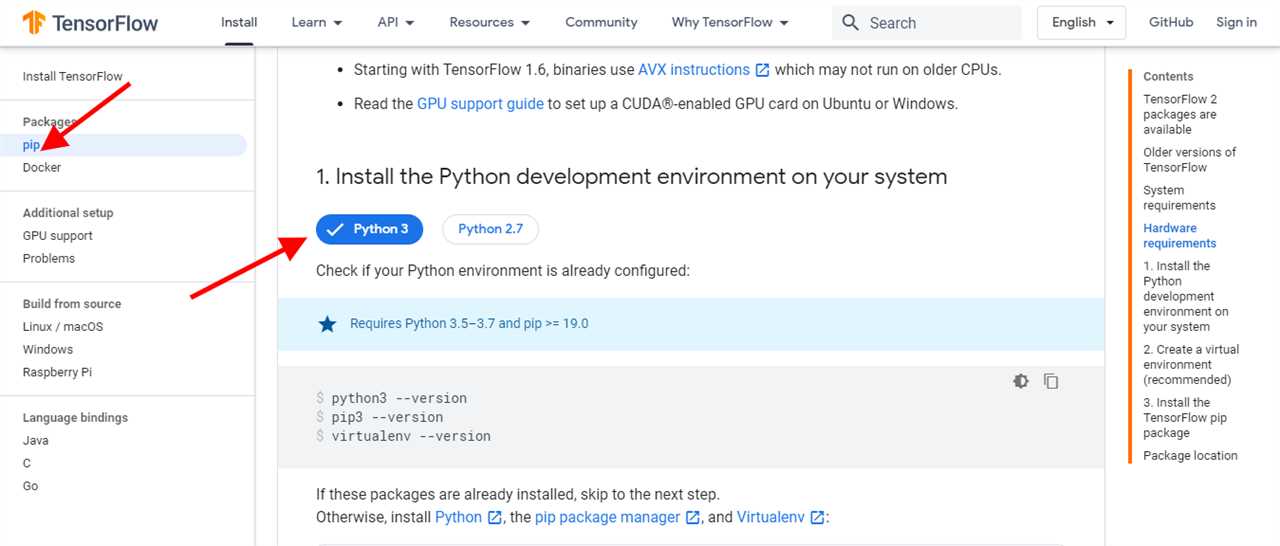
Step 3: Installing TensorFlow

Now that you have Anaconda installed, it’s time to install TensorFlow. TensorFlow is a popular open-source machine learning library developed by Google. It provides a flexible and efficient framework for building and training various machine learning models.
To install TensorFlow in Anaconda, follow these steps:
- Open the Anaconda Navigator.
- Select the environment in which you want to install TensorFlow. If you don’t have a specific environment, you can choose the base environment.
- Click on the “Environments” tab.
- In the search bar, type “tensorflow”.
- From the list of available packages, select “tensorflow” and click on the “Apply” button.
- Review the changes that will be made and click on the “Apply” button again to confirm the installation.
After the installation is complete, you can start using TensorFlow in your Anaconda environment. You can import the TensorFlow library in your Python scripts or Jupyter notebooks using the following code:
import tensorflow as tf
Now you are ready to explore the world of machine learning with TensorFlow!