
Have you ever encountered a stubborn folder on your computer that simply refuses to be deleted? It can be frustrating and time-consuming to deal with such a situation. However, fear not! In this step-by-step guide, we will show you how to forcefully delete a folder, no matter how resistant it may be.
Firstly, it is important to understand that forcefully deleting a folder should only be done as a last resort. It is always recommended to try the regular methods of deletion, such as using the delete key or right-clicking and selecting “Delete”. However, if these methods fail, it’s time to take more drastic measures.
To begin, you will need to open the command prompt on your computer. This can be done by pressing the Windows key + R, typing “cmd” into the Run dialog, and pressing Enter. Once the command prompt is open, navigate to the location of the folder you wish to delete by using the “cd” command followed by the path of the folder.
Next, you will need to use the “rmdir” command to forcefully delete the folder. However, be cautious as this command permanently deletes the folder and all its contents. To use the “rmdir” command, type “rmdir /s /q foldername” into the command prompt, replacing “foldername” with the name of the folder you wish to delete. Press Enter, and the folder should be forcefully deleted.
Remember, forcefully deleting a folder should only be done when all other methods fail. It is important to exercise caution and ensure that you are deleting the correct folder, as this process is irreversible. By following this step-by-step guide, you can overcome the stubbornness of a folder and regain control over your computer’s storage.
Section 1: Preparing for Folder Deletion
Before you can forcefully delete a folder, it’s important to make sure you have the necessary permissions and understand the potential consequences. Deleting a folder forcefully means that it will be permanently removed from your system, without the possibility of recovery.
Step 1: Check your user account permissions. Make sure you have administrative privileges or the necessary permissions to delete folders on your system. If you don’t have the required permissions, contact your system administrator for assistance.
Step 2: Backup important files. Before deleting a folder, it’s always a good idea to backup any important files or data that may be stored within it. This way, if you accidentally delete something you need, you can easily restore it from your backup.
Step 3: Close any programs or processes that may be using the folder. If a folder is currently being accessed or used by another program or process, you may encounter errors or issues when trying to delete it. Make sure to close any programs or processes that may be using the folder before attempting to delete it.
Step 4: Empty the folder’s contents. If the folder contains any files or subfolders, make sure to delete or move them to another location before attempting to delete the folder itself. This will help prevent any errors or issues during the deletion process.
Step 5: Be cautious. Forcefully deleting a folder is a permanent action and cannot be undone. Double-check that you have selected the correct folder and that you are certain you want to delete it. Once you confirm the deletion, there is no way to recover the folder or its contents.
By following these steps, you can ensure that you are properly prepared for forcefully deleting a folder. Remember to exercise caution and double-check your actions to avoid any unintended consequences.
Gathering Necessary Permissions and Access

Before attempting to delete a folder, it is important to ensure that you have the necessary permissions and access to perform this action. Without the proper permissions, you may encounter errors or be unable to delete the folder.
To check your permissions, right-click on the folder you want to delete and select “Properties” from the context menu. In the Properties window, navigate to the “Security” tab. Here, you will see a list of users and groups that have access to the folder.
If your user account is not listed or does not have the necessary permissions, you will need to gain the required access. To do this, you can try the following:
- Contact the folder owner or administrator and request the necessary permissions.
- If you are the owner of the folder, but still cannot delete it, you may need to take ownership of the folder. To do this, go to the “Security” tab in the Properties window, click on the “Advanced” button, and then select the “Owner” tab. Click on the “Edit” button, select your user account, and check the box that says “Replace owner on subcontainers and objects”. Click “Apply” and then “OK” to save the changes.
- If you are unable to take ownership of the folder or still encounter issues, you may need to use an administrator account to delete the folder. Right-click on the folder, select “Properties”, go to the “Security” tab, and click on the “Edit” button. In the Permissions window, click on the “Add” button, type “Administrators” in the text field, and click “Check Names” to verify the account. Once verified, click “OK” to add the administrator account to the folder’s permissions.
By ensuring that you have the necessary permissions and access, you can successfully delete the folder without encountering any issues.
Checking for File Locks and Processes
Before forcefully deleting a folder, it is important to check for any file locks or processes that might be preventing the deletion. These locks or processes can be caused by various reasons, such as open files, running applications, or system services.
To check for file locks and processes, you can use the following steps:
| Step | Description |
|---|---|
| 1 | Open the Task Manager by pressing Ctrl+Shift+Esc or by right-clicking on the taskbar and selecting “Task Manager”. |
| 2 | Go to the “Processes” tab in the Task Manager. |
| 3 | Look for any processes or applications that might be using the files or folders you want to delete. You can sort the processes by name or by the “Image Name” column to easily find the relevant ones. |
| 4 | If you find any processes or applications that are using the files or folders, right-click on them and select “End Task” or “End Process”. This will forcefully terminate the process and release the file locks. |
| 5 | Once you have ended the relevant processes or applications, try deleting the folder again. If there are no more file locks or processes, you should be able to delete the folder without any issues. |
By checking for file locks and processes before forcefully deleting a folder, you can ensure that there are no conflicts or issues that might arise during the deletion process. This can help prevent data loss or corruption and ensure a smooth deletion.
Backing Up Important Files and Data

When you are about to forcefully delete a folder, it is crucial to back up any important files and data that may be stored within it. This step is essential to ensure that you do not lose any valuable information during the deletion process.
Here is a step-by-step guide on how to back up your important files and data:
| Step | Description |
|---|---|
| 1 | Identify the folder that you want to delete. |
| 2 | Create a new folder or use an existing one to store your backup files. |
| 3 | Open the folder you want to back up and select all the files and data that you want to save. |
| 4 | Copy the selected files and data. |
| 5 | Paste the copied files and data into the backup folder. |
| 6 | Verify that all the files and data have been successfully copied to the backup folder. |
By following these steps, you can ensure that your important files and data are safely backed up before you proceed with forcefully deleting the folder. This way, even if something goes wrong during the deletion process, you will still have a copy of your valuable information.
Section 2: Deleting the Folder

To forcefully delete a folder, follow these steps:
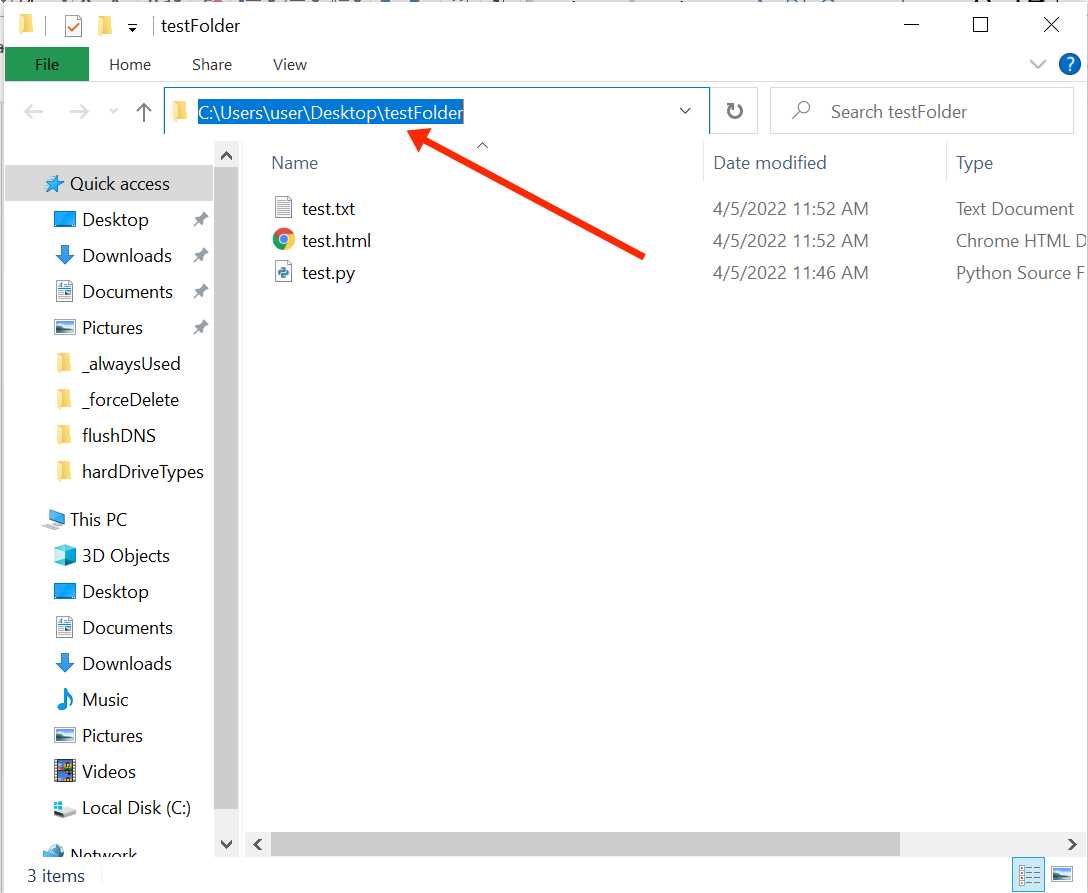
1. Open the File Explorer on your computer.
2. Navigate to the location of the folder you want to delete.
3. Right-click on the folder and select “Delete” from the context menu.
4. A confirmation dialog will appear asking if you want to permanently delete the folder. Click “Yes” to proceed.
5. If the folder contains any files or subfolders, a warning message may appear asking if you want to delete them as well. Choose the appropriate option based on your needs.
6. The folder will be moved to the Recycle Bin, where it can be restored if needed.
7. To permanently delete the folder without sending it to the Recycle Bin, hold down the Shift key while clicking on the “Delete” option in the context menu.
8. A warning message will appear informing you that the folder will be permanently deleted. Click “Yes” to confirm.
9. The folder will be permanently deleted from your computer.
By following these steps, you can forcefully delete a folder from your computer.


