If you are a developer looking to manage multiple versions of Node.js on your machine, then installing nvm (Node Version Manager) is the way to go. nvm allows you to easily switch between different versions of Node.js, ensuring compatibility with your projects. In this step-by-step guide, we will walk you through the process of installing nvm on your system.
Step 1: Install nvm
The first step is to download and install nvm on your machine. nvm is available for various operating systems, including Windows, macOS, and Linux. Simply visit the official nvm repository on GitHub and follow the installation instructions for your specific operating system.
Step 2: Verify the Installation
Once the installation is complete, you can verify that nvm has been successfully installed by opening a new terminal window and running the following command:
nvm --version
If you see the version number of nvm printed on the screen, then the installation was successful.
Step 3: Install Node.js
With nvm installed, you can now easily install different versions of Node.js. To install a specific version, use the following command:
nvm install [version]
Replace [version] with the desired version of Node.js. For example, to install Node.js version 14.17.0, you would run:
nvm install 14.17.0
Step 4: Switch Between Node.js Versions
Once you have multiple versions of Node.js installed, you can easily switch between them using nvm. To switch to a specific version, use the following command:
nvm use [version]
Replace [version] with the desired version of Node.js. For example, to switch to Node.js version 14.17.0, you would run:
nvm use 14.17.0
That’s it! You have successfully installed nvm and can now manage multiple versions of Node.js on your machine. Enjoy the flexibility and compatibility that nvm provides for your development projects.
Section 1: Downloading nvm
Downloading nvm is the first step in installing and managing multiple versions of Node.js on your system. Follow the steps below to download nvm:
- Open your preferred web browser and go to the official nvm repository on GitHub.
- Click on the “Clone or download” button and then select “Download ZIP”.
- Once the ZIP file is downloaded, locate it in your computer’s Downloads folder or the folder where your browser saves downloaded files.
- Extract the contents of the ZIP file to a location of your choice. This will create a new folder called “nvm-master”.
- Open a terminal or command prompt window.
- Navigate to the location where you extracted the “nvm-master” folder using the “cd” command. For example, if you extracted it to your home directory, you can use the command
cd ~/nvm-master. - Once you are inside the “nvm-master” folder, run the installation script by executing the command
./install.sh. - The installation script will guide you through the installation process and set up nvm on your system.
After completing these steps, you will have successfully downloaded nvm and it will be ready to use. In the next section, we will cover how to configure nvm and install Node.js using nvm.
Choose the Right Operating System
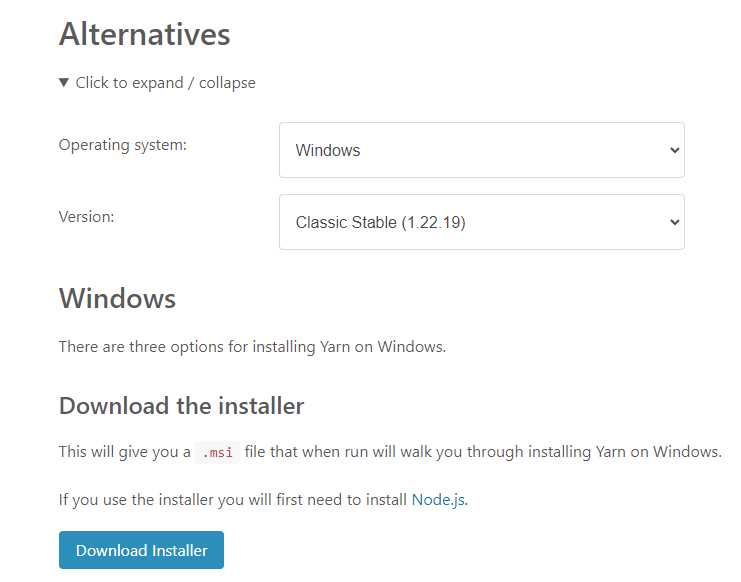
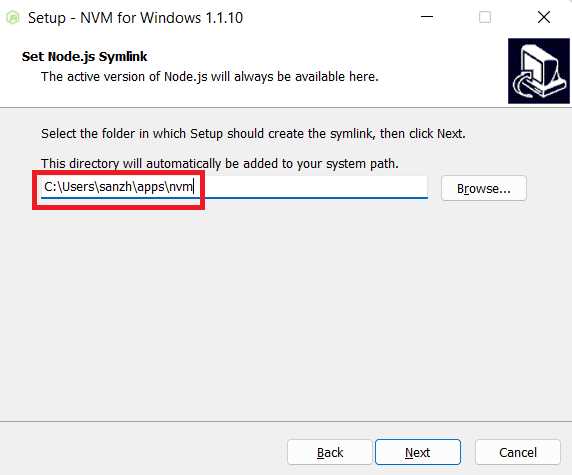
Before you can install nvm, it’s important to choose the right operating system for your needs. nvm is compatible with various operating systems, including Windows, macOS, and Linux.
If you’re using Windows, you’ll need to download and install the Windows version of nvm. This version is specifically designed for Windows and will ensure optimal performance and compatibility.
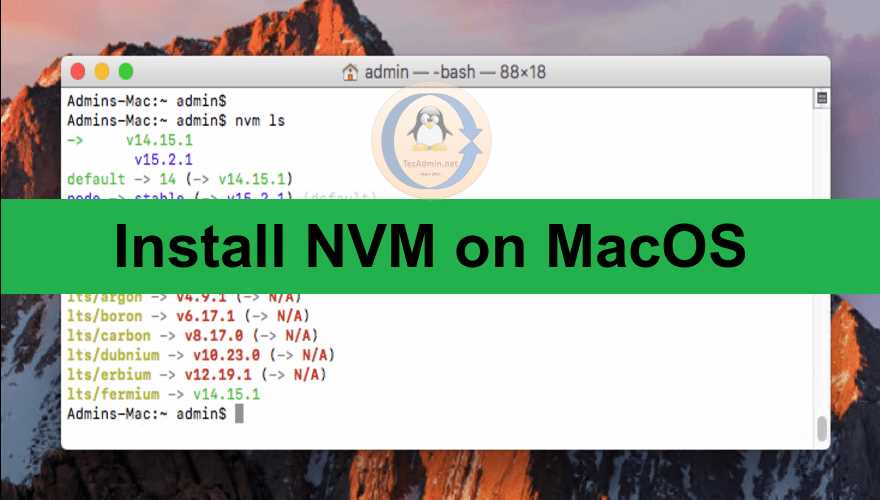
For macOS users, you can install nvm using Homebrew, a popular package manager for macOS. Simply open your terminal and run the command brew install nvm to install nvm on your system.
If you’re using Linux, you can install nvm using the package manager specific to your distribution. For example, on Ubuntu, you can use the apt package manager by running the command sudo apt install nvm.
Choosing the right operating system is crucial to ensure a smooth installation process and optimal performance of nvm. Make sure to select the appropriate version for your system before proceeding with the installation.
Visit the Official nvm GitHub Repository
If you want to learn how to install nvm easily, the first step is to visit the official nvm GitHub repository. The repository contains all the necessary information and resources to download and install nvm on your system.
To visit the official nvm GitHub repository, follow these steps:
- Open your web browser.
- Go to the GitHub website.
- In the search bar, type “nvm” and press Enter.
- Click on the first result, which should be the official nvm repository.
Once you are on the official nvm GitHub repository page, you will find detailed instructions on how to install nvm on different operating systems, such as Windows, macOS, and Linux. Make sure to read the documentation carefully and choose the installation method that is appropriate for your system.
By visiting the official nvm GitHub repository, you will have access to the latest version of nvm and any updates or bug fixes that have been released. It is always recommended to install software from official sources to ensure that you are getting the most reliable and up-to-date version.
Download the Latest Release
To install nvm, you will need to download the latest release from the official GitHub repository. Follow the steps below to download the latest release:
| Step | Description |
|---|---|
| Step 1 | Open your web browser and navigate to the nvm GitHub repository. |
| Step 2 | Click on the “Releases” tab at the top of the repository page. |
| Step 3 | Scroll down to find the latest release version. |
| Step 4 | Click on the release version to open the release page. |
| Step 5 | Scroll down to find the “Assets” section. |
| Step 6 | Under the “Assets” section, click on the link to download the appropriate installation file for your operating system. |
| Step 7 | Wait for the download to complete. |
Once the download is complete, you are ready to proceed with the installation process.
Section 2: Installing nvm
Installing nvm is a straightforward process that can be done in a few simple steps. Follow the instructions below to install nvm on your system:
| Step 1: | Open your terminal or command prompt. |
| Step 2: | Visit the official nvm GitHub repository at https://github.com/nvm-sh/nvm. |
| Step 3: | Scroll down to the installation section and copy the installation command for your operating system. |
| Step 4: | Return to your terminal or command prompt and paste the installation command. |
| Step 5: | Press Enter to execute the installation command. |
| Step 6: | Wait for the installation process to complete. |
| Step 7: | Verify the installation by typing nvm --version in your terminal or command prompt. If the installation was successful, the version number of nvm will be displayed. |
Congratulations! You have successfully installed nvm on your system. Now you can easily manage multiple versions of Node.js using nvm.

