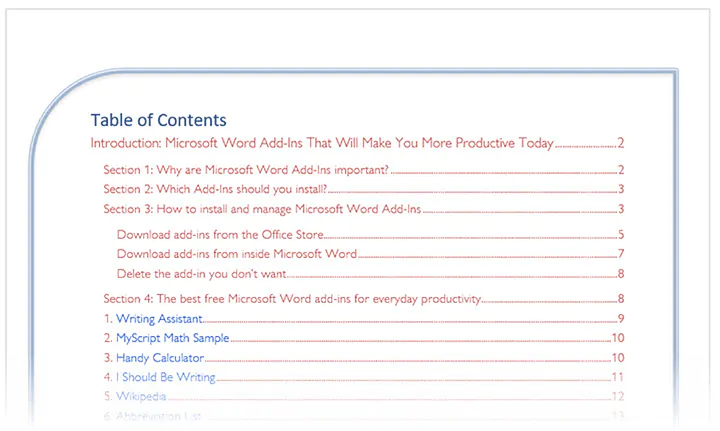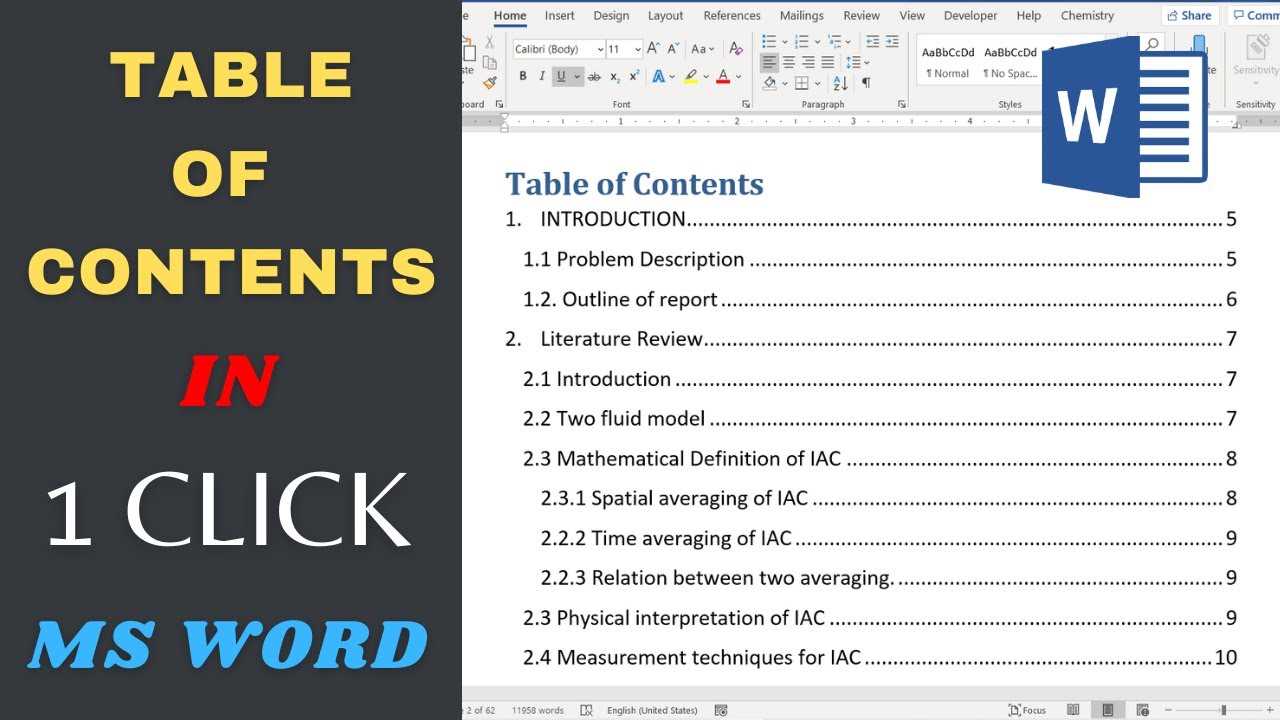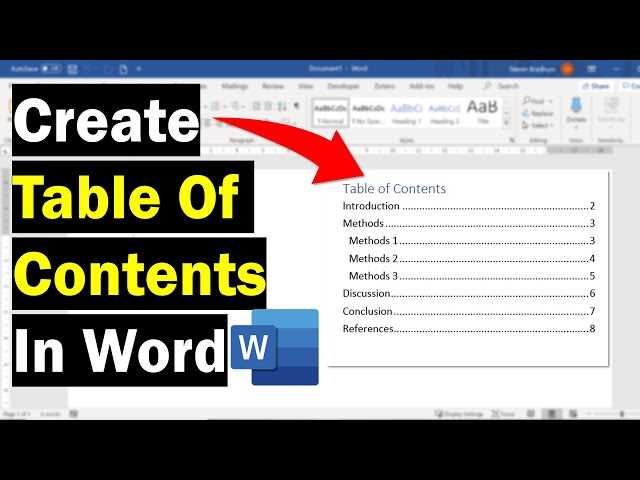
Creating a table of contents in Word is an essential skill for anyone working with long documents or reports. A table of contents provides a quick overview of the document’s structure and allows readers to navigate through the content easily. In this step-by-step guide, we will show you how to create a table of contents in Word, whether you are using the latest version or an older one.
First, open your Word document and place the cursor at the beginning of the document where you want the table of contents to appear. Then, go to the “References” tab in the Word toolbar and click on the “Table of Contents” button. A drop-down menu will appear with various table of contents styles to choose from.
Next, select the desired table of contents style from the drop-down menu. You can choose from automatic styles that update as you add or remove headings in your document, or you can choose a manual style where you have more control over the formatting. Once you have selected a style, Word will insert the table of contents into your document.
Now, you can customize the table of contents to fit your needs. You can change the font, size, and color of the text, as well as the formatting of the table itself. To do this, right-click on the table of contents and select “Update Field” from the context menu. A dialog box will appear with options to update the entire table or just the page numbers. Make your desired changes and click “OK” to update the table of contents.
What is a Table of Contents?
In Microsoft Word, a table of contents is a navigational tool that provides an organized list of the headings and subheadings in a document. It allows readers to quickly locate specific sections or topics within a lengthy document, making it easier to navigate and understand the content.
A table of contents is typically placed at the beginning of a document, after the title page and any acknowledgments or dedications. It provides an overview of the document’s structure and helps readers to quickly find the information they need.
To create a table of contents in Word, you need to use the built-in table of contents feature. This feature automatically generates the table of contents based on the headings and subheadings in your document. You can customize the appearance and formatting of the table of contents to suit your needs.
Creating a table of contents in Word is a simple process that involves a few steps. First, you need to apply heading styles to the headings and subheadings in your document. Then, you can insert the table of contents using the table of contents feature. Finally, you can update the table of contents if you make any changes to the headings or subheadings in your document.
A table of contents is a valuable tool for both the writer and the reader. It helps the writer to organize and structure their document, making it easier to write and revise. It also helps the reader to navigate the document and find the information they need quickly and efficiently.
In conclusion, a table of contents in Word is a useful feature that allows you to create a navigational tool for your document. By following a few simple steps, you can create a table of contents that helps readers to easily navigate and understand your document.
Importance of a Table of Contents

A table of contents is a vital component in any document, especially when it comes to longer and more complex ones. In Word, creating a table of contents allows you to easily navigate through the contents of your document, making it easier for readers to find specific sections or chapters.
By creating a table of contents in Word, you provide a clear and organized structure for your document. This helps readers quickly locate the information they need, saving them time and effort. Without a table of contents, readers may have to skim through the entire document to find what they are looking for, which can be frustrating and time-consuming.
Furthermore, a table of contents enhances the professionalism and credibility of your document. It shows that you have taken the time to organize your content in a logical and coherent manner. This can be particularly important in academic or business documents, where clarity and organization are highly valued.
Creating a table of contents in Word is also beneficial for document creators themselves. It allows you to easily navigate and edit your own document, making it simpler to make changes or updates. Instead of scrolling through the entire document, you can simply click on the table of contents and jump to the desired section.
In conclusion, a table of contents is an essential element in Word documents. It improves the readability, organization, and navigability of your content, benefiting both readers and document creators. By following a step-by-step guide on how to create a table of contents in Word, you can ensure that your document is professional, user-friendly, and easy to navigate.
Benefits of Using a Table of Contents
A table of contents is a useful tool in Word documents that allows readers to easily navigate through the content. Here are some benefits of using a table of contents:
| 1. Easy Navigation: | A table of contents provides a quick overview of the document’s structure, allowing readers to jump to specific sections without having to scroll through the entire document. |
| 2. Time-Saving: | By using a table of contents, readers can save time by directly accessing the information they need, rather than searching for it manually. |
| 3. Professional Appearance: | Adding a table of contents to your Word document gives it a professional and organized look, making it easier for readers to navigate and understand the content. |
| 4. Document Structure: | A table of contents helps to establish a clear structure for your document, making it easier for both you and your readers to follow the flow of information. |
| 5. Updates and Changes: | If you make any updates or changes to your document, such as adding or removing sections, the table of contents can be automatically updated to reflect these changes, saving you time and effort. |
Overall, using a table of contents in Word is a simple and effective way to enhance the readability and usability of your documents.
Section 2: Creating a Table of Contents in Word

Once you have your document written and formatted, it’s time to create a table of contents in Word. The table of contents is a useful tool that allows readers to quickly navigate through your document and find specific sections or information.
To create a table of contents in Word, follow these steps:
- Select the location in your document where you want the table of contents to appear.
- Click on the “References” tab in the Word toolbar.
- Click on the “Table of Contents” button.
- Choose the style of table of contents you want to create from the dropdown menu.
- Word will automatically generate the table of contents based on the headings and subheadings in your document.
- Update the table of contents whenever you make changes to your document by right-clicking on the table and selecting “Update Field”.
By following these steps, you can easily create a table of contents in Word to enhance the readability and organization of your document.
Step 1: Formatting Headings

In order to create a table of contents in Word, you need to properly format your headings. This will allow Word to recognize and organize your document’s structure.
Here’s how you can format your headings:
- Select the text that you want to use as a heading.
- Click on the “Home” tab in the Word toolbar.
- In the “Styles” group, you will see a list of different heading styles. Choose the appropriate heading style for your text (e.g., Heading 1, Heading 2, etc.).
- Repeat this process for all the headings in your document.
By formatting your headings, you are assigning a hierarchical structure to your document. This structure will be used by Word to generate the table of contents.
Step 2: Inserting a Table of Contents

In order to create a table of contents in Microsoft Word, you need to know how to insert one. Fortunately, the process is quite simple and can be done in just a few steps.
To insert a table of contents in Word, follow these steps:
- Place your cursor in the location where you want the table of contents to appear.
- Click on the “References” tab in the Word toolbar.
- Within the “Table of Contents” group, click on the “Table of Contents” button.
- A drop-down menu will appear, offering various table of contents styles. Choose the style that best suits your needs.
- Once you’ve selected a style, Word will automatically generate the table of contents based on the headings and subheadings in your document.
- You can update the table of contents at any time by right-clicking on it and selecting “Update Field”.
By following these steps, you can easily create a table of contents in Word to help organize and navigate your document.
Step 3: Updating the Table of Contents

Once you have created a table of contents in Word, you may need to update it if you make changes to your document. Updating the table of contents is a simple process that ensures it reflects the current structure and page numbers of your document.
To update the table of contents, follow these steps:
- Click anywhere within the table of contents.
- On the References tab, in the Table of Contents group, click Update Table.
- In the Update Table of Contents dialog box, select whether you want to update the entire table or just the page numbers.
- Click OK to update the table of contents.
By following these steps, you can easily update the table of contents in Word to reflect any changes you have made to your document. This ensures that the table of contents remains accurate and helpful for readers.
Section 3: Customizing the Table of Contents

In order to customize the table of contents in Word, you have several options available to you. You can modify the formatting, change the font, adjust the spacing, and even add or remove specific headings.
To modify the formatting of the table of contents, you can go to the “References” tab in Word and click on “Table of Contents”. From there, you can choose from a variety of pre-defined table of contents styles or create your own custom style. You can also change the font size, font color, and font style to match the overall design of your document.
If you want to change the spacing of the table of contents, you can do so by adjusting the indents and line spacing. This can be done by right-clicking on the table of contents and selecting “Modify”. From there, you can change the indentation settings and adjust the line spacing to your desired specifications.
In addition to modifying the formatting and spacing, you can also add or remove specific headings from the table of contents. To do this, you can use the “Heading” styles in Word to designate which headings should be included in the table of contents. You can also exclude certain headings by modifying the table of contents settings.
By customizing the table of contents in Word, you can create a professional and organized document that is easy to navigate. Whether you need to create a table of contents for a report, thesis, or any other type of document, Word provides the tools you need to make it look exactly how you want it.
Changing the Formatting of the Table of Contents

Once you have created a table of contents in Word, you may want to customize its appearance to suit your needs. Word provides several options for changing the formatting of the table of contents.
To change the formatting of the table of contents, follow these steps:
- Select the table of contents by clicking anywhere within it.
- On the “References” tab, click on the “Table of Contents” button.
- From the drop-down menu, select “Custom Table of Contents”.
- In the “Table of Contents” dialog box, you can make various formatting changes.
- To change the font, click on the “Modify” button next to the “Font” option.
- In the “Font” dialog box, select the desired font, size, and other formatting options.
- Click “OK” to apply the changes.
- To change the formatting of the page numbers, click on the “Modify” button next to the “Formats” option.
- In the “Formats” dialog box, you can customize the appearance of the page numbers.
- Click “OK” to apply the changes.
- Click “OK” again to close the “Table of Contents” dialog box.
By following these steps, you can easily change the formatting of the table of contents in Word to create a customized look that matches your document’s style.

