Are you fascinated by reptiles and the prehistoric world? Have you ever wondered what it would be like to have your very own flying creature? Well, now you can make your dreams come true by learning how to make a pterodactyl at home!
The pterodactyl, also known as a pterosaur, was a majestic creature that lived millions of years ago. With its impressive wingspan and ability to fly, it was truly a sight to behold. And now, with a few simple steps, you can recreate this prehistoric wonder right in your own home.
So, how exactly do you make a pterodactyl? The first step is to gather all the necessary materials. You will need strong and lightweight materials for the wings, such as cardboard or foam board. You will also need a sturdy base to attach the wings to, which can be made from wood or plastic.
Once you have all your materials, it’s time to start constructing the wings. Cut out the desired shape for the wings using the cardboard or foam board, making sure to create a symmetrical pair. Then, attach the wings to the base using strong adhesive or screws. Make sure the wings are securely fastened to the base, as they will need to support the weight of the pterodactyl.
Materials Needed

To make your own prehistoric pterodactyl that can fly, you will need the following materials:
- Dinosaur template: You can find a printable template online or draw your own pterodactyl shape.
- Cardboard: Sturdy cardboard will be used to cut out the pterodactyl shape.
- Scissors: Sharp scissors will be needed to cut the cardboard.
- Paint: Acrylic paint in various colors will be used to decorate the pterodactyl.
- Paintbrushes: Different sizes of paintbrushes will be needed for painting details.
- Markers: Permanent markers can be used to add additional details to the pterodactyl.
- String or fishing line: This will be used to hang the pterodactyl and make it fly.
- Tape: Strong tape will be needed to secure the pterodactyl’s wings and other parts.
- Glue: Craft glue or a glue gun can be used to assemble the pterodactyl.
- Googly eyes: These can be attached to the pterodactyl’s head to give it a fun and realistic look.
Now that you have gathered all the necessary materials, let’s move on to the next step: making your own pterodactyl!
Cardboard

One of the most important parts of making a pterodactyl is creating the wings. To make the wings, you will need a sturdy material that can be easily shaped, such as cardboard. Cardboard is a great choice because it is lightweight and easy to work with.
To start, you will need to gather the necessary materials:
- Cardboard sheets
- Scissors
- Glue
- Markers or paint
Once you have gathered all the materials, you can begin making the wings. Start by drawing the shape of the wings on the cardboard sheets. You can use a reference image of a pterodactyl or a dinosaur to help you get the shape right.
After you have drawn the shape, carefully cut it out using the scissors. Make sure to cut along the lines as accurately as possible to ensure that the wings are symmetrical.
Once you have cut out the wings, you can start adding details. You can use markers or paint to add color and texture to the wings. You can also add feathers or scales to make the wings look more realistic.
After you have finished decorating the wings, you can attach them to the body of the pterodactyl. Use glue to secure the wings in place, making sure that they are evenly spaced and aligned with the body.
Now that you have made the wings, your pterodactyl is ready to fly! You can make it soar through the air by holding it by the body and gently flapping the wings up and down. Enjoy the thrill of seeing your homemade dinosaur reptile take flight!
Scissors

Scissors are an essential tool when making a prehistoric dinosaur like a pterodactyl at home. These flying reptiles had large wings that allowed them to soar through the skies, and scissors are crucial for creating the wing shape.
When making a pterodactyl, you will need a pair of scissors to carefully cut out the wing shape from your chosen material. Whether you are using paper, fabric, or another material, the scissors will help you achieve the desired shape and size for the wings.
It is important to use sharp scissors to ensure clean and precise cuts. This will help you create wings that closely resemble those of a real pterodactyl. Take your time and cut slowly, following the outline or template you have prepared.
Once you have cut out the wings, you can add additional details or decorations using the scissors. For example, you can create textured patterns on the wings or add small cuts to mimic the appearance of feathers.
Remember, the wings are a defining feature of a pterodactyl, and the scissors are an essential tool in bringing this prehistoric creature to life. With careful cutting and attention to detail, you can create wings that allow your homemade pterodactyl to fly through the air, just like its ancient counterpart.
Glue

Glue is an essential component when making a pterodactyl at home. It is used to attach various parts together, such as the wings, body, and head. When choosing glue, it is important to select a strong adhesive that can withstand the weight and movement of the pterodactyl.
There are different types of glue that can be used for this project. One option is a strong craft glue, which is suitable for attaching lightweight materials like paper or cardboard. Another option is a heavy-duty adhesive, such as epoxy or super glue, which provides a stronger bond for attaching heavier materials like wood or plastic.
Before applying the glue, make sure to clean the surfaces that will be glued together. This will ensure a better bond and prevent any dirt or debris from interfering with the adhesive. It is also important to follow the instructions provided by the glue manufacturer, as different types of glue may have specific application methods and drying times.
When attaching the wings to the body of the pterodactyl, apply a generous amount of glue along the edges where they will be joined. Press the wings firmly against the body and hold them in place for a few minutes to allow the glue to set. It is recommended to use clamps or tape to secure the wings in place while the glue dries.
Once the wings are securely attached, you can move on to attaching the head and other details of the pterodactyl. Apply the glue to the desired areas and press the pieces together firmly. Again, use clamps or tape to hold the parts in place until the glue has fully dried.
After the glue has dried, you can test the strength of the bond by gently pulling on the attached parts. If everything is securely in place, your pterodactyl is ready to fly!
Instructions

To make a pterodactyl at home, follow these step-by-step instructions:
1. Gather all the materials you will need, including cardboard, scissors, glue, and paint.
2. Start by cutting out the shape of the pterodactyl’s body from the cardboard. Make sure it is large enough to accommodate the wings.
3. Next, cut out two large wings from the cardboard. These will be attached to the body later on.
4. Use the scissors to carefully shape the wings, giving them a curved appearance to resemble those of a real pterodactyl.
5. Attach the wings to the body using glue. Make sure they are securely fastened and allow time for the glue to dry.
6. Once the wings are attached, paint the entire pterodactyl to give it a prehistoric look. You can use colors like brown, green, and gray to mimic the colors of a real reptile.
7. Allow the paint to dry completely before moving on to the next step.
8. Finally, once the pterodactyl is dry, it is ready to fly! Hold it by the body and gently toss it into the air, watching it soar through the sky.
Now you know how to make your very own pterodactyl at home. Enjoy the fun of creating this prehistoric dinosaur!
Cut out the Pterodactyl Shape

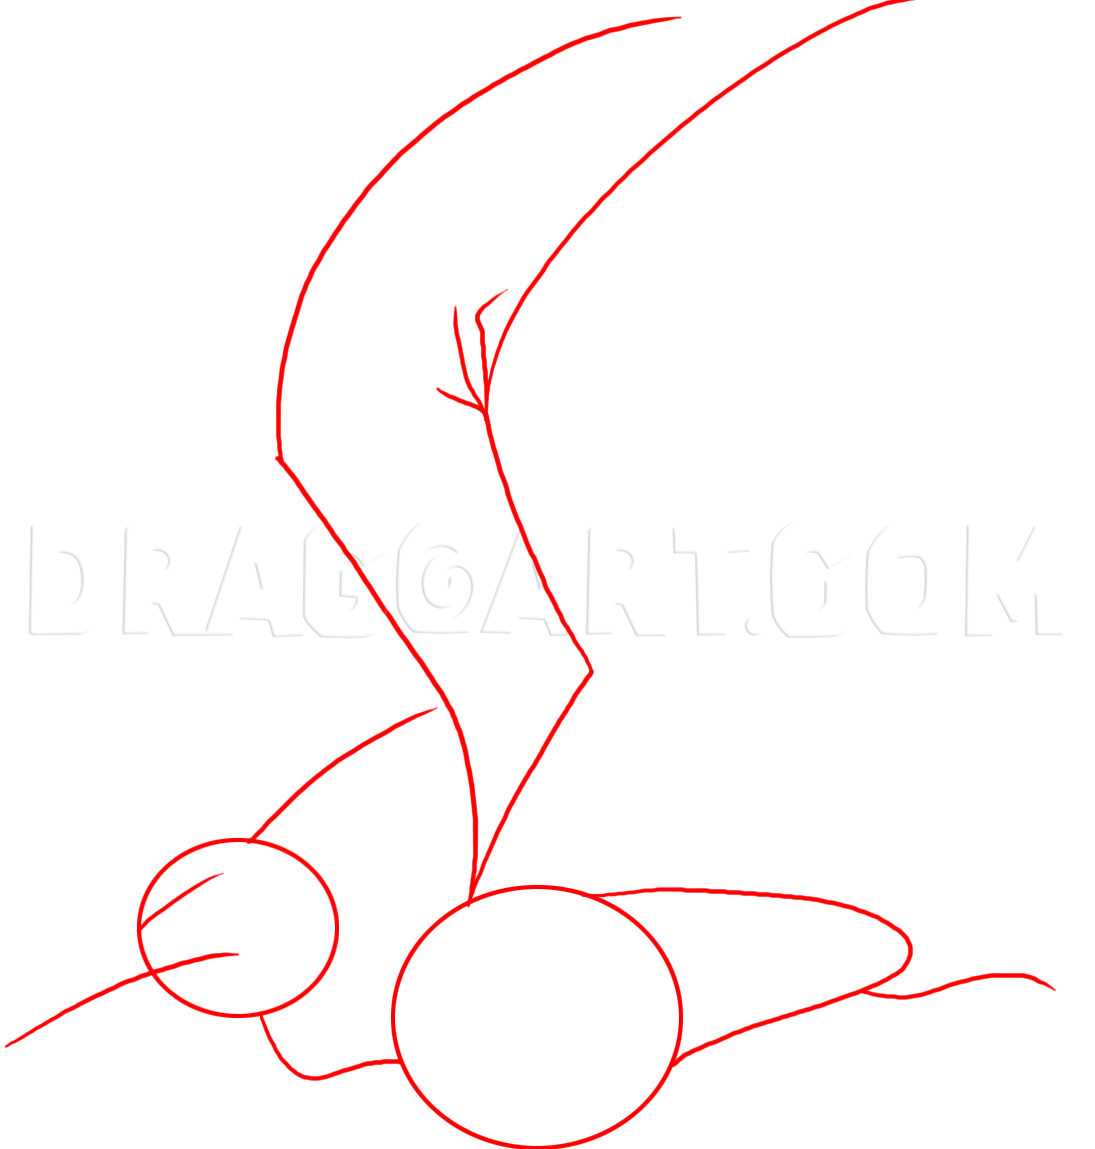
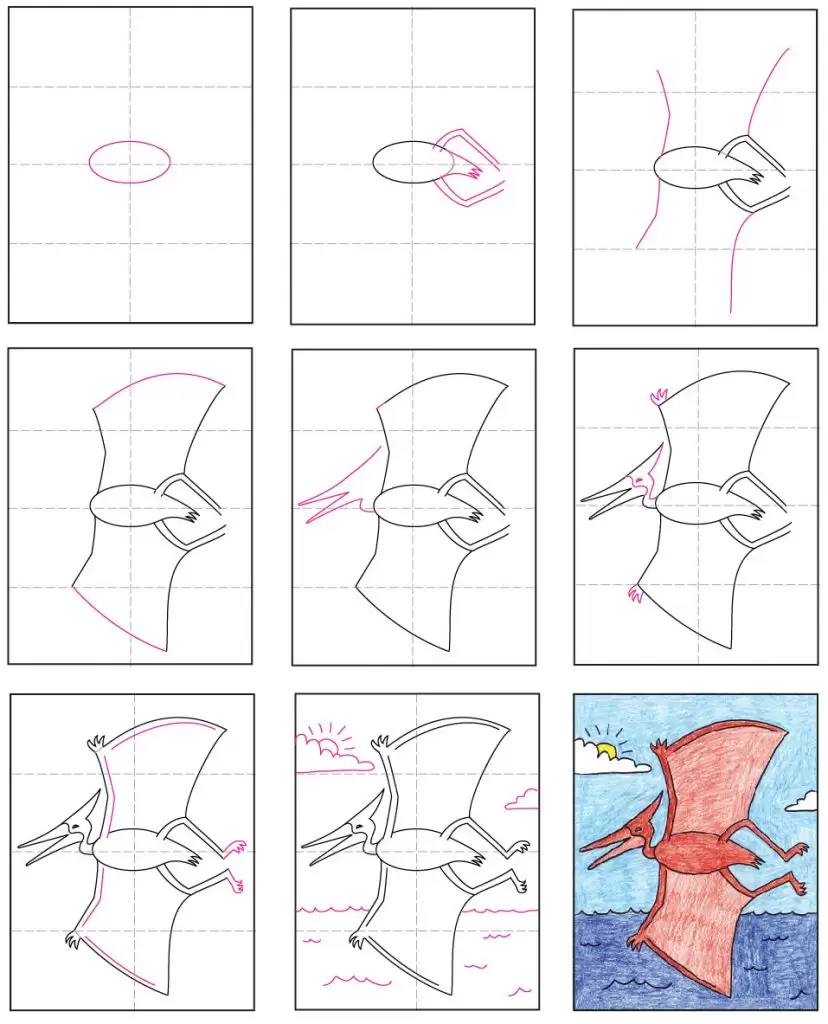
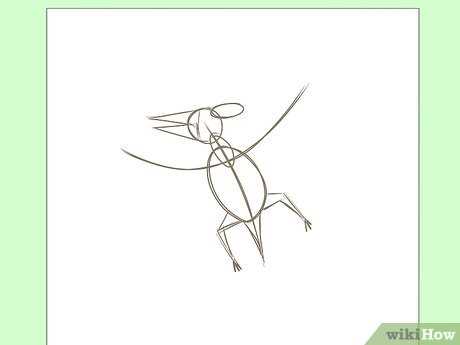
To make your own flying pterodactyl, you will first need to cut out the shape of the dinosaur’s body. Start by drawing the outline of the pterodactyl on a piece of cardboard or thick paper. You can use a reference image to help you get the shape right.
Once you have the outline drawn, carefully cut along the lines to create the body of the pterodactyl. Make sure to cut out the wings as well, as these will be crucial for making your dinosaur fly.
After cutting out the body and wings, you can add any additional details you want, such as eyes or scales, using markers or colored pencils. This will give your pterodactyl a more realistic and personalized look.
Remember, the key to making your pterodactyl fly is to keep it lightweight. Avoid adding too many heavy decorations or using thick materials that will weigh it down. The lighter the pterodactyl, the easier it will be for it to soar through the air.
Now that you know how to cut out the pterodactyl shape, you are one step closer to creating your very own flying reptile. Let’s move on to the next step!

