If you’re eager to upgrade to the latest version of Windows, you’re in luck! Windows 11 is here, and it’s packed with exciting new features and a sleek design. In this step-by-step guide, we’ll show you how to install Windows 11 for free, so you can experience all the benefits of this cutting-edge operating system.
Before you begin, make sure your device meets the system requirements for Windows 11. This includes having a compatible processor, at least 4GB of RAM, and 64GB of storage. Additionally, your device should support TPM version 2.0 and have Secure Boot capability. Once you’ve confirmed that your device is compatible, you’re ready to proceed with the installation.
To install Windows 11 for free, you’ll need to join the Windows Insider Program. This program allows you to access early builds of Windows and provide feedback to Microsoft. Don’t worry, joining the program is simple and doesn’t require any technical expertise. Just visit the Windows Insider website, sign in with your Microsoft account, and follow the instructions to enroll your device.
Once you’re enrolled in the Windows Insider Program, you’ll have access to the latest Windows 11 builds. You can choose to receive updates in the Dev Channel, which provides the most frequent updates but may also have more bugs, or the Beta Channel, which offers more stable builds. After selecting your preferred channel, navigate to the Windows Update settings on your device and check for updates. If a Windows 11 build is available, it will be downloaded and installed on your device.
That’s it! You’ve successfully installed Windows 11 for free. Now you can enjoy all the new features and improvements that this operating system has to offer. From the redesigned Start menu to the enhanced gaming capabilities, Windows 11 is sure to enhance your computing experience. So don’t wait any longer – follow this step-by-step guide and upgrade to Windows 11 today!
Preparing for Installation
Before you can install Windows 11 for free, there are a few steps you need to take to ensure a smooth installation process:
- Check system requirements: Make sure your computer meets the minimum system requirements for Windows 11. This includes having a compatible processor, sufficient RAM, and enough storage space.
- Backup your data: It’s always a good idea to backup your important files and documents before installing a new operating system. This will help protect your data in case anything goes wrong during the installation process.
- Download the Windows 11 installation files: Visit the official Microsoft website to download the Windows 11 installation files for free. Make sure to choose the correct version for your computer (32-bit or 64-bit).
- Create a bootable USB drive: Once you have downloaded the installation files, you will need to create a bootable USB drive. This will allow you to install Windows 11 from the USB drive instead of using a DVD.
- Check for updates: Before proceeding with the installation, it’s important to check for any available updates for your current operating system. Installing the latest updates will help ensure a smoother transition to Windows 11.
By following these steps, you will be well-prepared to install Windows 11 for free and enjoy all the new features and improvements it has to offer.
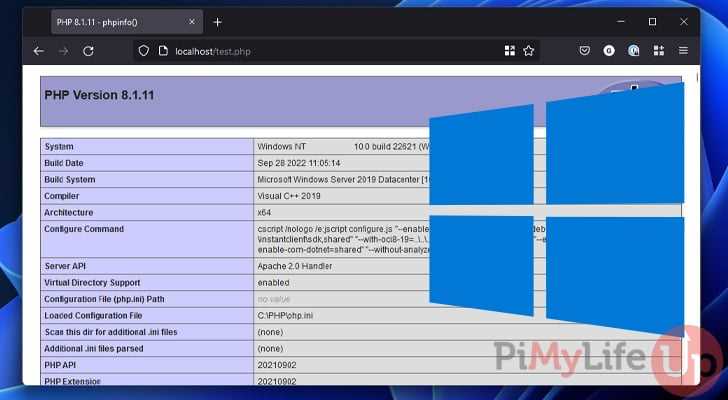
Check System Requirements

Before you proceed to install Windows 11 for free, it is important to check if your system meets the necessary requirements. This will ensure a smooth and successful installation process.
To install Windows 11, your device should meet the following minimum system requirements:
- A compatible processor with a clock speed of 1 GHz or faster
- At least 4 GB of RAM
- A minimum of 64 GB of storage
- A DirectX 12 compatible graphics card or integrated GPU with a WDDM 2.0 driver
- A display with at least 720p resolution
- A TPM version 2.0
- A secure boot capable UEFI firmware
Additionally, it is recommended to have a stable internet connection during the installation process to download any necessary updates.
Make sure to check your system’s specifications and compare them with the requirements listed above to ensure compatibility. If your device does not meet the minimum requirements, you may need to upgrade certain components or consider using an older version of Windows.
Once you have confirmed that your system meets the necessary requirements, you can proceed with the installation process and enjoy the new features and improvements of Windows 11 for free.
Backup Your Data
Before proceeding with the installation of Windows 11, it is crucial to back up your data to ensure that you don’t lose any important files or documents. Even though the installation process is generally smooth, there is always a small chance of data loss or corruption.
To backup your data, you can follow these steps:
- External Hard Drive: Connect an external hard drive to your computer and copy all the important files and folders to it. This will create a separate copy of your data that you can restore later if needed.
- Cloud Storage: Use a cloud storage service like Google Drive, Dropbox, or OneDrive to upload your files and documents. This way, your data will be securely stored online, and you can access it from any device.
- Network Backup: If you have multiple computers connected to a local network, you can use network backup software to create a backup of your data on another computer or a network-attached storage (NAS) device.
Remember to double-check that all your important files and folders are successfully backed up before proceeding with the installation. It’s better to be safe than sorry, and having a backup ensures that you can easily restore your data in case anything goes wrong during the Windows 11 installation process.
Create a Windows 11 Installation Media
If you want to install Windows 11 for free, you’ll need to create a Windows 11 installation media. This media will allow you to install the new operating system on your computer without having to purchase a copy.
To create the installation media, you’ll need a USB flash drive with at least 8GB of storage space. Make sure the flash drive is empty, as all data on it will be erased during the process.
First, you’ll need to download the Windows 11 ISO file from the official Microsoft website. This file contains all the necessary files to install the operating system. Once the download is complete, locate the ISO file on your computer.
Next, insert the USB flash drive into your computer’s USB port. Open the Windows 11 ISO file and double-click on the setup.exe file. This will launch the Windows 11 installation wizard.
Follow the on-screen instructions to select the language, edition, and architecture (32-bit or 64-bit) of Windows 11 that you want to install. Choose the USB flash drive as the installation media when prompted.
Click “Next” and the installation process will begin. It may take some time for the files to be copied to the USB flash drive, so be patient. Once the process is complete, you’ll have a Windows 11 installation media that you can use to install the operating system on any compatible computer.
Remember, installing Windows 11 for free using this installation media is only possible if you have a valid Windows 10 license. If you don’t have a license, you’ll need to purchase one before you can install Windows 11.
Installing Windows 11
Are you wondering how to install Windows 11 for free? Look no further! In this step-by-step guide, we will walk you through the process of installing Windows 11 on your computer.
- First, make sure your computer meets the minimum system requirements for Windows 11. Check the official Microsoft website for the detailed specifications.
- Next, download the Windows 11 installation media from the official Microsoft website. You can choose to download the ISO file or use the Media Creation Tool.
- Once the download is complete, create a bootable USB drive using the downloaded installation media. You can use tools like Rufus or the Windows USB/DVD Download Tool for this step.
- Insert the bootable USB drive into your computer and restart it.
- During the startup process, enter the BIOS settings by pressing the designated key (usually F2 or Delete) and change the boot order to prioritize the USB drive.
- Save the changes and exit the BIOS settings. Your computer will now boot from the USB drive.
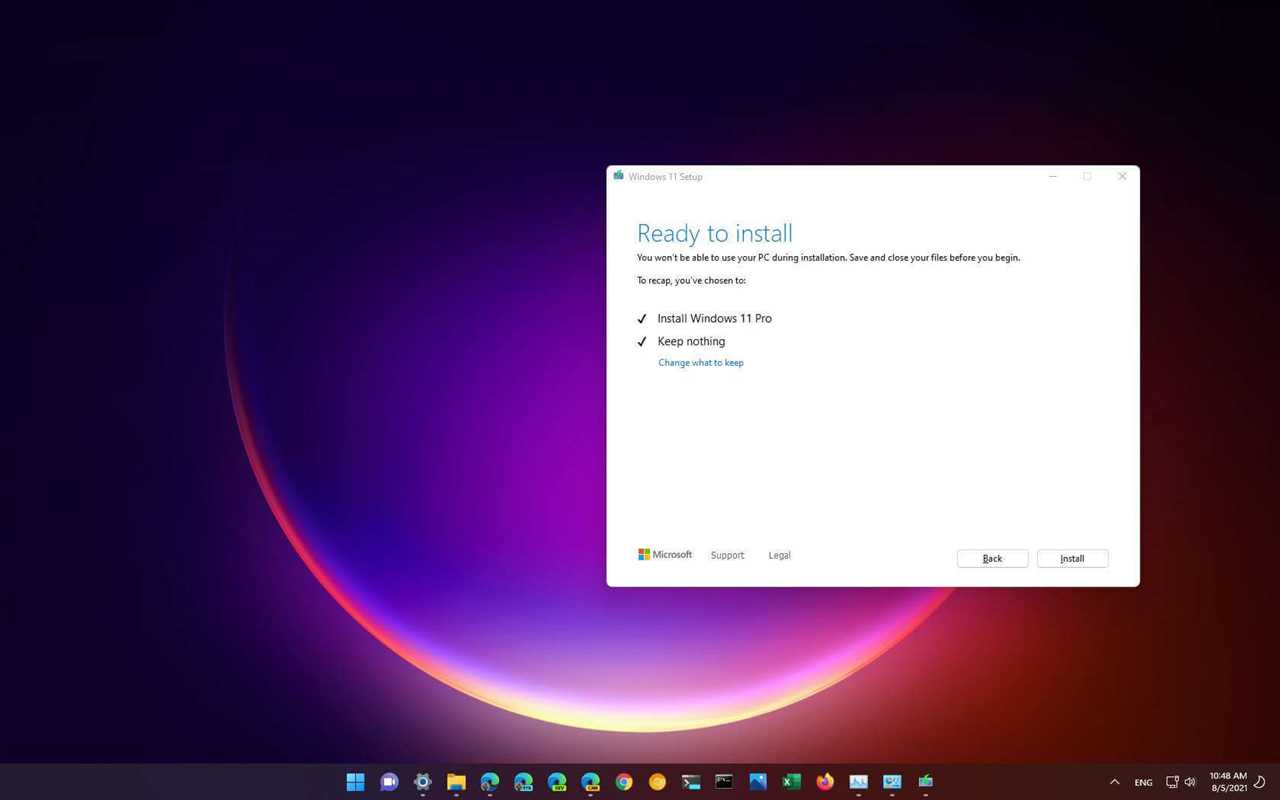
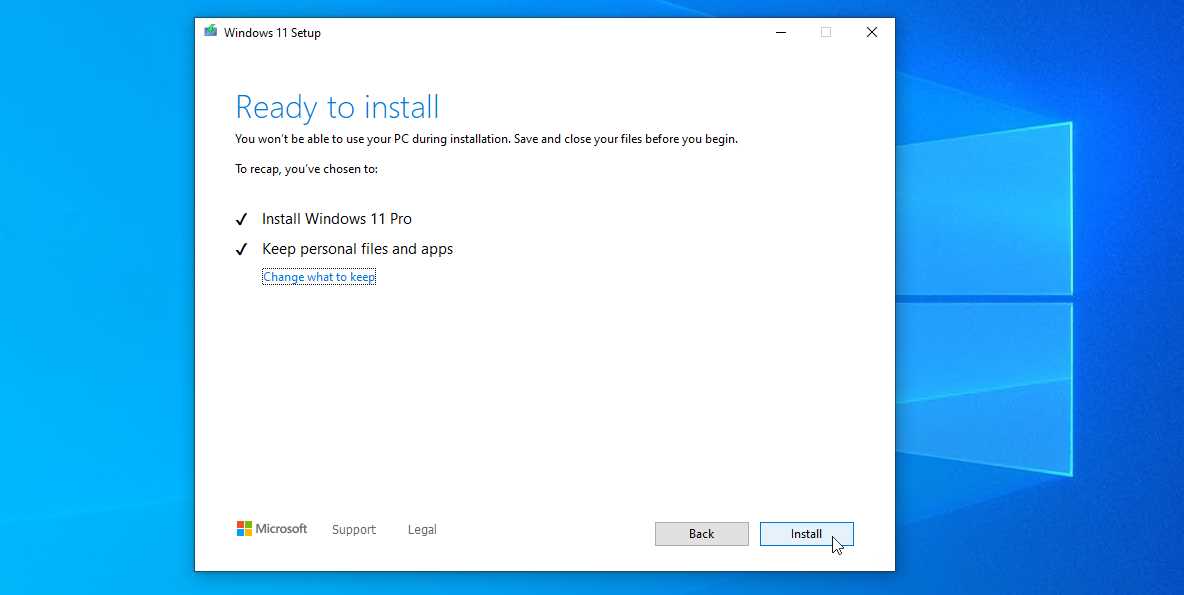
- Follow the on-screen instructions to begin the Windows 11 installation process. You will be prompted to select the language, time zone, and keyboard layout.
- Choose the “Custom” installation option and select the partition where you want to install Windows 11.
- Wait for the installation process to complete. Your computer will restart multiple times during this process.
- Once the installation is finished, you will be prompted to set up your Windows 11 account. Follow the instructions to create a new account or sign in with an existing Microsoft account.
- After setting up your account, Windows 11 will finalize the installation and take you to the desktop.
Congratulations! You have successfully installed Windows 11 on your computer for free. Enjoy the new features and improved performance of the latest Windows operating system!
Boot from Installation Media
To install Windows 11 for free, you will need to boot your computer from the installation media. The installation media can be a USB flash drive or a DVD that contains the Windows 11 installation files.
Here are the steps to boot from the installation media:
| Step 1: | Insert the installation media into your computer. |
| Step 2: | Restart your computer. |
| Step 3: | During the startup process, press the key (usually F12 or Esc) to access the boot menu. |
| Step 4: | Select the installation media from the boot menu. |
| Step 5: | Press Enter to boot from the installation media. |
Once you have successfully booted from the installation media, you can proceed with the installation process of Windows 11.
Select Language and Region Settings
After successfully booting into the Windows 11 installation process, you will be prompted to select your preferred language and region settings. This step is crucial as it determines the language in which your Windows operating system will be displayed and the region-specific settings that will be applied.
To proceed, carefully review the available language options and select the one that suits your needs. Windows 11 supports a wide range of languages, ensuring that users from different regions can easily navigate and use the operating system.
Next, you will need to choose your region. This selection helps Windows 11 to customize certain settings based on your geographical location. It ensures that features like date and time formats, currency symbols, and keyboard layouts are aligned with your region’s standards.
Once you have made your language and region selections, click on the “Next” button to proceed to the next step of the installation process. Windows 11 will then apply the chosen settings and continue with the installation.
Remember, selecting the correct language and region settings is essential to ensure a smooth and personalized Windows 11 experience. Take your time to make the right choices before moving forward with the installation process.
Enter Product Key (or Skip)
Once you have completed the installation process, you will be prompted to enter your product key. The product key is a unique code that verifies your copy of Windows 11. If you have purchased a license for Windows 11, you can enter the product key here.
If you don’t have a product key or you want to try Windows 11 for free, you can choose to skip this step. Windows 11 will still be installed, but some features may be limited or unavailable. Skipping the product key entry is a great option if you just want to test out Windows 11 before committing to a purchase.
However, keep in mind that skipping the product key entry means that your copy of Windows 11 will not be activated. This means you may encounter some limitations, such as a watermark on your desktop or the inability to personalize certain settings. If you decide to use Windows 11 long-term, it is recommended to purchase a product key to fully activate and enjoy all the features.
Note: It is important to obtain a genuine product key from a trusted source. Using unauthorized or pirated product keys is illegal and can lead to serious consequences.
Remember, whether you choose to enter a product key or skip this step, you can still proceed with the installation process and enjoy the new features and improvements of Windows 11.