
Welcome to our step-by-step guide on how to install pip in PyCharm. PyCharm is a popular integrated development environment (IDE) for Python, and pip is a package manager that allows you to easily install and manage Python packages. By installing pip in PyCharm, you’ll have access to a vast library of Python packages that can enhance your development experience.
Step 1: Install PyCharm
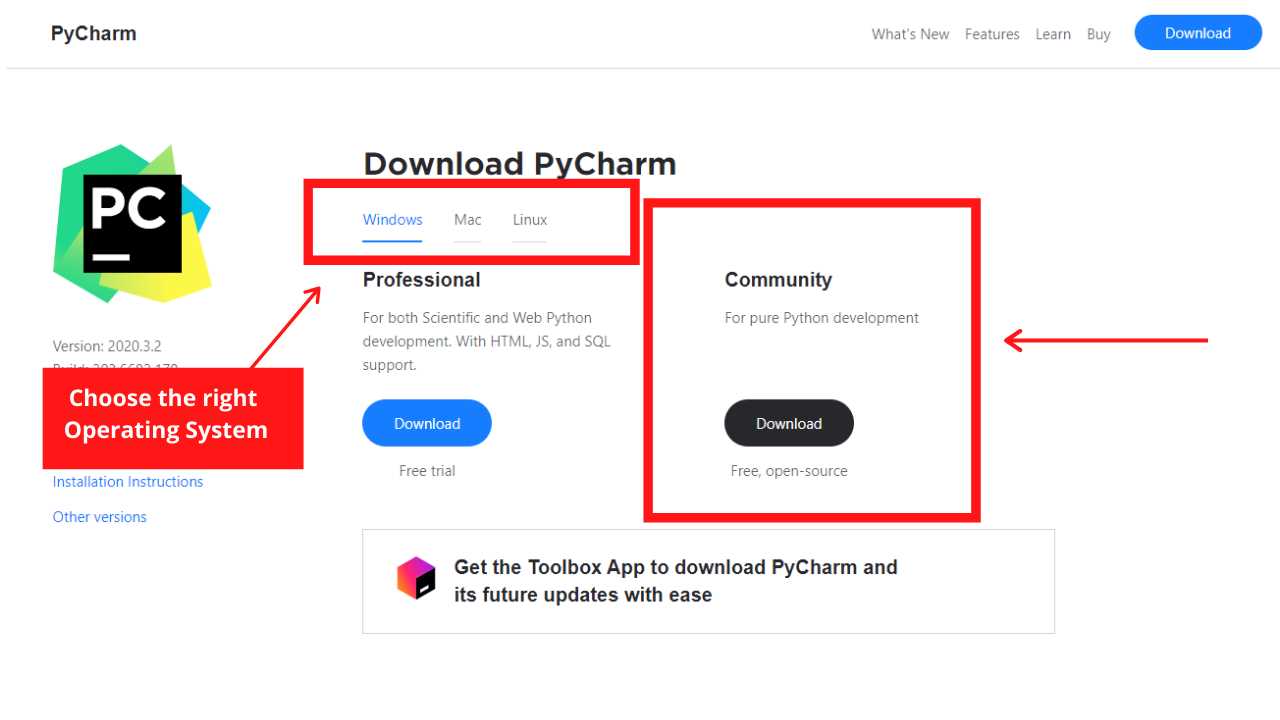
Before we can install pip in PyCharm, we need to have PyCharm installed on our system. PyCharm is available for Windows, macOS, and Linux, and you can download the appropriate version from the official JetBrains website. Follow the installation instructions provided by JetBrains to install PyCharm on your system.
Step 2: Configure PyCharm
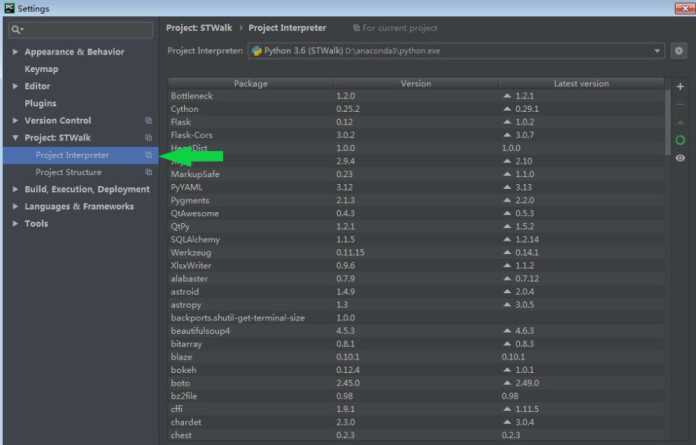
Once PyCharm is installed, open the IDE and go to the “Settings” or “Preferences” menu. In the settings window, navigate to the “Project: [your project name]” section and select “Project Interpreter”. Here, you’ll see a list of installed interpreters. Click on the “+” button to add a new interpreter.
Step 3: Install pip
In the “Add Python Interpreter” window, select “System Interpreter” and click on the “…” button next to the interpreter dropdown. This will open a file browser. Navigate to the location where Python is installed on your system and select the Python executable. Click “OK” to confirm the selection.
Step 4: Verify the Installation
Once the installation is complete, you can verify that pip is installed in PyCharm by opening the terminal within PyCharm and running the command “pip –version”. If pip is installed correctly, you’ll see the version number displayed in the terminal.
Congratulations! You have successfully installed pip in PyCharm. Now you can easily install and manage Python packages directly within the IDE, making your development process more efficient and streamlined.
What is pip?

Pip is a package installer for Python. It is used to install, upgrade, and manage Python packages. Pip is a command-line tool that comes pre-installed with Python, starting from version 3.4.
With pip, you can easily install packages from the Python Package Index (PyPI) or other package indexes. It simplifies the process of installing third-party libraries and modules, making it easier for developers to add functionality to their Python projects.
Pip provides a simple and straightforward way to install packages in Python. It resolves dependencies automatically, ensuring that all required packages are installed correctly. It also allows you to specify the version of a package that you want to install, making it easy to manage different versions of the same package.
To use pip, you need to have Python installed on your system. Once you have Python installed, you can open a command prompt or terminal and use the pip command to install packages. Pip is also integrated into many Python development environments, such as PyCharm, making it even easier to manage packages within your projects.
Why do you need pip in PyCharm?
Pip is a package manager for Python that allows you to easily install and manage third-party libraries and modules. It is a powerful tool that simplifies the process of installing and updating packages, making it an essential tool for Python developers.
PyCharm, on the other hand, is a popular integrated development environment (IDE) for Python that provides a range of features to help you write, debug, and test your Python code. While PyCharm comes with a built-in package manager, using pip in PyCharm offers several advantages:
- Access to a larger package repository: Pip provides access to a vast collection of Python packages that are not included in PyCharm’s default package repository. This allows you to easily install and use a wide range of third-party libraries and modules in your projects.
- Easy installation and updates: Pip simplifies the process of installing and updating packages. With just a few simple commands, you can install or update any package from the Python Package Index (PyPI) without leaving PyCharm.
- Dependency management: Pip automatically resolves and installs any dependencies required by a package. This ensures that all the necessary dependencies are installed correctly and saves you from the hassle of manually managing dependencies.
- Virtual environments: Pip allows you to create and manage virtual environments, which are isolated Python environments that can have their own set of packages and dependencies. This is particularly useful when working on multiple projects with different package requirements.
Overall, using pip in PyCharm enhances your development workflow by providing access to a larger package repository, simplifying package installation and updates, managing dependencies, and facilitating the use of virtual environments. It is a valuable tool that every Python developer should have in their PyCharm setup.
Step 1: Check if pip is already installed
Before proceeding with the installation of pip in PyCharm, it is important to check if pip is already installed on your system. Pip is a package management system used to install and manage software packages written in Python.
To check if pip is already installed, open your command prompt or terminal and type the following command:
pip --version
If pip is installed, the command will display the version number. If not, you will see an error message indicating that pip is not recognized as a command.
If pip is already installed, you can skip to the next step. Otherwise, you will need to install pip before proceeding with the PyCharm installation.
Using the command line
If you prefer to use the command line to install pip in PyCharm, follow these steps:
- Open the command prompt or terminal on your computer.
- Type
pycharmin the command line and press Enter to open PyCharm. - In PyCharm, go to the File menu and select Settings.
- In the Settings window, click on Project Interpreter on the left sidebar.
- Click on the + button on the right side of the window to add a new interpreter.
- In the Add Python Interpreter window, select the desired Python version from the dropdown menu.
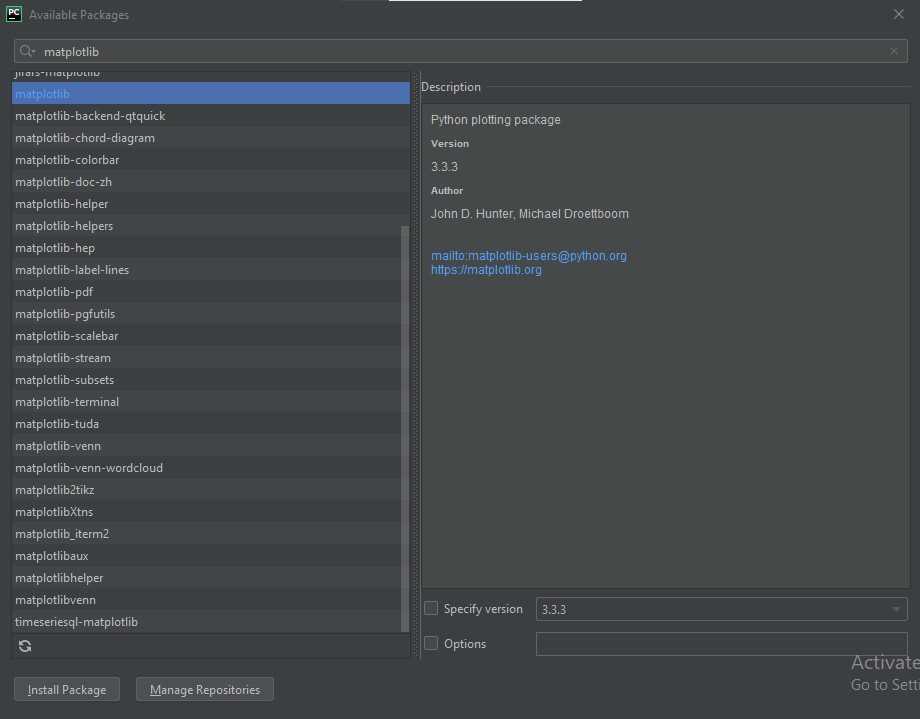
- Make sure the pip package is selected, and click on the Install Package button.
- Wait for the installation to complete.
- Once the installation is finished, you can close the Settings window and start using pip in PyCharm.
Using the command line to install pip in PyCharm gives you more control and flexibility, as you can easily switch between different Python versions and manage your packages efficiently.
Using PyCharm
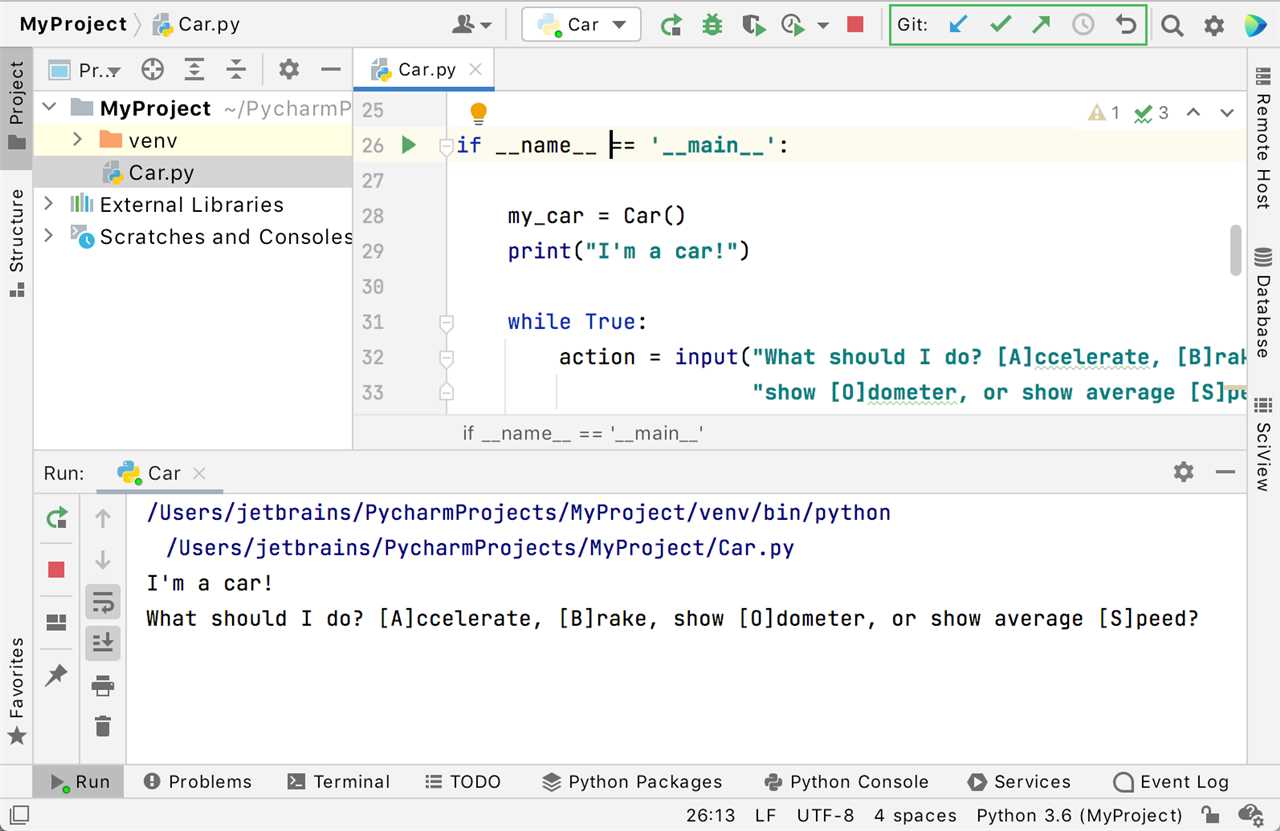
PyCharm is a powerful integrated development environment (IDE) for Python that provides a wide range of features to help you write, debug, and test your Python code. One of the key features of PyCharm is its ability to easily install and manage packages using pip.
To install pip in PyCharm, follow these steps:
| Step 1 | Open PyCharm and create a new Python project or open an existing one. |
| Step 2 | Go to the “Settings” or “Preferences” menu, depending on your operating system. |
| Step 3 | Navigate to the “Project” or “Project Interpreter” section. |
| Step 4 | Click on the gear icon and select “Add” or “Install” to open the package installation dialog. |
| Step 5 | Type “pip” in the search bar and select the “pip” package from the list. |
| Step 6 | Click on the “Install Package” button to install pip in PyCharm. |
| Step 7 | Once the installation is complete, you can use pip to install any Python packages you need for your project. |
By following these steps, you can easily install pip in PyCharm and start managing your Python packages efficiently.
Step 2: Install pip if it is not already installed

If you are using PyCharm, chances are that pip is already installed. However, it is always a good idea to double-check and make sure that pip is installed on your system. If it is not, you can easily install it by following these steps:
- Open your command prompt or terminal.
- Type the following command and press Enter:
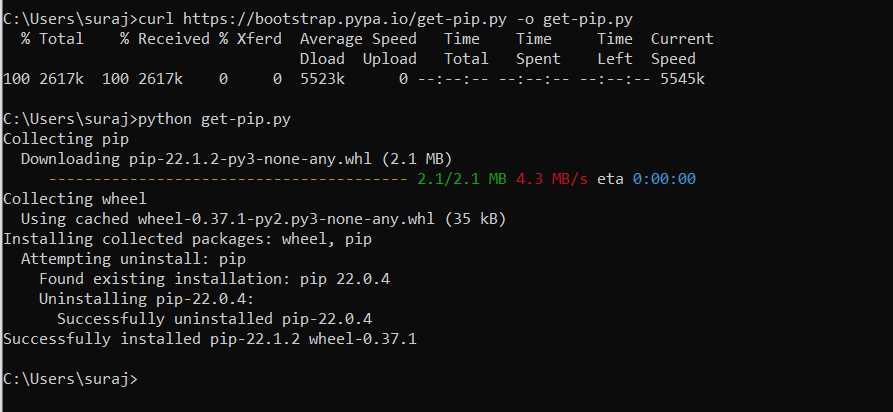
python get-pip.py - This command will download and install pip on your system.
- Once the installation is complete, you can verify that pip is installed by typing
pip --versionin the command prompt or terminal. If you see the version number, it means that pip is successfully installed.
Now that you have pip installed, you can proceed to the next step and start using it with PyCharm.
Using the command line
To install pip in PyCharm using the command line, follow these steps:
- Open the command prompt or terminal on your computer.
- Type
pip install pycharmand press Enter to install pip in PyCharm. - Wait for the installation process to complete.
- Once the installation is finished, you can verify that pip is installed by typing
pip --versionand pressing Enter. This will display the version of pip installed on your system.
Using the command line is a quick and efficient way to install pip in PyCharm. It allows you to easily manage and install packages for your Python projects. By following these steps, you can ensure that pip is properly installed and ready to use in PyCharm.
Using PyCharm
PyCharm is a powerful integrated development environment (IDE) for Python programming. It provides a user-friendly interface and a wide range of features to help developers write, debug, and test their Python code efficiently.
To install pip in PyCharm, follow these steps:
- Open PyCharm and create a new project or open an existing one.
- Click on the “File” menu and select “Settings”.
- In the settings window, navigate to “Project: [your project name]” and click on “Project Interpreter”.
- Click on the “+” button to add a new package.
- In the search bar, type “pip” and select the package named “pip” from the list.
- Click on the “Install Package” button to install pip.
- Once the installation is complete, you can start using pip in your PyCharm project to install and manage Python packages.
Note: It is recommended to use a virtual environment in PyCharm to isolate your project dependencies. This will ensure that the packages installed with pip are only available within the project and do not interfere with other Python installations on your system.
By following these steps, you can easily install pip in PyCharm and leverage its capabilities to enhance your Python development workflow.

