If you are a developer working with JavaScript, you probably already know the importance of Node.js. Node.js is a powerful runtime environment that allows you to run JavaScript on the server side. It provides a number of useful features and libraries that make it easier to build scalable and efficient web applications.
Installing Node.js on Linux is a straightforward process that can be done using the terminal. The first step is to open your terminal and check if you have the package manager installed. Most Linux distributions come with a package manager pre-installed, such as apt for Debian-based systems or yum for Red Hat-based systems.
Once you have confirmed that you have a package manager installed, you can proceed with the installation of Node.js. The easiest way to install Node.js on Linux is by using the package manager. Simply open your terminal and run the following command to install the latest version of Node.js:
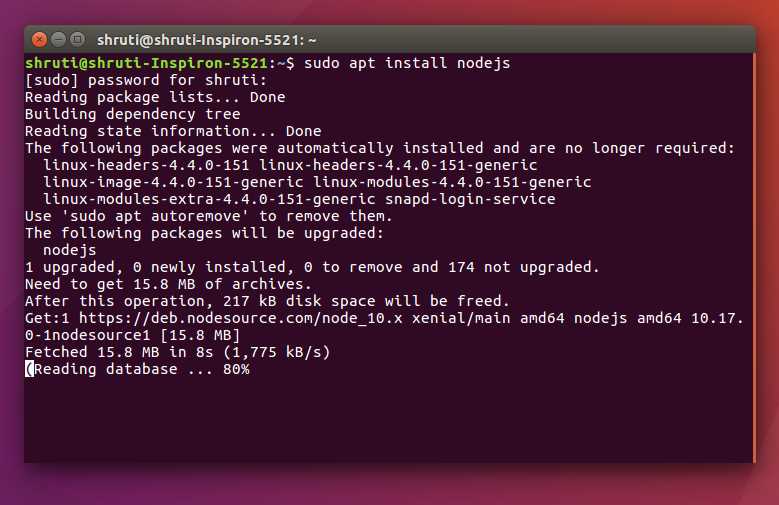
sudo apt install nodejs
This command will download and install the latest version of Node.js from the official package repository. After the installation is complete, you can verify the installation by checking the version of Node.js installed on your system. To do this, simply run the following command:
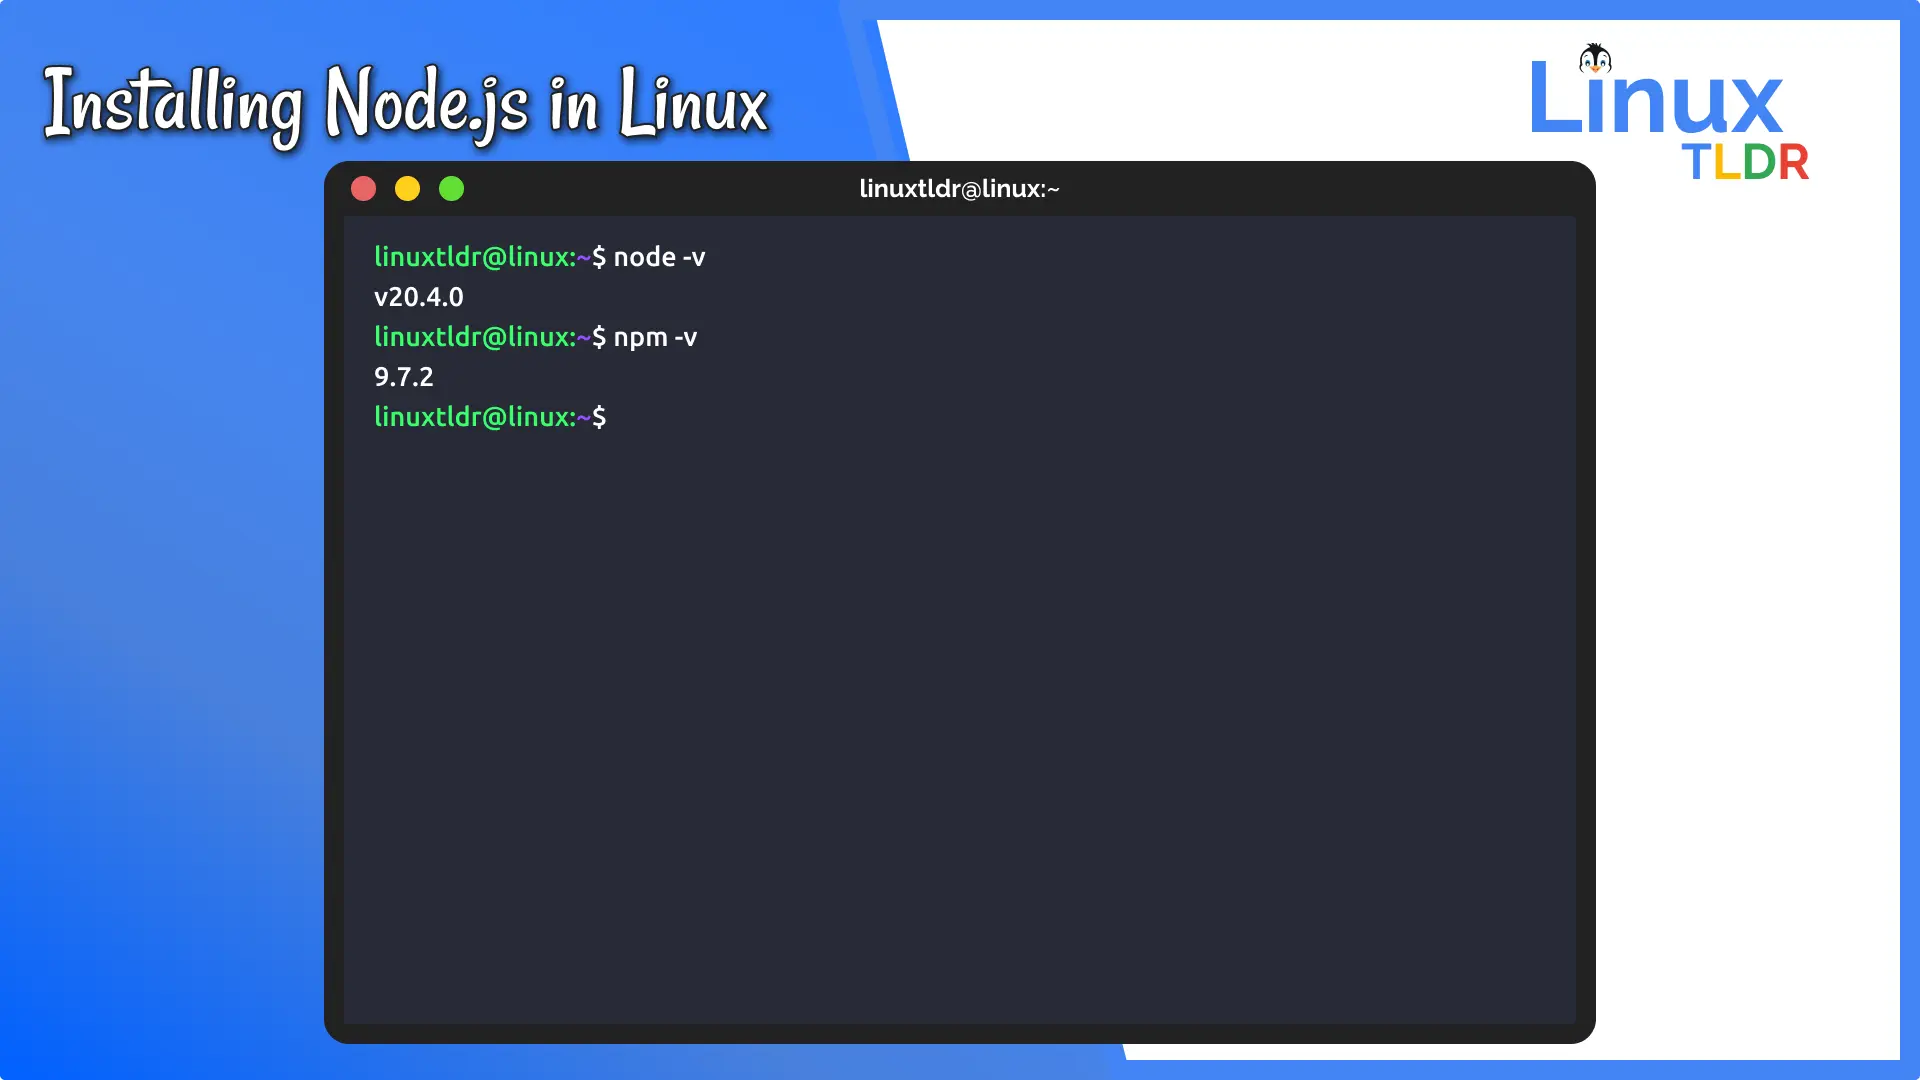
node -v
This command will display the version of Node.js installed on your Linux system. If you see the version number, it means that Node.js has been successfully installed.
Now that you have Node.js installed on your Linux system, you can start using it to develop and run JavaScript applications. Whether you are building a simple command-line tool or a complex web application, Node.js provides the tools and libraries you need to get the job done.
What is Node.js?
Node.js is a powerful open-source JavaScript runtime built on Chrome’s V8 JavaScript engine. It allows developers to run JavaScript code on the server side, providing a scalable and efficient platform for building network applications. Node.js is particularly popular for building web servers and real-time applications.
One of the key advantages of Node.js is its ability to handle a large number of concurrent connections with high performance. It achieves this by using an event-driven, non-blocking I/O model, which allows it to efficiently handle multiple requests without getting blocked. This makes Node.js well-suited for building applications that require real-time communication or have high traffic loads.
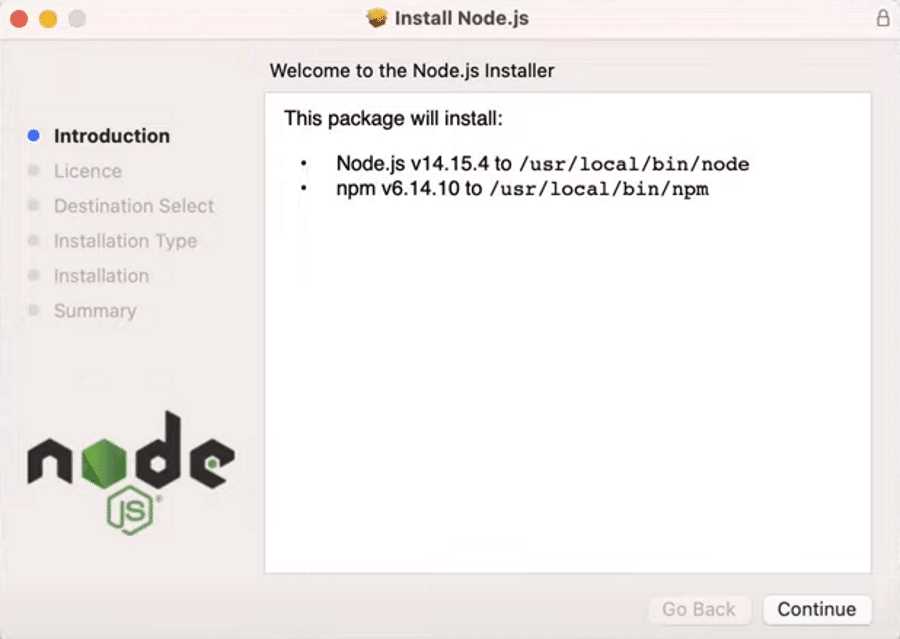
Installing Node.js on Linux is a straightforward process. You can download the Node.js package for your Linux distribution from the official Node.js website or use a package manager like apt or yum. Once you have the package, you can install it using the appropriate command. It’s also possible to install multiple versions of Node.js on the same machine, allowing you to switch between different versions as needed.
Node.js has a vibrant ecosystem of libraries and frameworks that can be used to build a wide range of applications. These libraries and frameworks can be easily installed using the Node Package Manager (npm), which comes bundled with Node.js. npm allows you to manage dependencies, share code, and easily update packages.
Overall, Node.js is a versatile and powerful platform for building server-side applications. Its ability to run JavaScript on the server side, combined with its efficient event-driven architecture, makes it a popular choice for developers looking to build scalable and high-performance applications.
Why Install Node.js on Linux?
Node.js is a powerful and popular JavaScript runtime built on Chrome’s V8 JavaScript engine. It allows developers to run JavaScript code on the server-side, enabling them to build scalable and high-performance web applications. Installing Node.js on Linux provides developers with access to the latest version of Node.js and its extensive package ecosystem.
Linux is a preferred operating system for many developers due to its stability, security, and flexibility. Installing Node.js on Linux allows developers to take advantage of the command-line interface and terminal, which are essential tools for managing and deploying Node.js applications. The terminal provides a convenient way to interact with the Node.js environment, allowing developers to execute commands, install packages, and manage dependencies.
When you install Node.js on Linux, you gain access to the Node Package Manager (npm), which is a powerful tool for managing and sharing JavaScript packages. npm allows you to easily install and manage dependencies for your Node.js projects, making it easier to integrate third-party libraries and frameworks into your applications.
Installing Node.js on Linux is a straightforward process. You can download the latest version of Node.js from the official website or use a package manager like apt or yum to install it. Once installed, you can use the node command in the terminal to run JavaScript code, execute scripts, and start a Node.js server.
Overall, installing Node.js on Linux provides developers with a robust and efficient environment for building and deploying web applications. Whether you are a beginner or an experienced developer, having Node.js installed on your Linux machine is essential for taking advantage of the latest features and tools available in the Node.js ecosystem.
Prerequisites
Before you can install Node.js on your Linux system, make sure you have the following prerequisites:
1. Terminal: You will need a terminal or command line interface to execute commands.
2. Linux: Node.js can be installed on various Linux distributions, such as Ubuntu, CentOS, and Debian.
3. Package Manager: Ensure that your Linux distribution has a package manager installed, such as apt (Advanced Package Tool) for Ubuntu or yum for CentOS.
4. Node.js Version: Decide which version of Node.js you want to install. You can check the latest stable version on the official Node.js website.
5. Internet Connection: Make sure you have a stable internet connection to download the necessary files.
Once you have these prerequisites in place, you can proceed with the installation process.
Check Linux Version

Before installing Node.js on your Linux system, it is important to check the version of Linux you are running. Different versions of Linux may require different installation steps or packages.
To check the version of Linux, you can use the following command in the terminal:
- Open the terminal on your Linux system.
- Type the following command and press Enter:
lsb_release -aThis command will display detailed information about your Linux distribution, including the version number.
If the lsb_release command is not available on your system, you can try using the following command:
cat /etc/os-releaseThis command will display the contents of the /etc/os-release file, which contains information about your Linux distribution.
Once you have determined the version of Linux you are running, you can proceed with the installation of Node.js using the appropriate package and command for your Linux distribution.
Update System Packages
To install Node.js on Linux, it is important to first update the system packages. This ensures that you have the latest versions of the necessary packages installed.
To update the system packages, open the terminal and run the following command:
sudo apt-get update
This command will download the latest package information from the Linux package repositories. It is important to run this command before installing Node.js to ensure that you are installing the latest version.
Once the command has finished running, you can proceed with the installation of Node.js on your Linux system.
Installation Steps
To install Node.js on Linux, follow these steps:
| Step | Description | Command |
|---|---|---|
| Step 1 | Open the terminal | N/A |
| Step 2 | Update the package manager | sudo apt-get update |
| Step 3 | Install Node.js | sudo apt-get install nodejs |
| Step 4 | Verify the installation | node -v |
| Step 5 | Check the installed version of Node.js | nodejs -v |
By following these steps, you will be able to successfully install Node.js on your Linux machine.
Step 1: Add Node.js Repository
To install Node.js on Linux, you need to add the Node.js repository to your system. This repository contains the latest version of Node.js and makes it easy to install and update.
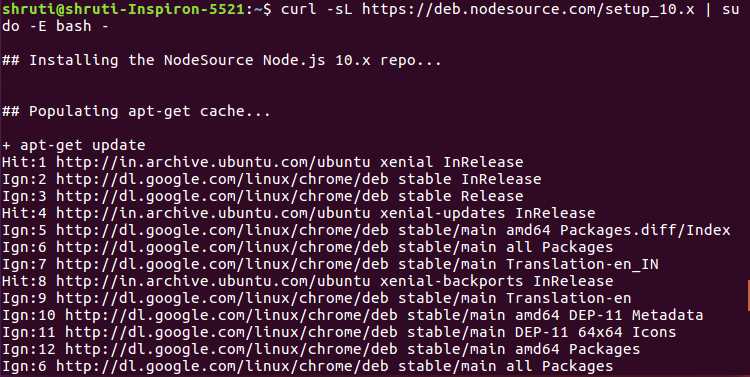
To add the Node.js repository, open the terminal and run the following command:
curl -sL https://deb.nodesource.com/setup_14.x | sudo -E bash -
This command will download and run a script that adds the Node.js repository to your system. You may be prompted to enter your password.
Once the script has finished running, you can proceed to the next step to install Node.js on your Linux system.
Step 2: Install Node.js
Once you have the terminal open on your Linux system, you can proceed with installing Node.js. Node.js is available as a package in most Linux distributions, so you can use the package manager to install it.
To install Node.js, follow these steps:
- Open the terminal.
- Run the following command to update the package lists:
sudo apt update- Next, run the following command to install the latest version of Node.js:
sudo apt install nodejsThis command will download and install the Node.js package on your Linux system.
- To verify that Node.js has been installed successfully, you can check the version by running the following command:
node --versionThis command will display the version of Node.js installed on your system.
Now that you have successfully installed Node.js on your Linux system, you can proceed to the next step.