If you’re a Minecraft player looking to enhance your gaming experience, installing mods is a great way to do it. Mods can add new features, improve graphics, and introduce exciting gameplay mechanics. In this step-by-step guide, we’ll show you how to install mods on Windows 10, so you can start enjoying all the amazing content the Minecraft modding community has to offer.
Step 1: Install Minecraft Forge
The first step to installing mods on Windows 10 is to install Minecraft Forge. Minecraft Forge is a modding platform that allows you to easily install and manage mods. To install Minecraft Forge, you’ll need to download the installer from the official website and run it on your Windows 10 computer. Make sure you have the latest version of Minecraft installed before proceeding.
Step 2: Download Mods
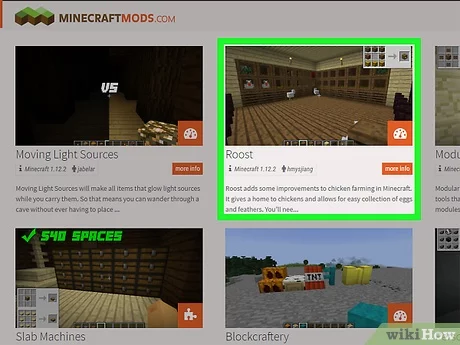
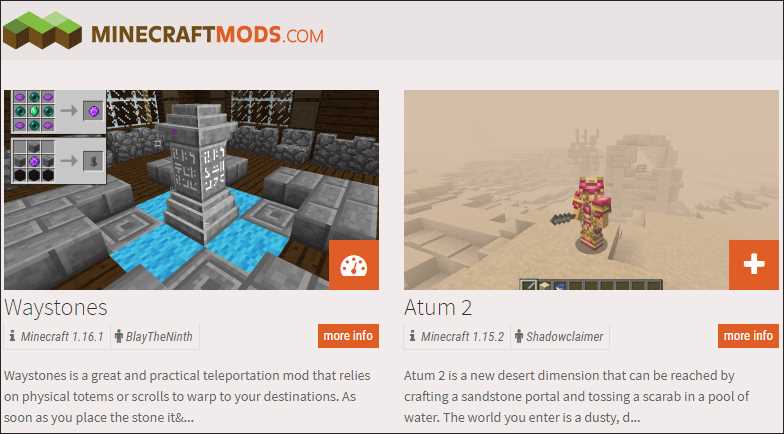
Once you have Minecraft Forge installed, it’s time to download the mods you want to install. There are many websites and forums where you can find Minecraft mods. Make sure to download mods that are compatible with the version of Minecraft you’re using. It’s also a good idea to read user reviews and check the mod’s rating to ensure its quality and reliability.
Step 3: Install Mods
After downloading the mods, you’ll need to install them. To do this, open the Windows File Explorer and navigate to the .minecraft folder. This folder is usually located in the AppData directory of your user profile. Once you’re in the .minecraft folder, open the mods folder. Simply drag and drop the downloaded mods into the mods folder. Make sure to close and reopen Minecraft after installing the mods to ensure they’re properly loaded.
Step 4: Enjoy Your Mods
That’s it! You’ve successfully installed mods on Windows 10. Now you can launch Minecraft and start enjoying all the new features and content that the mods provide. Keep in mind that some mods may require additional configuration or compatibility patches, so make sure to read the mod’s documentation for any specific instructions.
Installing mods on Windows 10 can greatly enhance your Minecraft experience. With this step-by-step guide, you’ll be able to easily install mods and explore all the amazing content the Minecraft modding community has to offer. So go ahead, start downloading and installing mods, and get ready for a whole new level of Minecraft fun!
Section 1: Preparing Your Minecraft Installation

Before you can start installing mods on your Minecraft game, you need to make sure that your Windows 10 operating system is ready for the process. Follow these steps to prepare your Minecraft installation:
- Make sure you have a valid copy of Minecraft installed on your Windows 10 computer.
- Ensure that your Minecraft game is up to date. You can check for updates by launching the game and going to the “Options” menu, then selecting “Check for Updates”.
- Backup your Minecraft game files. This is an important step to ensure that you can revert back to the original game if anything goes wrong during the mod installation process.
- Download and install the latest version of Minecraft Forge. Minecraft Forge is a modding platform that allows you to easily install and manage mods for your Minecraft game.
- Once Minecraft Forge is installed, launch the game and make sure it is running without any issues.
By following these steps, you will have a properly prepared Minecraft installation on your Windows 10 computer, ready for the installation of mods.
Checking Minecraft Version

Before you can install mods on Minecraft, it’s important to check the version of Minecraft you are currently using. This is crucial because mods are specific to certain versions of the game, and using an incompatible mod can cause issues or even crash your game.
To check your Minecraft version, follow these steps:
- Launch Minecraft on your Windows 10 computer.
- On the main menu, click on “Options”.
- In the options menu, click on “Resource Packs”.
- On the resource packs screen, you will see your Minecraft version displayed at the bottom left corner of the screen.
Make a note of your Minecraft version, as you will need this information to find compatible mods.
Note: It’s important to always use mods that are specifically designed for your Minecraft version. Using mods that are not compatible can lead to crashes, errors, or other issues with your game.
Now that you know how to check your Minecraft version, you are ready to move on to the next step: finding and installing mods!
Downloading and Installing Minecraft Forge
In order to install mods for Minecraft on Windows 10, you will need to download and install Minecraft Forge. Minecraft Forge is a modding platform that allows you to easily add and manage mods for the game.
Here is a step-by-step guide on how to download and install Minecraft Forge:
- Open your preferred web browser and go to the official Minecraft Forge website.
- On the Minecraft Forge website, navigate to the “Download” section.
- Make sure to select the version of Minecraft that you are using. Minecraft Forge is constantly updated to support the latest versions of the game.
- Click on the “Installer” link to download the Minecraft Forge installer.
- Once the installer is downloaded, locate the file and double-click on it to run it.
- Follow the on-screen instructions to install Minecraft Forge. Make sure to select the correct installation directory for Minecraft.
- After the installation is complete, open the Minecraft launcher.
- In the launcher, click on the “Installations” tab.
- Create a new installation by clicking on the “New” button.
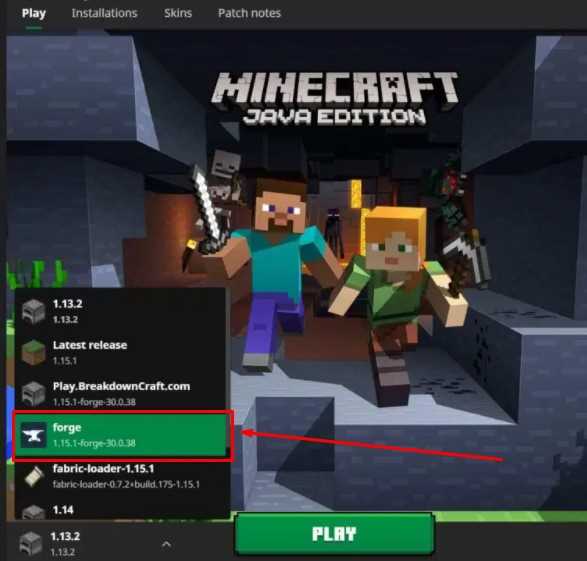
- In the new installation window, select the version of Minecraft Forge that you just installed from the drop-down menu.
- Click on the “Create” button to create the new installation.
- Once the installation is created, you can select it from the drop-down menu in the launcher and click on the “Play” button to launch Minecraft with Minecraft Forge.
Now that you have successfully downloaded and installed Minecraft Forge, you are ready to start installing mods for Minecraft on Windows 10. Follow the next steps in this guide to learn how to install mods using Minecraft Forge.
Launching Minecraft with Forge
After you have successfully installed Forge and your desired mods, it’s time to launch Minecraft with Forge.
To do this, follow these steps:
- Open the Minecraft Launcher on your Windows 10 computer.
- Click on the “Installations” tab at the top of the launcher.
- Click on the “New” button to create a new installation profile.
- In the “Version” drop-down menu, select the Forge version you installed.
- Enter a name for your new installation profile.
- Click on the “Create” button to create the new profile.
- Once the profile is created, click on the “Play” button next to it to launch Minecraft with Forge.
When Minecraft launches with Forge, it will load the mods you have installed and you will be able to play with them in the game.
Note: It’s important to remember that not all mods are compatible with each other or with certain versions of Minecraft. Make sure to check the compatibility of the mods you want to install before proceeding.
Now that you know how to launch Minecraft with Forge, you can enjoy the added features and content that mods bring to the game.
Section 2: Installing Mods
Once you have Minecraft installed on your Windows 10 computer, you can start exploring the world of mods. Mods are modifications to the game that can enhance your gameplay experience by adding new features, items, or even completely changing the game mechanics.
Here is a step-by-step guide on how to install mods on Minecraft for Windows 10:
| Step | Description |
|---|---|
| 1 | Find a mod that you want to install. There are many websites and forums where you can find Minecraft mods. Make sure to download mods from trusted sources to avoid any potential malware or viruses. |
| 2 | Locate your Minecraft installation folder. By default, it is located in the “AppData” folder on your Windows 10 computer. You can access this folder by pressing “Windows key + R” and typing “%appdata%” in the Run dialog box. |
| 3 | Open the “.minecraft” folder in the AppData directory. Inside this folder, you will find another folder called “mods”. If the “mods” folder does not exist, create a new folder and name it “mods”. |
| 4 | Copy the downloaded mod file into the “mods” folder. Make sure to keep the file extension intact (.jar or .zip). |
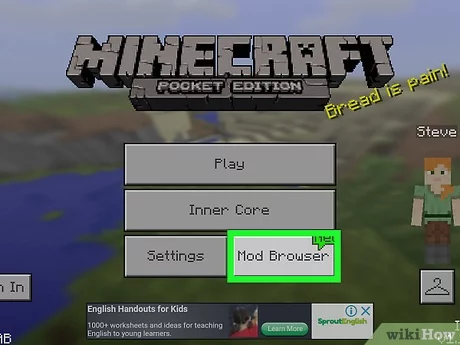
| 5 | Launch Minecraft and select the “Mods” option from the main menu. You should see the installed mod listed there. |
| 6 | Select the mod you want to play with and click on the “Enable” button. This will activate the mod and apply its changes to your game. |
| 7 | Start a new game or load an existing one to experience the mod’s features in Minecraft. |
That’s it! You have successfully installed a mod on Minecraft for Windows 10. Remember to always read the mod’s documentation for any specific installation instructions or compatibility issues.
Finding and Downloading Mods
Once you have Minecraft installed on your Windows 10 computer, you can start exploring the world of mods. Mods are modifications to the game that can enhance your gameplay experience by adding new features, items, or even completely changing the game mechanics.
To find and download mods for Minecraft, you can visit various websites that specialize in hosting mods. Some popular websites include:
These websites offer a wide range of mods for Minecraft, so you can browse through the different categories or use the search function to find specific mods that you are interested in.
Once you have found a mod that you want to download, make sure to check the compatibility with your version of Minecraft and Windows 10. Most mods will specify the Minecraft version and the required Forge or Fabric version in their description.
To download a mod, simply click on the download button or link provided on the mod’s page. The mod file will usually be in a .jar or .zip format.
After downloading the mod file, you will need to locate your Minecraft installation folder. This is usually located in the “AppData” folder on your Windows 10 computer. You can access this folder by typing “%appdata%” in the Windows search bar and then navigating to the “.minecraft” folder.
Once you have found the “.minecraft” folder, open it and locate the “mods” folder. If the “mods” folder does not exist, you can create one yourself.
Copy the downloaded mod file into the “mods” folder. Make sure to leave the mod file in its original .jar or .zip format and do not extract it.
Now, when you launch Minecraft, the mod should be loaded and ready to use. You can check if the mod is installed correctly by going to the “Mods” section in the Minecraft main menu.
Remember to always download mods from trusted sources to ensure their safety and compatibility with your game. Enjoy exploring the world of Minecraft mods and have fun customizing your gameplay experience!