
If you’re wondering how to install Git LFS, you’ve come to the right place. Git LFS, or Large File Storage, is an extension for Git that allows you to manage large files more efficiently. Whether you’re working with large media files, datasets, or any other type of file, Git LFS can help you handle them with ease.
Installing Git LFS is a straightforward process that can be done in just a few steps. First, you’ll need to download and install Git on your system if you haven’t already. Git is a widely used version control system that Git LFS builds upon. Once Git is installed, you can proceed with installing Git LFS.
To install Git LFS, you’ll need to open your command line interface and run a few commands. Start by navigating to the directory where you have Git installed. Then, run the command to install Git LFS. This will download and install the necessary files onto your system. Once the installation is complete, you’re ready to start using Git LFS!
With Git LFS installed, you can now take advantage of its features. Git LFS allows you to track large files in your Git repository without slowing down your workflow. It seamlessly integrates with Git, making it easy to manage and version large files alongside your code. Whether you’re collaborating with others or working on your own, Git LFS is a valuable tool for any developer.
Section 1: Downloading and Installing Git LFS

Git LFS is an extension for Git that allows you to manage large files efficiently. In this section, we will guide you on how to download and install Git LFS on your system.
Step 1: Open your web browser and navigate to the official Git LFS website.
Step 2: Locate the download section on the website and click on the appropriate link for your operating system.
Step 3: Once the download is complete, locate the downloaded file and double-click on it to start the installation process.
Step 4: Follow the on-screen instructions to complete the installation. Make sure to read and accept the license agreement if prompted.
Step 5: After the installation is finished, open your command line interface (CLI) or terminal.
Step 6: Type the command git lfs install and press Enter to initialize Git LFS on your system.
Step 7: Congratulations! You have successfully downloaded and installed Git LFS on your system. You can now start using Git LFS to manage large files in your Git repositories.
Step 1: Visit the Git LFS website
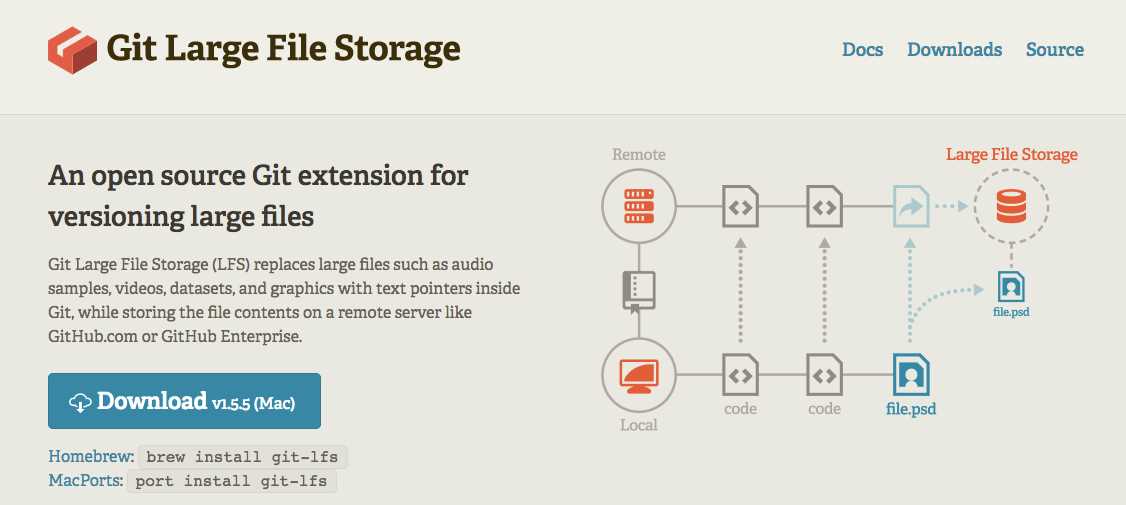
To install Git LFS, the first step is to visit the official Git LFS website. You can do this by opening your preferred web browser and navigating to the Git LFS website. Once you are on the website, you will find all the necessary information and resources to install Git LFS on your system.
Git LFS is an extension for Git that allows you to manage large files and binary assets more efficiently. It replaces these large files with text pointers in your Git repository, which are then stored on a remote server. This helps to reduce the size of your Git repository and improve performance.
On the Git LFS website, you will find detailed documentation, including installation instructions for various operating systems. Make sure to read the documentation carefully and choose the installation method that is appropriate for your system.
Additionally, the website provides information about the features and benefits of using Git LFS, as well as resources for troubleshooting and getting help if you encounter any issues during the installation process.
By visiting the Git LFS website, you will have access to all the necessary information and resources to successfully install Git LFS and start managing large files in your Git repositories.
Step 2: Choose the appropriate version for your operating system

Once you have installed Git on your system, the next step is to install Git LFS. Git LFS is an extension for Git that allows you to manage large files more efficiently.
To install Git LFS, you need to choose the appropriate version for your operating system. Git LFS is available for Windows, macOS, and Linux.
If you are using Windows, you can download the Git LFS installer from the official Git LFS website. Make sure to choose the version that matches your operating system architecture (32-bit or 64-bit).
For macOS users, you can install Git LFS using Homebrew, a package manager for macOS. Open the Terminal app and run the following command:
brew install git-lfs
If you are using Linux, you can install Git LFS using the package manager for your distribution. For example, on Ubuntu, you can run the following command:
sudo apt-get install git-lfs
Once you have installed Git LFS, you are ready to start using it with Git. In the next step, we will configure Git LFS to track large files in your repository.
Step 3: Download the Git LFS installer

To use Git LFS, you need to download and install the Git LFS installer. Follow the steps below to download the installer:
- Go to the Git LFS website at https://git-lfs.github.com/.
- Click on the “Download” button to start the download.
- Choose the appropriate installer for your operating system (Windows, macOS, or Linux) and click on the download link.
- Once the installer is downloaded, open it to start the installation process.
- Follow the on-screen instructions to complete the installation.
After the installation is complete, Git LFS will be ready to use with your Git repositories. Proceed to the next step to configure Git LFS for your repository.
Section 2: Configuring Git LFS
After successfully installing Git LFS, the next step is to configure it for your specific needs. This section will guide you on how to configure Git LFS to work seamlessly with your projects.
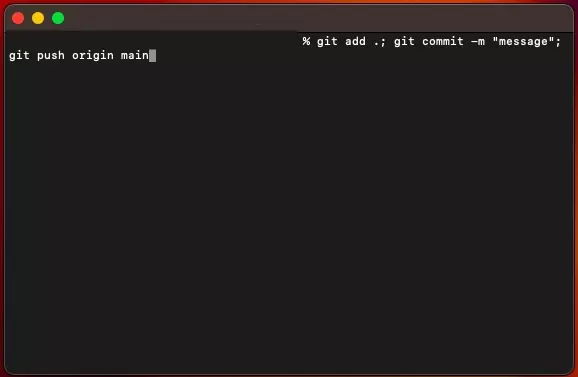
To start configuring Git LFS, open your command line interface and navigate to the root directory of your project. Once there, run the following command:
git lfs installThis command will enable Git LFS for your project, allowing you to track large files and store them efficiently. Once Git LFS is installed, you can proceed with configuring the specific files you want to track.
To configure Git LFS for a specific file or file type, you need to create a .gitattributes file in the root directory of your project. This file will define the rules for which files should be tracked by Git LFS.
Here is an example of how to configure Git LFS to track all files with the .jpg extension:
*.jpg filter=lfs diff=lfs merge=lfs -textIn this example, the asterisk (*) is a wildcard that matches any file name. The filter=lfs option tells Git LFS to treat the matched files as large files. The diff=lfs and merge=lfs options ensure that Git LFS handles the file comparison and merging correctly. Finally, the -text option tells Git LFS to treat the matched files as binary files.
You can add multiple rules to the .gitattributes file to configure Git LFS for different file types. Once you have defined the rules, save the .gitattributes file and commit it to your repository.
With Git LFS properly configured, you can now start tracking large files in your project. Git LFS will handle the storage and retrieval of these files, making it easier for you to collaborate with others and manage your project efficiently.
Continue to the next section to learn more about using Git LFS and its advanced features.


