Microsoft Word is a powerful word processing tool that offers a wide range of formatting options to make your documents look professional and polished. One of the most commonly used formatting options is double spacing, which creates extra space between lines of text. Double spacing is often required for academic papers, business documents, and other formal writing. In this step-by-step guide, we will show you how to double space in Microsoft Word.
To double space in Microsoft Word, you can use the built-in formatting options or adjust the line spacing manually. Here’s how:
Step 1: Open your document in Microsoft Word.
Step 2: Select the text you want to double space. If you want to double space the entire document, press “Ctrl + A” to select all the text.
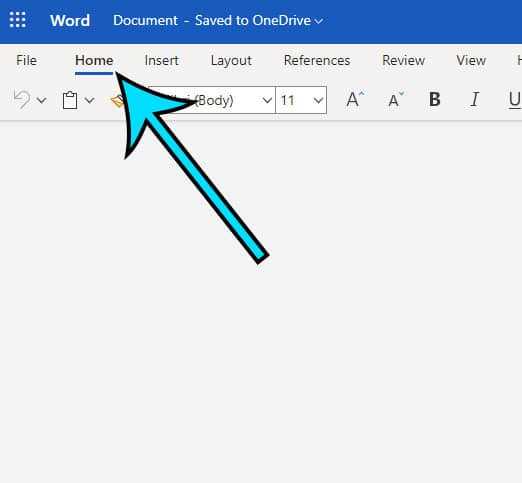
Step 3: Go to the “Home” tab in the Microsoft Word ribbon.
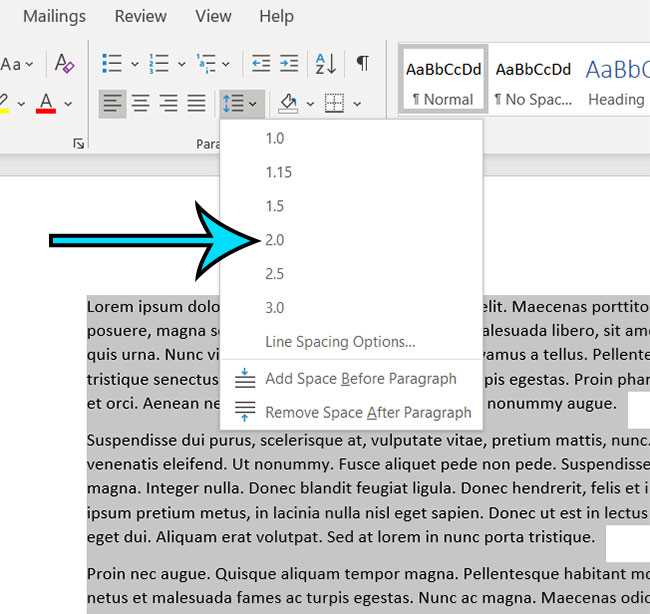
Step 4: In the “Paragraph” section, click on the arrow next to the “Line spacing” option.
Step 5: From the drop-down menu, select “2.0” to double space the selected text or the entire document.
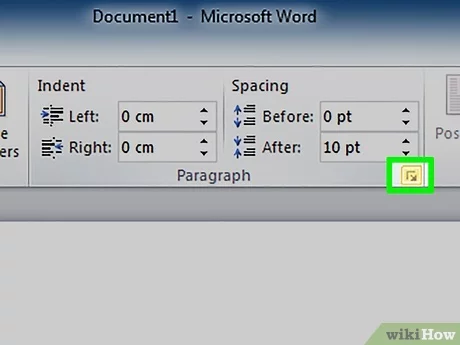
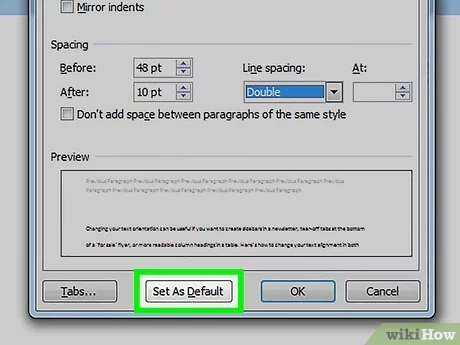
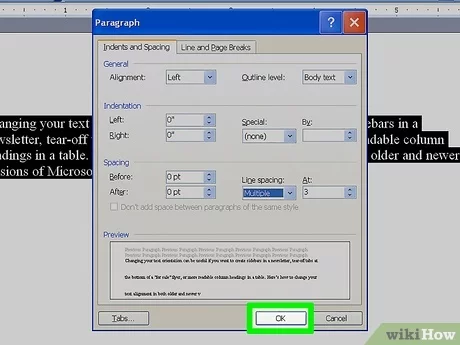
Step 6: Alternatively, you can manually adjust the line spacing by selecting “Line spacing options” from the drop-down menu. In the “Paragraph” dialog box, go to the “Indents and Spacing” tab and select “Double” from the “Line spacing” drop-down menu.
Step 7: Click “OK” to apply the double spacing to your selected text or the entire document.
By following these simple steps, you can easily double space your text in Microsoft Word. Whether you’re writing an essay, a report, or a business letter, double spacing can make your document easier to read and more professional-looking. So, start using double spacing in Microsoft Word today and take your writing to the next level!
Step 1: Open Microsoft Word
To begin double spacing your document in Microsoft Word, you first need to open the program. Here’s how:
| 1. | Click on the Windows Start menu located in the bottom left corner of your screen. |
| 2. | Type “Microsoft Word” in the search bar. |
| 3. | Click on the Microsoft Word application icon when it appears in the search results. |
| 4. | Wait for Microsoft Word to open. |
Once Microsoft Word is open, you can proceed to the next step to double space your document.
Launch Microsoft Word
To double space your document in Microsoft Word, you first need to launch the program. To do this, follow these steps:
- Click on the Start button in the bottom left corner of your screen.
- Type “microsoft word” into the search bar and press Enter.
- Click on the Microsoft Word application in the search results to open the program.
Once Microsoft Word is open, you can proceed to the next steps to double space your document.
Create a new document or open an existing one
To double space a document in Microsoft Word, you can either create a new document or open an existing one. Here’s how:
- To create a new document, open Microsoft Word and click on the “File” tab in the top left corner of the screen.
- From the drop-down menu, select “New” to create a new blank document.
- If you want to open an existing document, click on the “File” tab and select “Open” from the menu.
- Navigate to the location where your document is saved and select it.
- Click on the “Open” button to open the document.
Once you have created a new document or opened an existing one, you can proceed to double space the text by following the steps mentioned in the guide.
Step 2: Select the Text
Once you have opened your document in Microsoft Word, you will need to select the text that you want to double space. To do this, simply click and drag your cursor over the desired text. You can also use the keyboard shortcut Ctrl+A to select the entire document.
It is important to note that you can only double space text that is already typed in your Word document. If you want to double space a blank document, you will need to type some text first.
Tip: If you want to double space specific paragraphs or sections of your document, you can select only the relevant text by clicking and dragging your cursor over those paragraphs or sections.
Once you have selected the text, you are ready to move on to the next step.
Click and drag to select the text you want to double space
In Microsoft Word, you can easily double space your text by following a few simple steps. To begin, open your Word document and locate the text you want to double space. Click and hold your mouse button at the beginning of the text, then drag your cursor to the end of the desired text. This will highlight the text you want to double space.
Once you have selected the text, navigate to the “Home” tab at the top of the Word window. In the “Paragraph” section of the toolbar, you will see a button labeled “Line and Paragraph Spacing.” Click on this button to open a drop-down menu.
In the drop-down menu, you will see various options for spacing, including “1.0,” “1.15,” “1.5,” “2.0,” and more. To double space your selected text, simply click on the option labeled “2.0.” This will apply double spacing to the text you have highlighted.
Alternatively, you can also access the “Line and Paragraph Spacing” options by right-clicking on the selected text and choosing “Paragraph” from the context menu. This will open a dialog box where you can select the desired spacing option.
Once you have chosen the double spacing option, the selected text will now be double spaced. You can repeat these steps for any additional text you want to double space in your Word document.
By following these simple steps, you can easily double space your text in Microsoft Word, making it easier to read and format your documents.
Use the Ctrl+A shortcut to select the entire document
If you want to double space your entire document in Microsoft Word, you can use the Ctrl+A shortcut to select the entire text. This shortcut allows you to quickly highlight all the text in your document, making it easy to apply formatting changes to the entire document at once.
To use the Ctrl+A shortcut, simply press and hold the Ctrl key on your keyboard, and then press the letter A. This will select all the text in your document, including any headers, footers, and footnotes.
Once you have selected the entire document, you can then proceed to double space the text. To do this, go to the Home tab in the Microsoft Word ribbon, and locate the Paragraph section. Within this section, you will find the Line Spacing option. Click on the Line Spacing button, and select the “2.0” option from the drop-down menu. This will double space your entire document.
Using the Ctrl+A shortcut to select the entire document is a quick and efficient way to apply formatting changes to your text in Microsoft Word. Whether you want to double space your document or make any other formatting changes, this shortcut will save you time and effort.