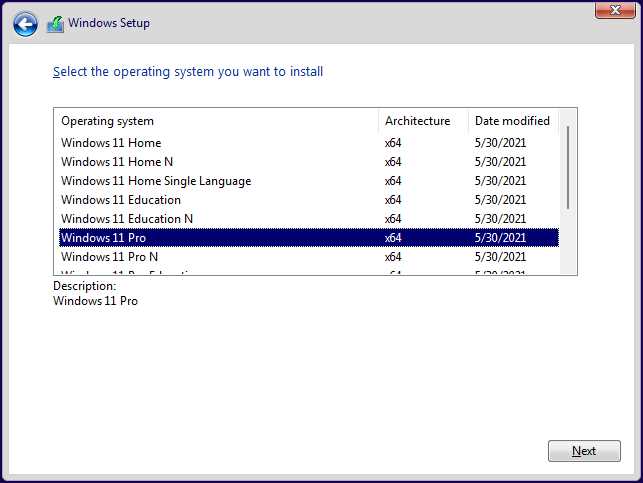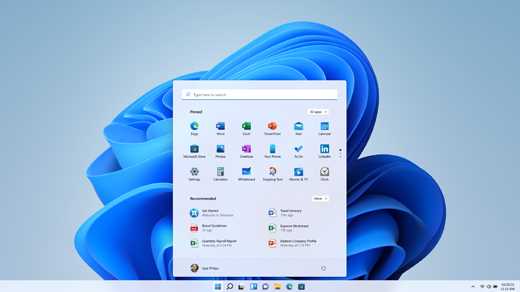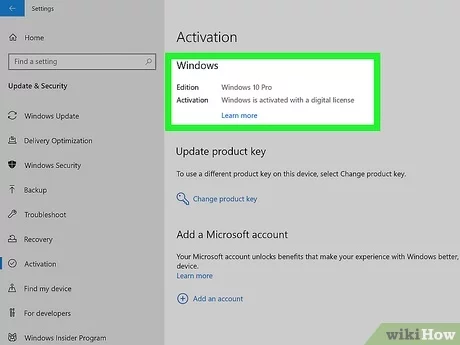
Welcome to our comprehensive guide on how to install Windows 11 Pro! If you’re eager to upgrade your operating system and take advantage of the latest features and improvements, you’ve come to the right place. In this step-by-step tutorial, we will walk you through the entire installation process, ensuring a smooth and successful transition to Windows 11 Pro.
Windows 11 is the latest version of Microsoft’s flagship operating system, offering a sleek and modern user interface, enhanced performance, and a range of exciting new features. Whether you’re a tech enthusiast, a professional user, or simply looking to stay up-to-date with the latest technology, upgrading to Windows 11 Pro is a great choice.
Installing Windows 11 Pro may seem like a daunting task, but fear not! With our detailed instructions and helpful tips, you’ll be up and running in no time. Before we dive in, make sure you have a valid Windows 11 Pro license key and a backup of your important files, as the installation process will involve formatting your hard drive.
So, without further ado, let’s get started on our journey to install Windows 11 Pro. Follow each step carefully, and soon you’ll be enjoying all the benefits and new features that this cutting-edge operating system has to offer!
Preparation
Before you begin the installation process, it is important to make sure you have everything you need. Here is a step-by-step guide on how to prepare for the installation of Windows 11 Pro:
| Step 1 | Check system requirements |
| Step 2 | Backup your data |
| Step 3 | Download the Windows 11 Pro installation file |
| Step 4 | Create a bootable USB drive |
| Step 5 | Ensure you have a valid product key |
By following these steps, you will be well-prepared to install Windows 11 Pro and enjoy its new features and improvements.
Check System Requirements
Before proceeding with the installation of Windows 11 Pro, it is crucial to ensure that your system meets the necessary requirements. This will ensure a smooth and successful installation process.
To install Windows 11 Pro, your computer must meet the following minimum system requirements:
- Processor: A compatible 64-bit processor with a clock speed of 1 GHz or higher is required.
- RAM: Your system should have at least 4 GB of RAM to run Windows 11 Pro smoothly.
- Storage: You need a minimum of 64 GB of storage space on your hard drive to install Windows 11 Pro.
- Graphics Card: Your computer should have a DirectX 12 compatible graphics card or integrated GPU.
- Display: A display with a resolution of 720p or higher is recommended for the best experience.
- Internet Connection: An internet connection is required to download and install Windows 11 Pro.
It is important to note that these are the minimum system requirements, and for optimal performance, it is recommended to have a more powerful system. Once you have confirmed that your system meets these requirements, you can proceed with the installation process.
Backup Your Data

Before you proceed with the installation of Windows 11 Pro, it is highly recommended to backup all your important data. This step is crucial to ensure that you don’t lose any valuable files or documents during the installation process.
To backup your data, you can use various methods. One of the easiest ways is to copy your files to an external storage device, such as a USB flash drive or an external hard drive. Simply connect the device to your computer and copy all the files and folders that you want to backup.
Another option is to use cloud storage services, such as Microsoft OneDrive or Google Drive. These services allow you to upload your files to the cloud, where they will be securely stored. You can then access your files from any device with an internet connection.
It is also a good idea to create a system image backup of your current Windows installation. This will create a complete copy of your operating system, including all your files, settings, and installed programs. In case anything goes wrong during the installation of Windows 11 Pro, you can easily restore your system to its previous state.
Remember, taking the time to backup your data is an essential step to ensure a smooth and hassle-free installation of Windows 11 Pro. Don’t skip this step and protect your valuable files!
Create a Bootable USB Drive
To install Windows 11 Pro, you will need to create a bootable USB drive. This will allow you to easily install the operating system on your computer. Follow the steps below to create a bootable USB drive:
- First, you will need a USB drive with at least 8GB of storage capacity. Make sure the USB drive is empty, as all data on it will be erased during the process.
- Next, download the Windows 11 Pro installation files from the official Microsoft website. You can find the download link on the Windows 11 Pro product page.
- Once the download is complete, insert the USB drive into your computer’s USB port.
- Open the downloaded Windows 11 Pro installation files and locate the “MediaCreationTool.exe” file. Double-click on it to run the tool.
- Follow the on-screen instructions provided by the Media Creation Tool. Select the option to create installation media and choose the USB drive as the destination.
- The Media Creation Tool will now start creating a bootable USB drive. This process may take some time, so be patient.
- Once the bootable USB drive is created, you will receive a notification. You can now safely remove the USB drive from your computer.
Congratulations! You have successfully created a bootable USB drive for installing Windows 11 Pro. You can now proceed to the next step of the installation process.

