Are you a Minecraft enthusiast looking to enhance your gaming experience? Installing mods can be a great way to add new features, improve graphics, and explore endless possibilities in the game. In this step-by-step guide, we will walk you through the process of installing mods on your PC.
Step 1: Choose the Mods
Before you begin, it’s important to decide which mods you want to install. There are thousands of mods available, each offering unique gameplay changes and enhancements. Whether you’re looking for new weapons, improved textures, or exciting new worlds, take some time to research and find the mods that best suit your preferences.
Step 2: Download and Install Forge
Once you’ve chosen your desired mods, you’ll need to install Forge. Forge is a modding platform that allows you to easily install and manage mods in Minecraft. Visit the official Forge website and download the latest version compatible with your Minecraft version. Run the installer and follow the on-screen instructions to install Forge on your PC.
Step 3: Locate the Minecraft Folder
Next, you’ll need to locate the Minecraft folder on your PC. Open the Minecraft launcher and click on “Launch options.” From there, select the Minecraft version you installed Forge for and click on the folder icon next to the Game Directory. This will open the Minecraft folder in File Explorer.
Step 4: Install Mods
Now that you have the Minecraft folder open, navigate to the “mods” folder. If it doesn’t exist, create a new folder and name it “mods.” This is where you will place the mod files you downloaded earlier. Simply drag and drop the mod files into the “mods” folder.
Step 5: Launch Minecraft with Mods
Once you’ve placed the mod files in the “mods” folder, close the Minecraft folder and launch the Minecraft launcher. In the launcher, select the Minecraft version you installed Forge for and click on “Play.” Minecraft will now launch with the installed mods, and you can start enjoying the new features and enhancements they provide.
That’s it! You’ve successfully installed Minecraft mods on your PC. Remember to always download mods from trusted sources and ensure they are compatible with your Minecraft version. Now, go ahead and explore the exciting world of Minecraft with your newly installed mods!
Step 1: Download and Install Minecraft Forge

To install mods on Minecraft, you will first need to download and install Minecraft Forge. Minecraft Forge is a modding platform that allows you to easily install and manage mods for the game.
Here is a step-by-step guide on how to download and install Minecraft Forge:
- Go to the official Minecraft Forge website at https://files.minecraftforge.net/.
- On the website, navigate to the “Download” section.
- Choose the version of Minecraft that you are using from the dropdown menu. Make sure to select the correct version to ensure compatibility with your mods.
- Click on the “Installer” link next to the version you selected.
- The download will start automatically. Once the download is complete, locate the downloaded file.
- Double-click on the downloaded file to run the installer.
- Follow the on-screen instructions to complete the installation process. Make sure to select the correct installation directory for Minecraft.
- Once the installation is complete, launch Minecraft.
- In the Minecraft launcher, click on the “Launch Options” tab.
- Click on the profile that you want to install mods for.
- Under the “Version” dropdown menu, select the Forge version that you installed.
- Click on the “Save” button.
- You can now close the Minecraft launcher and proceed to install mods using Minecraft Forge.
Now that you have successfully downloaded and installed Minecraft Forge, you are ready to start installing mods for Minecraft. Continue to the next step to learn how to install mods using Minecraft Forge.
Visit the official Minecraft Forge website
To install mods on Minecraft PC, you will need to download and install Minecraft Forge. Minecraft Forge is a modding platform that allows you to easily install and manage mods for Minecraft. To get started, visit the official Minecraft Forge website.
Choose the version of Minecraft you are using
Before you can start installing mods on your PC, you need to make sure you have the correct version of Minecraft installed. Minecraft is constantly being updated, so it’s important to choose the version that matches the mods you want to install.
To check the version of Minecraft you are using, follow these steps:
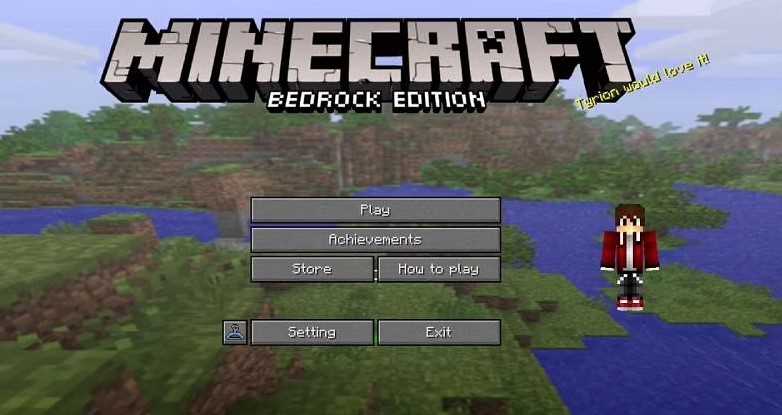
- Launch Minecraft on your PC.
- On the main menu, click on “Options”.
- Click on “Resource Packs”.
- Under “Available Resource Packs”, you will see the version number of Minecraft you are currently using.
Once you have determined the version of Minecraft you are using, you can proceed with installing mods that are compatible with that version. Different mods are designed to work with specific versions of Minecraft, so it’s important to choose mods that are compatible with your version.
Now that you know how to check your Minecraft version, you can confidently proceed with installing mods on your PC. Remember to always double-check the compatibility of the mods you want to install to ensure a smooth and enjoyable Minecraft experience.
Download the Minecraft Forge installer

To install mods on Minecraft for PC, you will need to download and install the Minecraft Forge installer. Minecraft Forge is a modding platform that allows you to easily install and manage mods for the game.
To download the Minecraft Forge installer, follow these steps:
- Open your preferred web browser on your PC.
- Go to the official Minecraft Forge website.
- Click on the “Download” button.
- On the download page, make sure to select the version of Minecraft that you are using.
- Click on the “Installer” link to download the Forge installer.
- Once the download is complete, locate the downloaded file on your PC.
- Double-click on the Forge installer file to run it.
- Follow the on-screen instructions to complete the installation process.
After the installation is complete, you will be ready to start installing mods on Minecraft using the Forge platform. Make sure to keep the Forge installer file in a safe place, as you may need it for future updates or installations.