
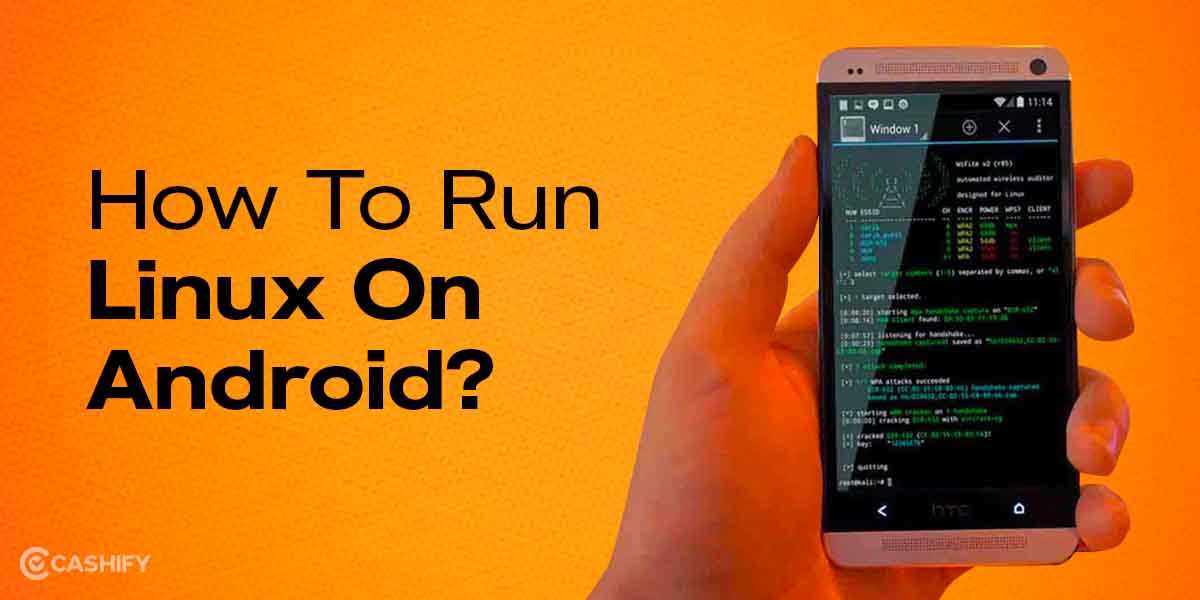
Are you curious about how to install Linux on your Android device? Look no further, as we have prepared a step-by-step guide to help you through the process. With Linux, you can unlock a whole new world of possibilities on your Android device, from running powerful applications to customizing your device like never before.
Why install Linux on Android?
Installing Linux on your Android device allows you to take advantage of the open-source nature of both operating systems. Linux offers a wide range of software and tools that can enhance your Android experience, giving you more control and flexibility over your device.
So, how do you install Linux on Android?
Follow our step-by-step guide below to get started on your Linux installation journey:
Section 1: Preparing Your Android Device

Before you can install Linux on your Android device, you need to make sure it is properly prepared. Follow these steps to get your Android device ready for the installation process:
| Step | Description |
| 1 | Make sure your Android device is rooted. Rooting your Android device will give you administrative privileges, allowing you to make changes to the system files necessary for installing Linux. |
| 2 | Backup your Android device. It is important to backup all your data, as the installation process may wipe your device’s internal storage. |
| 3 | Check the compatibility of your Android device. Not all Android devices are compatible with Linux installations. Make sure to research and find out if your device is supported. |
| 4 | Download the necessary files. You will need to download the Linux distribution you want to install, as well as any additional tools or software required for the installation process. |
| 5 | Enable USB debugging on your Android device. This will allow your device to communicate with your computer during the installation process. |
| 6 | Install a custom recovery on your Android device. A custom recovery will allow you to flash the Linux installation files onto your device. |
| 7 | Unlock the bootloader of your Android device. This step may vary depending on the manufacturer and model of your device, so make sure to follow the specific instructions for your device. |
Once you have completed these steps, your Android device will be ready for the Linux installation process. Proceed to the next section to learn how to install Linux on your Android device.
Check Device Compatibility

Before you begin the installation process, it is important to check if your device is compatible with Linux. Not all Android devices support Linux installation, so it is crucial to verify compatibility to avoid any potential issues.
To check if your device is compatible, follow these steps:
| Step 1 | Go to the official Linux website and navigate to the “Downloads” section. |
| Step 2 | Look for the list of supported devices and check if your specific Android device is included. |
| Step 3 | If your device is listed, make sure to note down any specific requirements or instructions mentioned for your device. |
| Step 4 | If your device is not listed, it means that it is not officially supported. However, you can still try installing Linux, but be aware that it may not work properly or may cause issues with your device. |
By checking the device compatibility, you can ensure a smooth and successful Linux installation on your Android device. It is always recommended to follow the official guidelines and instructions provided by the Linux community to avoid any potential risks or complications.
Enable Developer Options

To install Linux on your Android device, you need to enable the Developer Options. Here’s how:
- Open the Settings app on your Android device.
- Scroll down and tap on “About phone” or “About device”.
- Look for the “Build number” or “Build version” entry.
- Tap on the “Build number” or “Build version” entry repeatedly, about seven times.
- You will see a message saying “You are now a developer!” or something similar.
- Go back to the main Settings menu.
- You should now see a new option called “Developer options”.
- Tap on “Developer options”.
- Toggle the switch at the top of the screen to enable Developer options.
Now that you have enabled Developer options, you can proceed with the installation of Linux on your Android device.
Unlock Bootloader

Before you can install Linux on your Android device, you need to unlock the bootloader. The bootloader is a program that runs before the operating system and allows you to modify the system’s software. Unlocking the bootloader will give you the freedom to install custom software, such as Linux, on your Android device.
Here is a step-by-step guide on how to unlock the bootloader:
- First, you need to enable Developer Options on your Android device. To do this, go to Settings, then About Phone, and tap on the Build Number several times until you see a message saying “You are now a developer!”
- Once you have enabled Developer Options, go back to the main Settings menu and open Developer Options. Look for the option called “OEM unlocking” or “Unlock bootloader” and enable it.
- Next, you need to turn off your Android device and boot it into Fastboot mode. The method for entering Fastboot mode varies depending on the device, so you may need to search online for instructions specific to your device.
- Connect your Android device to your computer using a USB cable.
- Open a command prompt or terminal window on your computer and navigate to the directory where you have installed the Android SDK tools.
- Type the following command to check if your device is detected by the computer:
fastboot devices - If your device is detected, type the following command to unlock the bootloader:
fastboot oem unlock - You will see a warning message on your Android device. Use the volume keys to highlight the option to unlock the bootloader, and press the power button to confirm.
- Wait for the bootloader to be unlocked. This may take a few minutes.
- Once the bootloader is unlocked, your Android device will reboot automatically.
After unlocking the bootloader, you are ready to proceed with the installation of Linux on your Android device. Make sure to follow the next steps carefully to ensure a successful installation.
Section 2: Installing a Custom Recovery
Before you can install Linux on your Android device, you need to install a custom recovery. A custom recovery is a software that allows you to make advanced changes to your Android system, such as installing custom ROMs or creating backups.
Here’s a step-by-step guide on how to install a custom recovery on your Android device:
| Step | Description |
|---|---|
| Step 1 | First, you need to unlock the bootloader of your Android device. This process varies depending on the manufacturer and model of your device. You can usually find instructions on the manufacturer’s website or on Android forums. |
| Step 2 | Once you have unlocked the bootloader, you need to download the custom recovery image for your specific device. There are several popular custom recoveries available, such as TWRP (Team Win Recovery Project) or ClockworkMod Recovery. Make sure to download the correct recovery image for your device. |
| Step 3 | Next, you need to enable USB debugging on your Android device. To do this, go to the “Settings” menu, then tap on “About phone” or “About device”. Scroll down and tap on “Build number” several times until you see a message saying that you are now a developer. Go back to the “Settings” menu and you should see a new option called “Developer options”. Tap on it and enable USB debugging. |
| Step 4 | Connect your Android device to your computer using a USB cable. Open a command prompt or terminal window on your computer and navigate to the folder where you downloaded the custom recovery image. |
| Step 5 | Type the following command to boot your Android device into fastboot mode: adb reboot bootloader |
| Step 6 | Once your device is in fastboot mode, type the following command to flash the custom recovery image: fastboot flash recovery recovery.img (replace “recovery.img” with the actual name of the custom recovery image file). |
| Step 7 | After the custom recovery image is successfully flashed, type the following command to reboot your device: fastboot reboot |
| Step 8 | Your Android device should now reboot into the custom recovery. You can use the volume buttons to navigate and the power button to select options in the recovery menu. |
Now that you have installed a custom recovery on your Android device, you are ready to proceed with the next steps to install Linux. Make sure to follow the instructions carefully and always create a backup of your data before making any changes to your device.
Download Custom Recovery
In order to install Linux on your Android device, you will need to download a custom recovery. A custom recovery is a modified version of the stock recovery that allows you to perform advanced tasks such as flashing custom ROMs and making system backups.
There are several custom recoveries available for Android devices, but one of the most popular and widely used is TWRP (Team Win Recovery Project). TWRP is an open-source custom recovery that provides a touch-based interface and a wide range of features.
To download TWRP or any other custom recovery, you will need to visit the official website or the XDA Developers forum. These platforms provide a repository of custom recoveries for various Android devices.
Once you have found the appropriate custom recovery for your device, you can download the recovery image file (.img) to your computer. Make sure to choose the version that is compatible with your specific Android device model and version.
After downloading the custom recovery image file, you will need to transfer it to your Android device. You can do this by connecting your device to your computer via USB and copying the recovery image file to the internal storage or SD card of your Android device.
Once the custom recovery image file is transferred to your Android device, you can proceed with the installation process. The next step is to boot your Android device into recovery mode and flash the custom recovery image using the appropriate commands or tools.
It is important to note that installing a custom recovery on your Android device can void your warranty and may also carry some risks. Therefore, it is recommended to proceed with caution and make sure to follow the instructions provided by the custom recovery developer.
| Steps to Download Custom Recovery: |
|---|
| 1. Visit the official website or XDA Developers forum to find the appropriate custom recovery for your Android device. |
| 2. Download the custom recovery image file (.img) to your computer. |
| 3. Connect your Android device to your computer via USB. |
| 4. Transfer the custom recovery image file to the internal storage or SD card of your Android device. |
| 5. Boot your Android device into recovery mode. |
| 6. Flash the custom recovery image using the appropriate commands or tools. |
Boot into Recovery Mode

Before you can install Linux on your Android device, you need to boot into recovery mode. Recovery mode is a special mode that allows you to perform various system-level tasks, such as installing custom ROMs or performing a factory reset. Here’s how to boot into recovery mode:
| Step 1: | Turn off your Android device. |
| Step 2: | Press and hold the Volume Up button and the Power button simultaneously. |
| Step 3: | Keep holding the buttons until the device vibrates and the recovery mode menu appears on the screen. |
| Step 4: | Use the volume buttons to navigate through the menu and the power button to select an option. |
| Step 5: | In the recovery mode menu, select the option that allows you to install a custom ROM or firmware. |
| Step 6: | Follow the on-screen instructions to complete the installation process. |
Once you have successfully booted into recovery mode, you can proceed with the installation of Linux on your Android device. Make sure to follow the instructions carefully to avoid any issues during the installation process.


