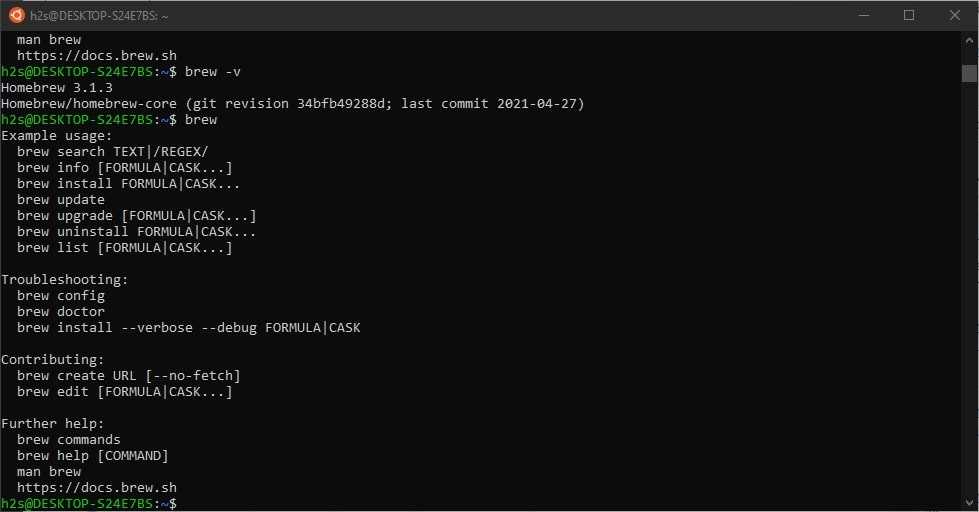
If you are a Linux user and want to have access to a wide range of software packages, then Homebrew (or Brew) is the package manager you need. Brew is a command-line package manager that allows you to easily install, update, and manage various software packages on your Linux system.
Installing Brew on Linux is a straightforward process that can be done in a few simple steps. First, you need to open the terminal on your Linux system. The terminal is a command-line interface where you can execute various commands and interact with your system.
Once you have the terminal open, you can start the installation process by running a single command. This command will download and install the Brew package manager on your Linux system. After the installation is complete, you will be able to use Brew to install and manage packages from the command line.
Installing software packages on Linux can sometimes be a complex and time-consuming process, but with Brew, it becomes much easier. Brew simplifies the installation process by handling all the dependencies and configurations for you. All you need to do is run a single command, and Brew will take care of the rest.
Section 1: Preparing for Installation
Before installing Homebrew (brew) on your Linux system, there are a few steps you need to take to ensure a smooth installation process. Follow the steps below to prepare your system:
- Open the terminal on your Linux system. You can usually find it in the Applications menu or by pressing Ctrl+Alt+T.
- Check if your system meets the requirements for installing brew. It is recommended to have a recent version of Linux installed.
- Update your package manager by running the following command in the terminal:
sudo apt update - Install the necessary dependencies for brew by running the following command in the terminal:
sudo apt install build-essential curl file git
By following these steps, you will ensure that your Linux system is ready for the installation of Homebrew (brew). Once you have completed these preparations, you can proceed to the next section to begin the installation process.
Checking System Requirements
Before you can install Homebrew (brew), you need to make sure that your Linux system meets the necessary requirements. Here’s how you can check:
1. Open your terminal or command prompt.
2. Run the following command to check if you have the required dependencies installed:
sudo apt-get install build-essential curl file git
This command will install the necessary packages that are needed for Homebrew to work properly.
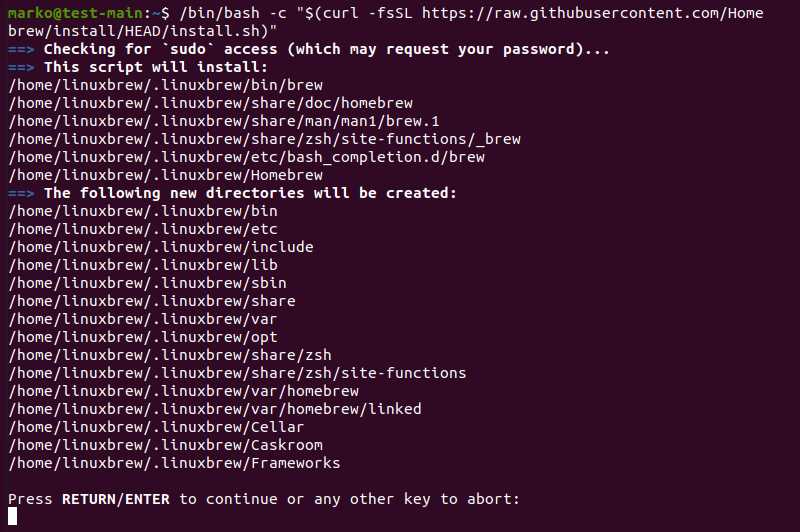
3. Once the installation is complete, run the following command to install Homebrew:
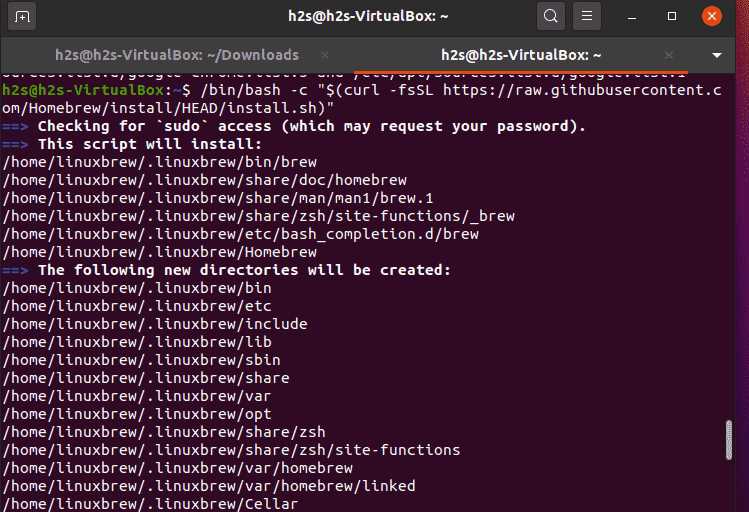
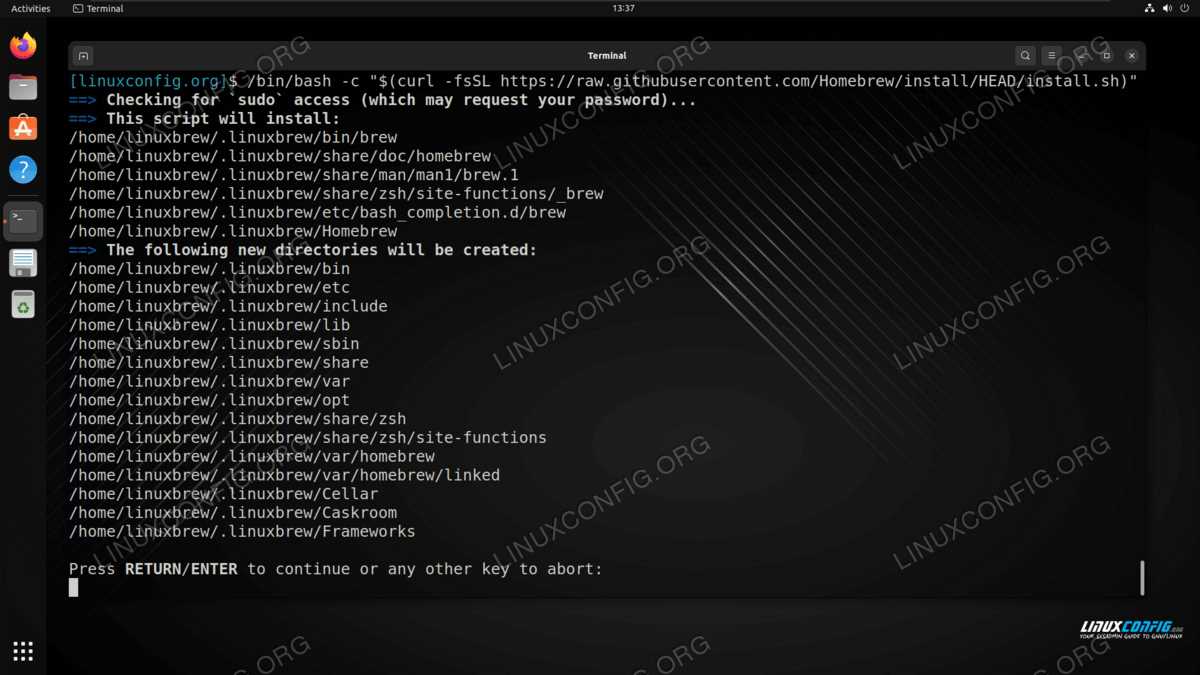
/bin/bash -c "$(curl -fsSL https://raw.githubusercontent.com/Homebrew/install/HEAD/install.sh)"
This command will download and install Homebrew on your Linux system.
4. After the installation is finished, you can verify if Homebrew is installed correctly by running the following command:
brew doctor
If everything is set up correctly, you should see a message indicating that your system is ready to brew.
Now that you have checked the system requirements and installed Homebrew, you are ready to start using this package manager on your Linux system.
Updating System Packages
Before installing Homebrew, it is important to update your system packages to ensure that you have the latest versions and dependencies. This can be done using the package manager for your Linux distribution.
If you are using Ubuntu or Debian-based distributions, you can use the following command in the terminal to update your system packages:
sudo apt-get updateIf you are using Fedora or CentOS, you can use the following command instead:
sudo dnf updateUpdating system packages is crucial because Homebrew relies on certain packages and dependencies to function properly. By updating your system packages, you can ensure that you have the latest versions and avoid any potential conflicts or issues during the installation process.
Installing Required Dependencies
Before installing Homebrew (brew) on Linux, you need to make sure that you have all the necessary dependencies installed. These dependencies are essential for the proper functioning of the package manager.
To install the required dependencies, open the terminal and run the following command:
sudo apt-get install build-essential curl file git
This command will install the necessary packages that are needed by Homebrew to function correctly. The build-essential package includes the basic tools and libraries required for building software, while curl is a command-line tool for transferring data using various protocols. The file package is used to determine file types, and git is a version control system.
Once the installation is complete, you can proceed with installing Homebrew on your Linux system.
Section 2: Installing Brew
To install Brew on Linux, you need to follow a few steps. First, you need to make sure that your system has all the necessary dependencies. Brew is a package manager for Linux, similar to Homebrew on macOS. It allows you to easily install and manage software packages on your system.
To install Brew, open your terminal and enter the following command:
sudo apt-get install build-essential curl file git
This command will install the necessary dependencies for Brew to work properly. Once the installation is complete, you can proceed to install Brew itself. Enter the following command in your terminal:
sh -c “$(curl -fsSL https://raw.githubusercontent.com/Linuxbrew/install/master/install.sh)”
This command will download and install Brew on your Linux system. It may take a few minutes to complete, depending on your internet connection and system performance.
After the installation is finished, you need to add Brew to your system’s PATH. This will allow you to use Brew from any directory in your terminal. To do this, add the following line to your shell configuration file (e.g., ~/.bashrc or ~/.zshrc):
export PATH=”/home/linuxbrew/.linuxbrew/bin:$PATH”
Save the file and reload your shell configuration by running the following command:
source ~/.bashrc
Now, you can start using Brew on your Linux system. To install packages with Brew, simply enter the following command in your terminal:
brew install [package-name]
Replace [package-name] with the name of the package you want to install. Brew will automatically download and install the package for you.
Congratulations! You have successfully installed Brew on your Linux system. Now you can enjoy the benefits of a powerful package manager for your software needs.