If you’re a Mac user who wants to experience the power and versatility of Windows 10, you may be wondering how to install it on your Mac without using Bootcamp. While Bootcamp is a popular option for dual-booting Macs with Windows, it’s not the only way to go. In this step-by-step guide, we’ll show you how to install Windows 10 on your Mac without Bootcamp, giving you the freedom to switch between operating systems seamlessly.
Before we dive into the installation process, it’s important to note that this method requires a bit of technical know-how and may void your warranty. If you’re not comfortable with advanced computer tasks or if you’re concerned about potential risks, it’s best to stick with Bootcamp or consult a professional. However, if you’re up for the challenge and want to explore a different way to run Windows 10 on your Mac, let’s get started!
Step 1: Prepare Your Mac
The first step is to ensure that your Mac meets the system requirements for running Windows 10. Check the Apple website or consult your Mac’s documentation to confirm compatibility. Additionally, make sure you have enough free disk space to accommodate the Windows 10 installation.
Disclaimer: Proceed at your own risk. Installing Windows on a Mac without Bootcamp may void your warranty and could potentially cause data loss or other issues. Make sure to back up your important files before proceeding.
Requirements for Installing Windows 10 on Mac
Before you can install Windows 10 on your Mac without using Bootcamp, you need to make sure you have the following requirements:
| Requirement | Description |
| Mac Model | Your Mac must be one of the supported models for running Windows 10. Check the official Apple website for a list of compatible models. |
| Storage Space | You need enough free storage space on your Mac to install Windows 10. The exact amount of space required depends on the version of Windows 10 you want to install, but it is recommended to have at least 64GB of free space. |
| Windows 10 ISO | You will need a Windows 10 ISO file to install Windows on your Mac. You can download the ISO file from the official Microsoft website. |
| Bootable USB Drive | You will need a USB drive with at least 8GB of storage capacity to create a bootable Windows 10 installer. Make sure the USB drive is formatted correctly and is compatible with your Mac. |
| Backup | Before installing Windows 10 on your Mac, it is highly recommended to back up all your important files and data. This will ensure that you don’t lose any data in case something goes wrong during the installation process. |
Once you have met all these requirements, you are ready to proceed with the installation process. Follow the step-by-step guide on how to install Windows 10 on Mac without Bootcamp to successfully install Windows 10 on your Mac.
Mac Model Compatibility
When it comes to installing Windows 10 on a Mac without Bootcamp, it’s important to consider the compatibility of your Mac model. Not all Mac models are capable of running Windows 10 without Bootcamp, so it’s essential to check if your Mac is compatible before proceeding with the installation.
Here’s how to determine if your Mac is compatible:
1. Check the Mac model:
First, you need to know the exact model of your Mac. You can find this information by clicking on the Apple logo in the top left corner of your screen and selecting “About This Mac.” The model information will be displayed under the “Overview” tab.
2. Check the system requirements:
Next, you need to verify if your Mac meets the system requirements for installing Windows 10. Visit the official Microsoft website and search for the system requirements for Windows 10. Compare these requirements with the specifications of your Mac model to ensure compatibility.
3. Check for driver support:
Another important factor to consider is driver support. Some Mac models may not have the necessary drivers available for Windows 10, which can lead to compatibility issues. Research online or contact Apple support to confirm if drivers are available for your specific Mac model.
By following these steps, you can determine if your Mac model is compatible with installing Windows 10 without Bootcamp. It’s crucial to ensure compatibility to avoid any potential issues during the installation process.
Sufficient Disk Space
Before you begin the installation process, it is important to ensure that your Mac has sufficient disk space to accommodate the Windows 10 installation without Bootcamp. Windows 10 requires a minimum of 20GB of free space, but it is recommended to have at least 40GB for a smoother experience.
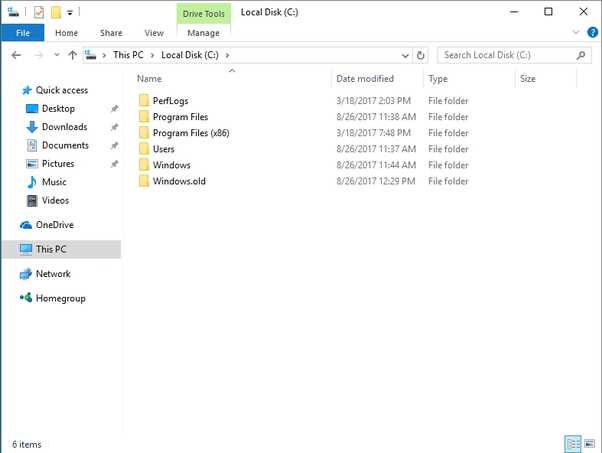
To check the available disk space on your Mac, follow these steps:
- Click on the Apple menu in the top-left corner of your screen.
- Select “About This Mac” from the drop-down menu.
- In the window that appears, click on the “Storage” tab.
- You will see a breakdown of the storage usage on your Mac, including the amount of free space available.
If you do not have enough free space, you will need to free up some disk space before proceeding with the installation. You can do this by deleting unnecessary files, emptying the trash, or moving files to an external storage device.
Once you have confirmed that your Mac has sufficient disk space, you can proceed with the installation of Windows 10 without Bootcamp. Follow the step-by-step guide on how to install Windows 10 on a Mac without Bootcamp to complete the process.
Windows 10 ISO File
If you want to install Windows 10 on your Mac without using Bootcamp, you will need a Windows 10 ISO file. The ISO file contains all the necessary files and data to install Windows 10 on your Mac. It is essentially a digital copy of the Windows 10 installation media.
To obtain the Windows 10 ISO file, you can visit the official Microsoft website and download it from there. Make sure to select the correct version of Windows 10 that you want to install on your Mac.
Once you have downloaded the Windows 10 ISO file, you can proceed with the installation process. There are several methods you can use to install Windows 10 on your Mac without Bootcamp, such as using virtualization software like Parallels Desktop or using a third-party tool like WinToUSB.
Regardless of the method you choose, having the Windows 10 ISO file is essential to successfully install Windows 10 on your Mac. Make sure to keep a backup of the ISO file in case you need to reinstall Windows 10 in the future.
Preparing Your Mac for Windows 10 Installation
Before you can install Windows 10 on your Mac without Bootcamp, there are a few steps you need to take to ensure a smooth installation process. Follow the steps below to prepare your Mac:
- Check your Mac’s compatibility: Make sure your Mac meets the minimum system requirements for running Windows 10. You can find the system requirements on the official Windows 10 website.
- Backup your data: It’s always a good idea to backup your important files and data before installing a new operating system. You can use Time Machine or any other backup software to create a backup of your Mac.
- Free up disk space: Windows 10 requires a certain amount of disk space to install and run smoothly. Make sure you have enough free space on your Mac’s hard drive. You can use the Disk Utility tool to check your disk space and delete unnecessary files.
- Download the Windows 10 ISO file: You will need the Windows 10 ISO file to install Windows on your Mac. You can download the ISO file from the official Microsoft website.
- Create a bootable USB drive: To install Windows 10 on your Mac, you will need to create a bootable USB drive. You can use tools like UNetbootin or Rufus to create a bootable USB drive from the Windows 10 ISO file.
Once you have completed these steps, your Mac will be ready for the Windows 10 installation process. Make sure to follow the next steps in the guide to successfully install Windows 10 on your Mac without Bootcamp.
Backup Your Mac
Before you proceed with installing Windows 10 on your Mac without Bootcamp, it is crucial to backup all your important data. This step ensures that you have a copy of your files in case anything goes wrong during the installation process.
There are several ways to backup your Mac:
1. Time Machine: Use the built-in Time Machine feature on your Mac to create a complete backup of your system. This allows you to restore your Mac to its previous state if needed.
2. External Hard Drive: Connect an external hard drive to your Mac and manually copy all your important files and folders to the drive. Make sure to organize your data properly so that it is easy to restore later.
3. Cloud Storage: Use cloud storage services like iCloud, Google Drive, or Dropbox to upload your important files and documents. This ensures that your data is securely stored online and can be accessed from anywhere.
Regardless of the method you choose, it is important to double-check that all your files are backed up properly before proceeding with the installation of Windows 10 on your Mac. This way, you can have peace of mind knowing that your data is safe and can be easily restored if needed.
Update macOS
To install Windows 10 on your Mac without Bootcamp, you first need to make sure that your macOS is up to date. Updating your macOS is important to ensure compatibility and to have the latest features and security updates.
Here’s how to update your macOS:
- Click on the Apple menu in the top-left corner of your screen.
- Select “System Preferences” from the drop-down menu.
- In the System Preferences window, click on “Software Update”.
- Your Mac will now check for any available updates. If there are updates available, click on the “Update Now” button to start the update process.
- Follow the on-screen instructions to complete the update. Your Mac may need to restart during the update process.
Once your macOS is updated, you can proceed with the installation of Windows 10 without using Bootcamp.
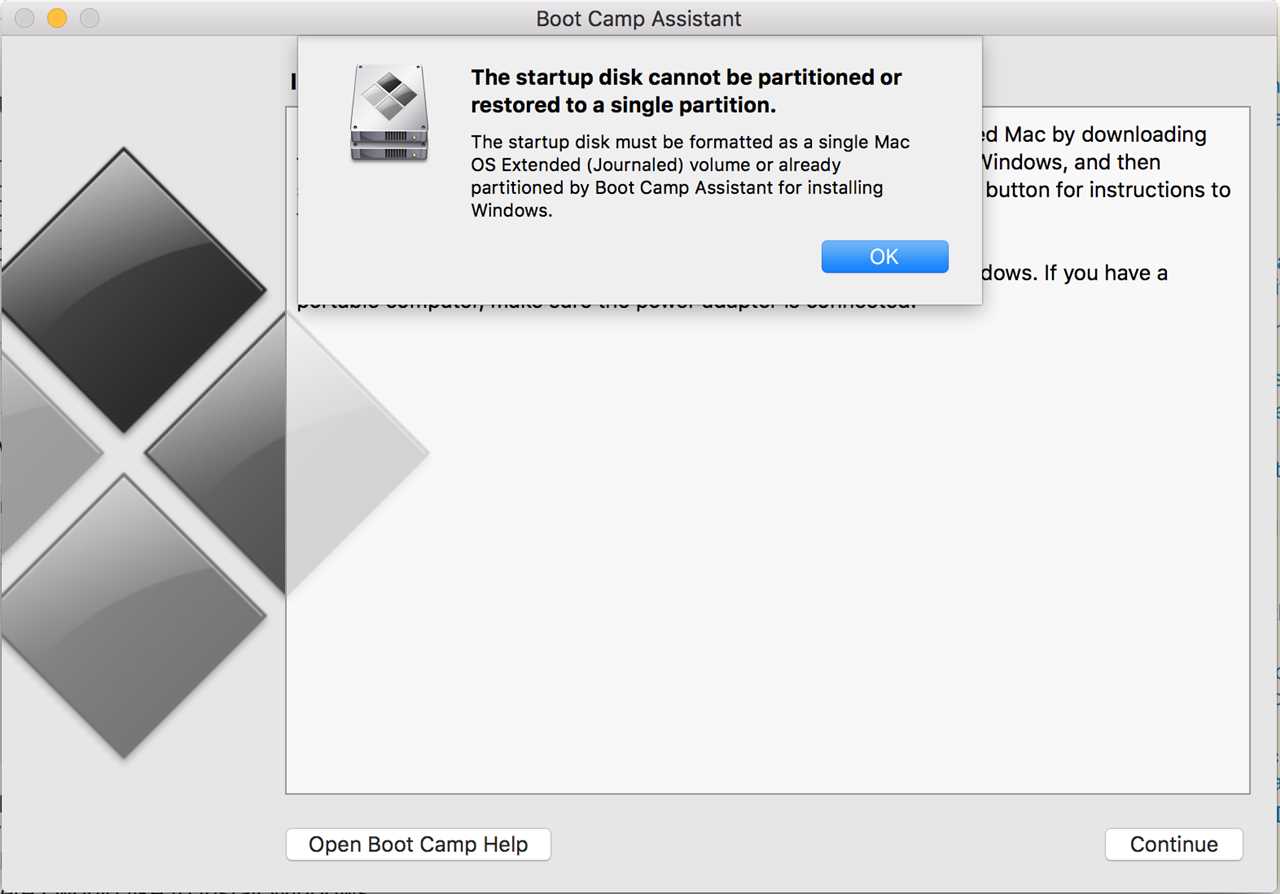
Disable FileVault
If you want to install Windows 10 on your Mac without using Bootcamp, you may need to disable FileVault. FileVault is a built-in disk encryption program on macOS that can prevent unauthorized access to your files. However, it can interfere with the installation process of Windows 10. Here’s how to disable FileVault:
- Open System Preferences: Click on the Apple menu in the top-left corner of your screen and select “System Preferences”.
- Go to Security & Privacy: In the System Preferences window, click on the “Security & Privacy” icon.
- Unlock the settings: Click on the padlock icon in the bottom-left corner of the window and enter your administrator password.
- Disable FileVault: In the Security & Privacy window, click on the “FileVault” tab. Then, click on the lock icon in the bottom-left corner to unlock the settings. Finally, click on the “Turn Off FileVault” button.
- Restart your Mac: After disabling FileVault, you will need to restart your Mac for the changes to take effect.
Once FileVault is disabled, you can proceed with the installation of Windows 10 on your Mac without any interference from FileVault.
Creating a Windows 10 Bootable USB Drive
If you want to install Windows 10 on your Mac without using Bootcamp, one of the easiest ways to do so is by creating a bootable USB drive. This allows you to install Windows 10 directly from the USB drive, without the need for a DVD or external optical drive.
Here’s how to create a Windows 10 bootable USB drive:
- First, you’ll need to download the Windows 10 ISO file from the official Microsoft website.
- Once you have the ISO file, insert a USB drive into your Mac. Make sure the USB drive has at least 8GB of storage space.
- Open the Disk Utility application on your Mac. You can find it by searching for “Disk Utility” in Spotlight.
- In Disk Utility, select the USB drive from the list of available drives on the left-hand side.
- Click on the “Erase” tab at the top of the Disk Utility window.
- Choose a name for your USB drive and select “MS-DOS (FAT)” as the format. Then click on the “Erase” button to format the USB drive.
- Once the USB drive is formatted, open the Terminal application on your Mac. You can find it by searching for “Terminal” in Spotlight.
- In the Terminal window, type the following command: sudo dd if=/path/to/windows-10.iso of=/dev/rdiskN bs=1m (replace “/path/to/windows-10.iso” with the actual path to your Windows 10 ISO file, and replace “N” with the disk number of your USB drive).
- Press Enter and enter your administrator password when prompted. The command will start creating the bootable USB drive.
- Wait for the process to complete. This may take some time, depending on the speed of your Mac and the size of the Windows 10 ISO file.
- Once the process is finished, you will have a bootable USB drive with Windows 10. You can now use this USB drive to install Windows 10 on your Mac without Bootcamp.
Creating a bootable USB drive is a convenient way to install Windows 10 on your Mac without using Bootcamp. It allows you to have a portable installation media that you can use on multiple Mac computers. Follow the steps above to create your own bootable USB drive and start enjoying Windows 10 on your Mac!